The Pixelblaze controller inside your Lux Lavalier allows you to write your own patterns! In fact, you can view and edit the code for every pattern included with it.
Let’s get started writing your first pattern.
Table of contents
- The
renderfunction - RGB Colors and the
rgbfunction - HSV Colors and the
hsvfunction - The
indexvariable - The
pixelCountvariable - Animation
- The
timefunction - XY Mapping and the
render2Dfunction - Radius
- Angle
- Next Steps
- If you haven’t already, connect your Lux Lavalier to your wi-fi, and open its web page: Wi-Fi Setup Instructions
- In the Pixelblaze web app, click the Edit tab at the top of the page.
- Delete any code in the New Expression editor.
-
Type (or copy and paste) the following code into the editor:
export function render() { rgb(1, 0, 0) } - All of the pixels (LEDs) should turn red.
- Change the second line of the code to
rgb(0, 1, 0)and all of the pixels should turn green. - Change it to
rgb(0, 0, 1)and they’ll turn blue. - Change it to
rgb(.5, 0, .5)and they’ll turn purple. - Change it to
rgb(1, 1, 1)and they’ll turn white. - Experiment with making different colors by mixing red, green, and blue with different values between 0 and 1. The expression editor will warn you if there are any errors.
Explanation time!
The render Function
The render function gets called repeatedly, once for each pixel, in order and then wraps from the end back to the beginning. The Lux Lavalier has 64 pixels, so it gets called 64 times. Inside the render function above, we’re calling another function that is included with the Pixelblaze, called rgb.
RGB Colors and the rgb function
Each pixel internally has three LEDs: Red, Green, and Blue. We can directly control those tiny little individual LEDs inside each pixel with the rgb function. The numbers passed to the function should be between 0.0 and 1.0. A value of 0 turns that LED off completely. A value of 1 turns that LED on completely. Any number in between turns it on a percentage. A value of 0.1 will turn it on at 10% brightness.
The Pixelblaze automatically scales this down with the global brightness you’ve set with the brightness slider in the upper-right corner of the page.

You may have found that it can be a little difficult to get just the right color by mixing different values for red, green, and blue. So let’s explore a different way of handling colors: HSV!
HSV Colors and the hsv function
We can also control the pixel colors by using the hsv function.
-
Change the second line of the code to
hsv(0, 1, 1)and all of the pixels should turn red.Here’s the complete code:
export function render() { hsv(0, 1, 1) } - Change it to
hsv(.33, 1, 1)and they’ll turn green. - Change it to
hsv(.66, 1, 1)and they’ll turn blue. - Change it to
hsv(1, 1, 1)and they’ll turn back to red. - Change it to
hsv(1, .99, 1)and they’ll turn pink.
HSV stands for Hue, Saturation, and Value.
The first number (hue) controls the color or shade from the rainbow color wheel:
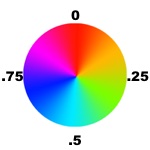

Notice that at 0 at the top it’s red. As hue increases, it rotates clockwise so at .25 it’s one quarter of the way around. At .33 or a third it’s at green, then at .66 or two thirds (2/3) it’s at blue, then it circles back towards red.
Using the color wheel, change the first number in the hsv function and it should be much easier to set the LEDs to whatever color you want.
The second number (saturation) controls the ‘whiteness’ of the color:
.svg)
A saturation of zero will be white, regardless of the hue. A saturation of 1 is fully saturated, the strongest possible color of the hue. In between are more pastel colors.
The third and final number (value) controls the brightness (or inversely blackness) of the color:

A value of zero will be black, regardless of the hue or saturation. A value of 1 will be fully bright. In between are darker colors.
Experiment with using different combinations of hue, saturation, and value to create different colors.
Changing every pixel to be the same color is neat, but what if we want each pixel to be a different color?
The index variable
We can use the pixel index to make each LED a different color.
-
Change the first line, adding
indexin between the parentheses of the render function:export function render(index) { -
Change the second line to
hsv(index / pixelCount, 1, 1)Here’s the complete code:
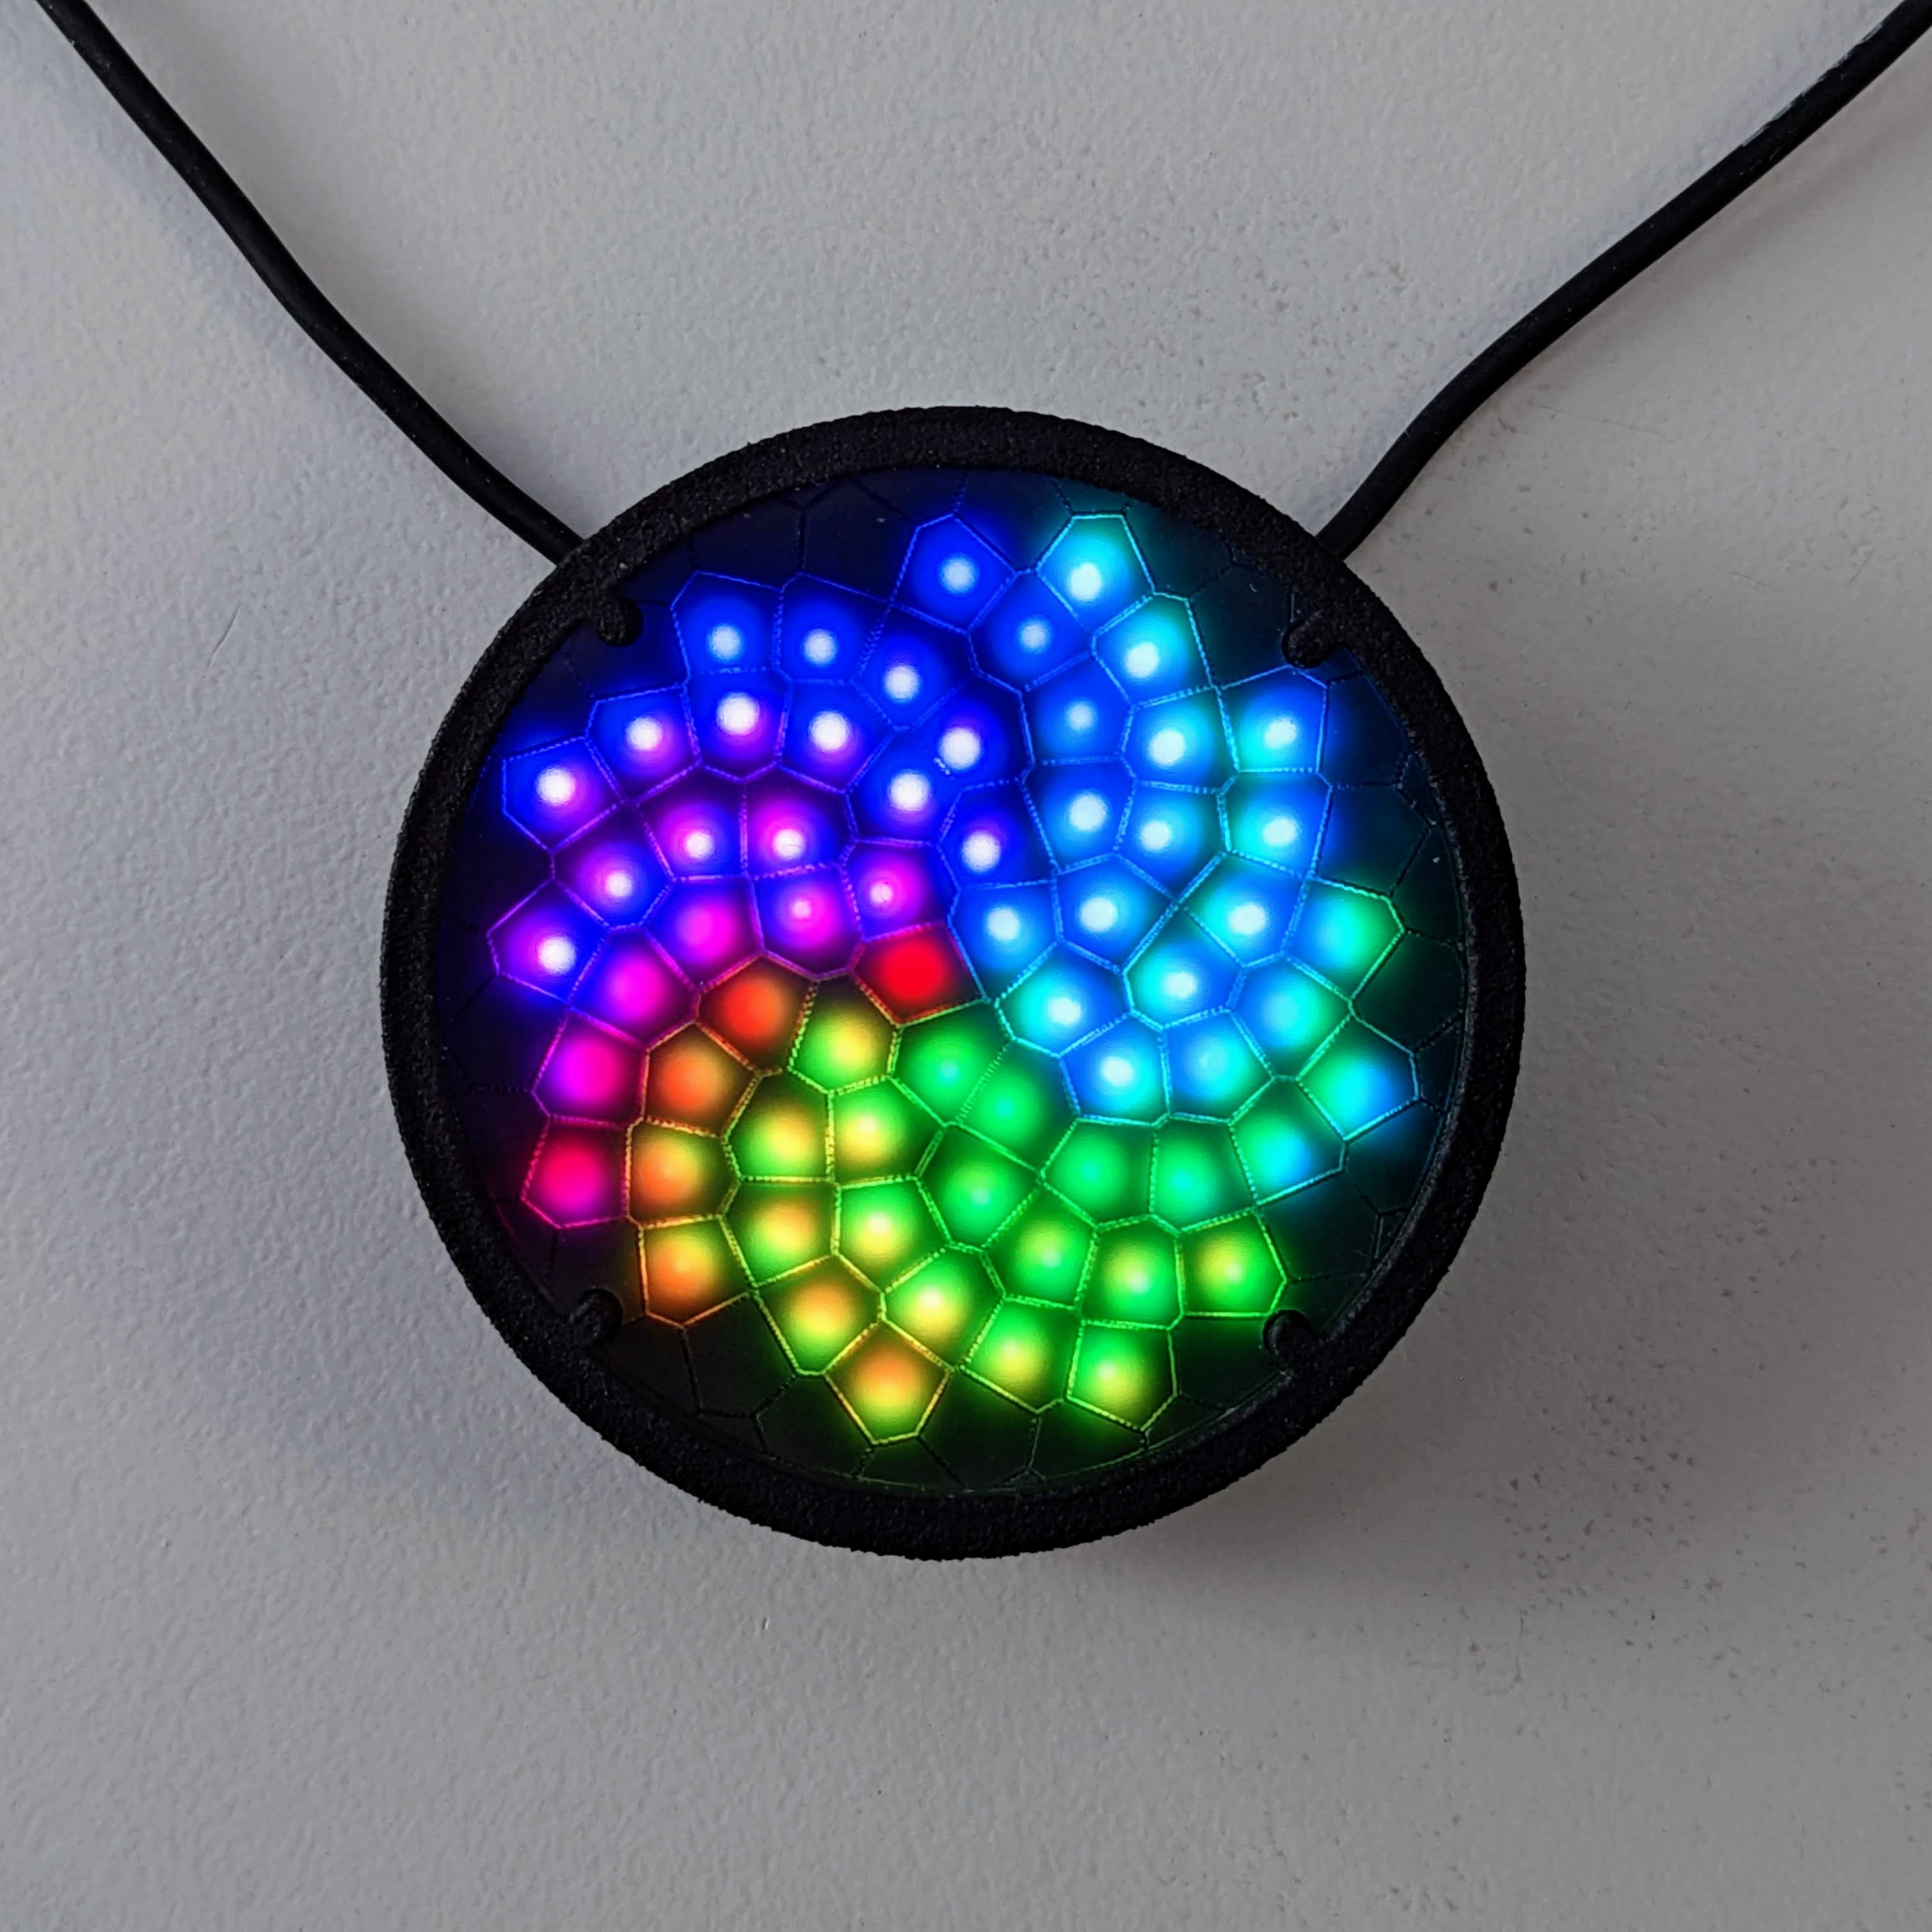
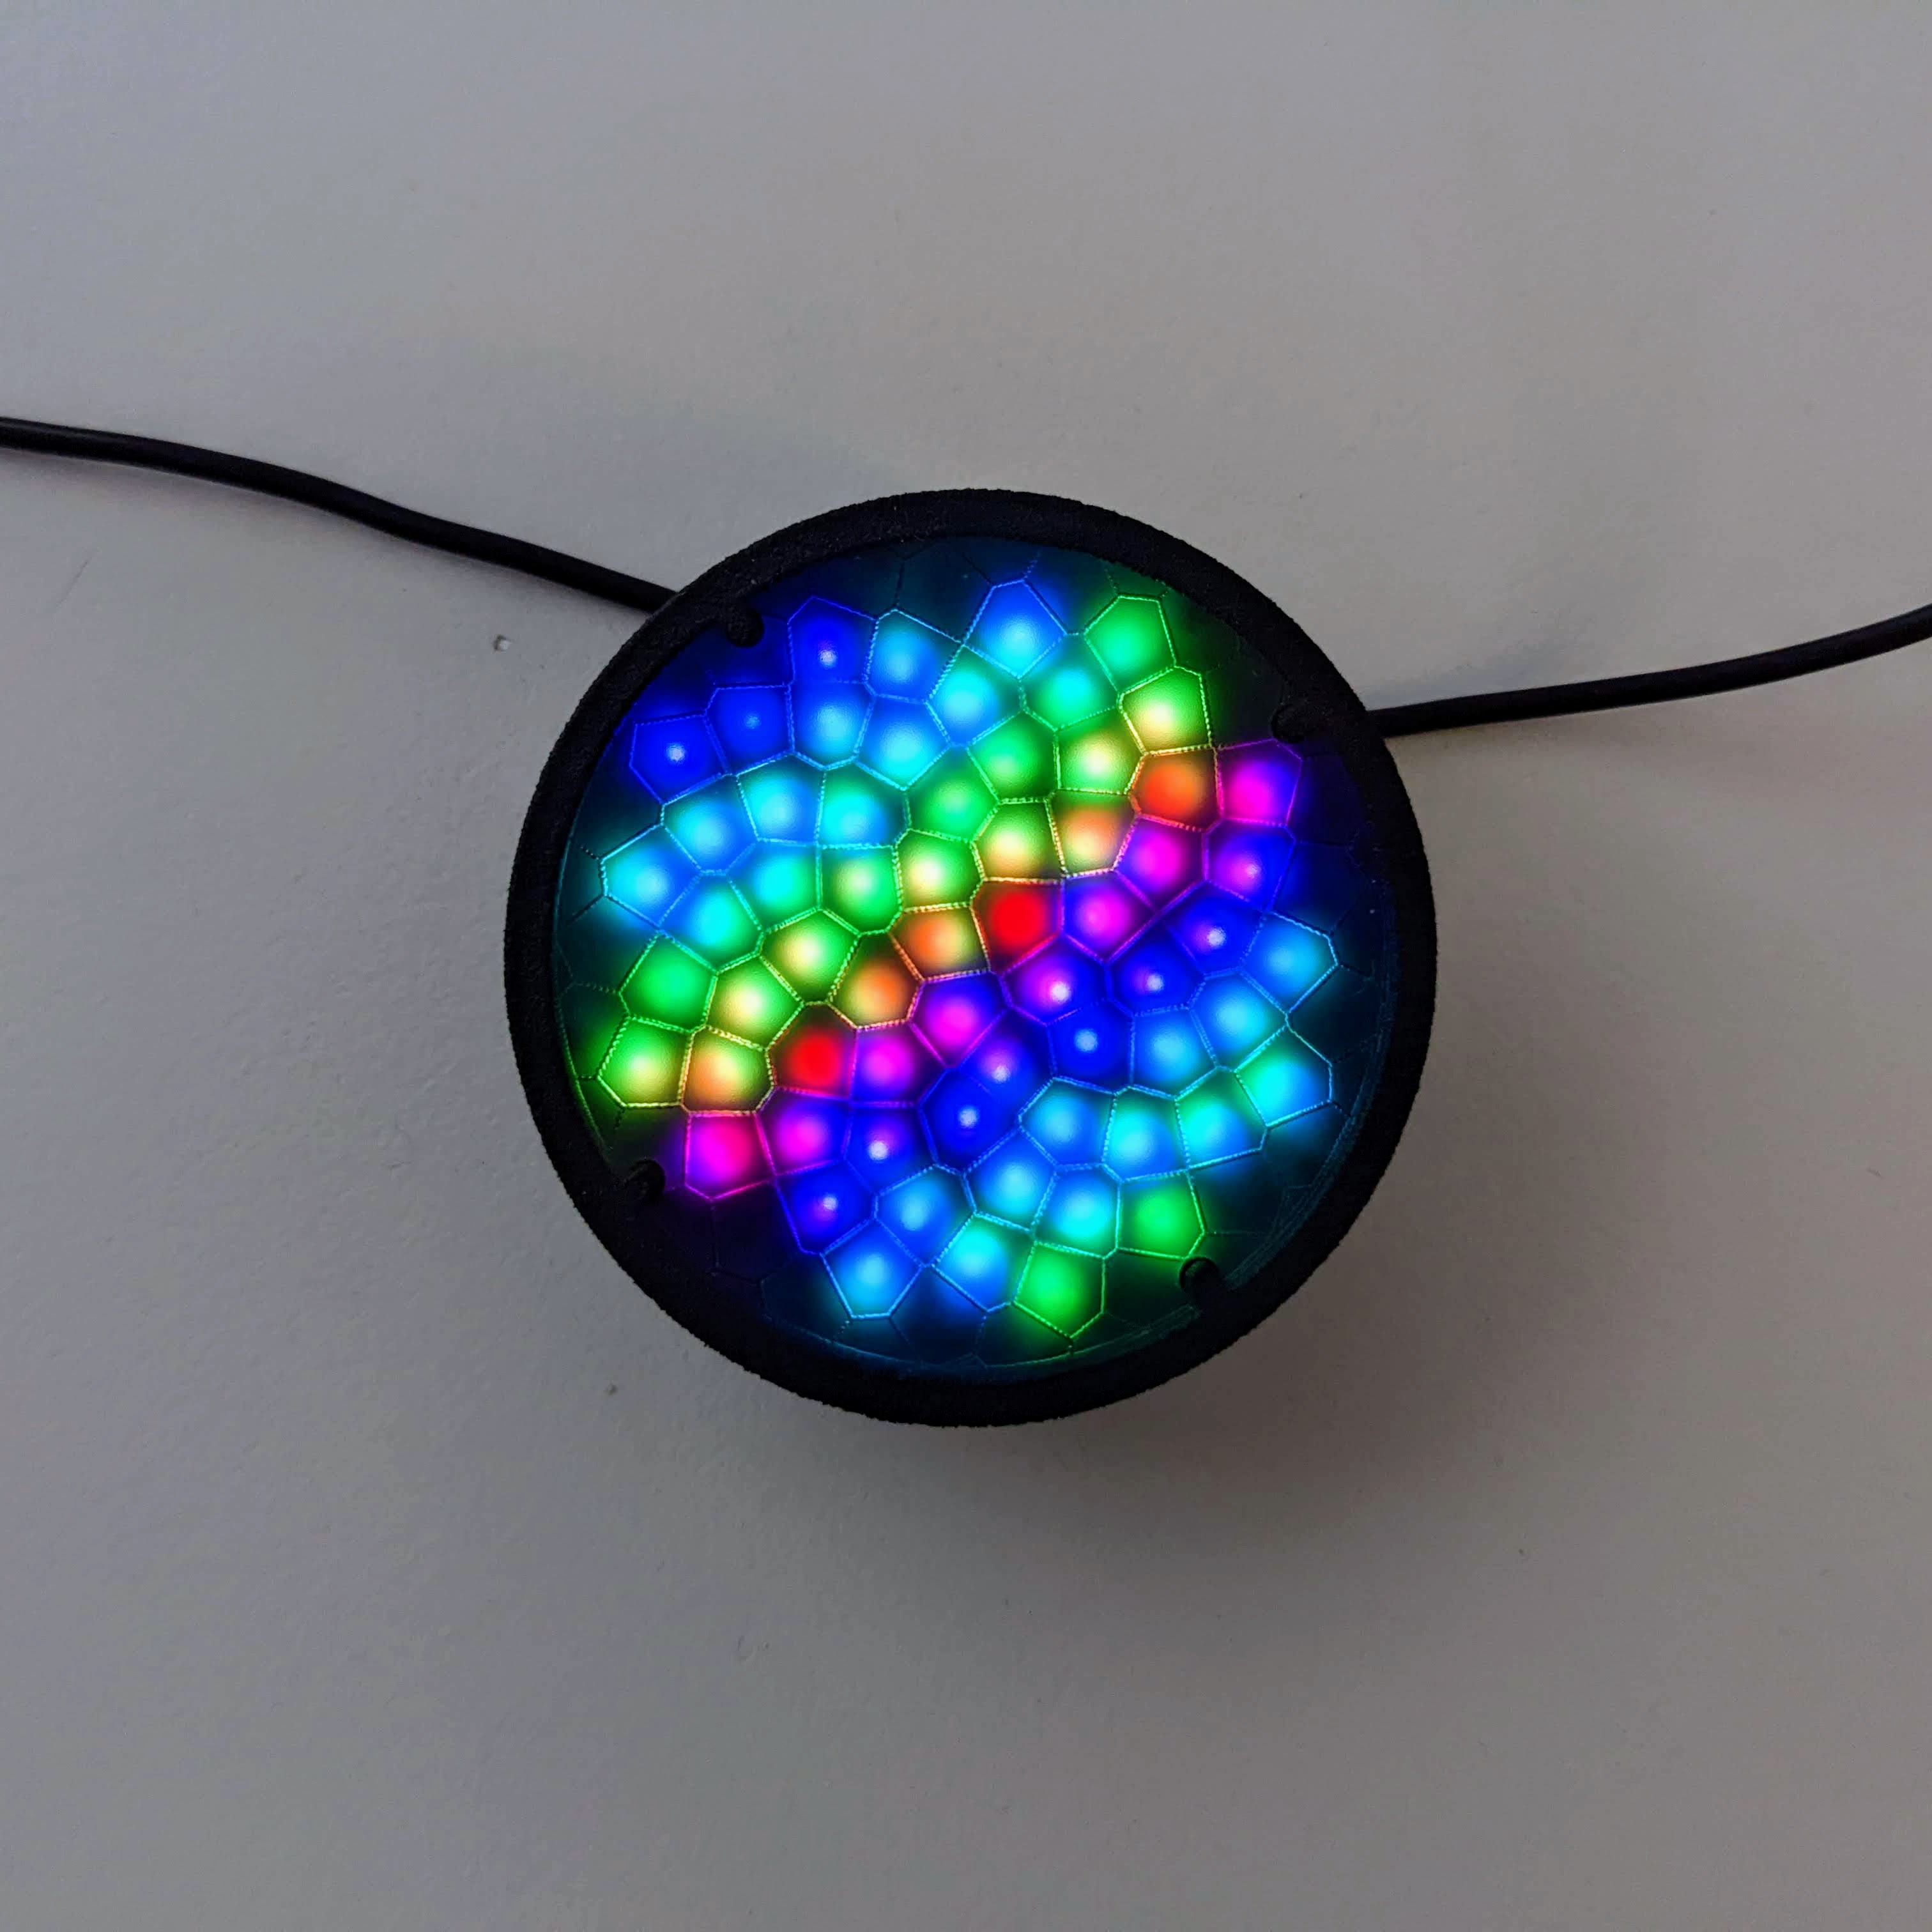
export function render(index) { hsv(index / pixelCount, 1, 1) } -
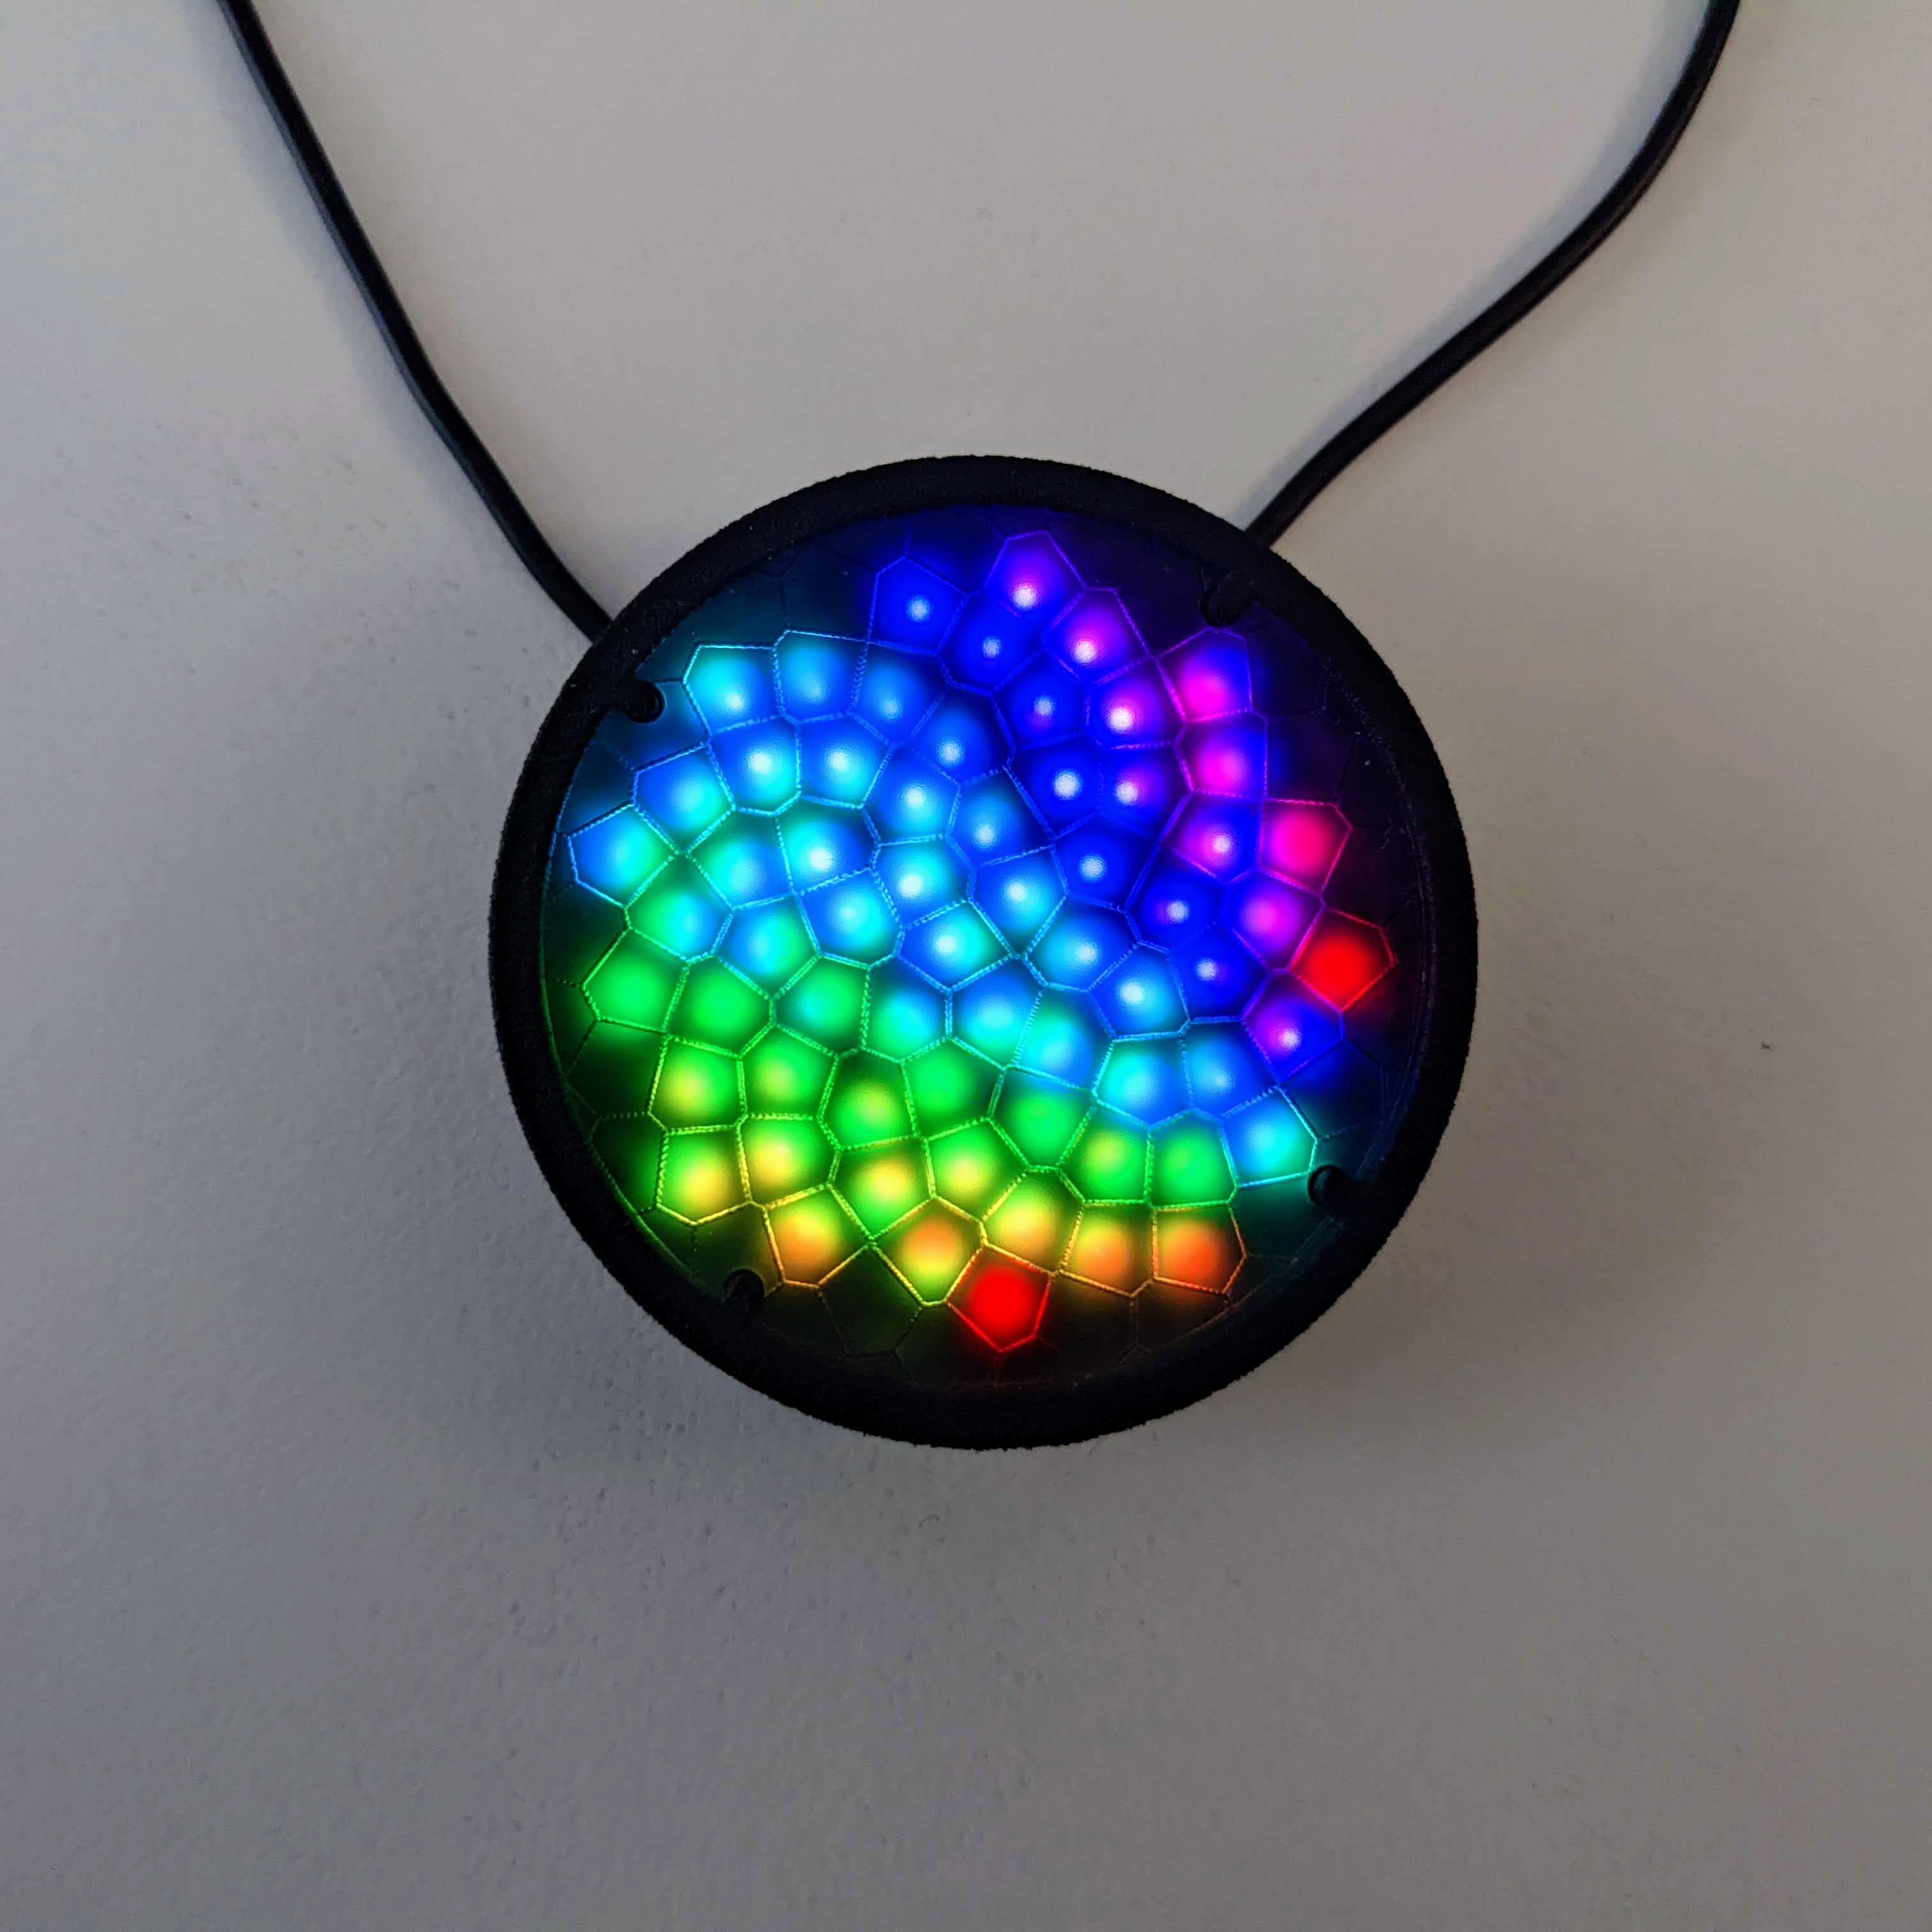
Congratulations, you made a round rainbow!
The render function includes index, which is the index of the current pixel being rendered. Lux Lavalier has 64 pixels. The very first time render is called, index is set to 0. The next time, index is 1, etc, until index is 63. Then it wraps back to the beginning so that the next time it’s called it starts back over at 0.
The pixelCount variable
On the second line of code, we used pixelCount, which is a special global variable that Pixelblaze automatically sets for us to the total number of pixels. We used it to convert the index which ranges from 0 to 63, to hue which ranges from 0 to 1. The first time render is called, index is 0, which divided by any number is still 0. The second time, index is 1, and 1 / 64 = 0.015625. When used as a hue, that gives a color very close to red, but slightly rotated around the color wheel towards orange. For pixel 21, we’re about one-third of the way through the pixels and the color wheel: 21 / 64 = 0.328125 which, when used as a hue, gives a color close to green.
So now we have changed each pixel to be a different color, and made rainbows, but what about animation?
Animation
We can use time to make the pixel colors change!
Replace the code with the following:
export function render(index) {
  t = time(.1)
  i = index / pixelCount
  h = i + t
  hsv(h, 1, 1)
}
And now the rainbow moves!
Try different values in the time function on the second line. You should find that 1 makes it move extremely slowly, taking over a minute to make a full rotation, while 0.005 is very fast. With low enough numbers for time, it will rotate so fast that it looks white!
Note that we’ve reorganized the code a bit:
- We added a new variable
tand set it by calling thetimefunction. Thetvariable value will now slowly change over time. - We added a new variable
iand set it toindex / pixelCount, which is exactly what we were doing before: make each pixel have a unique hue, according to its index. - We added a new variable
hand set it by addingiandt, so now the hue for each pixel changes over time. - Then we call
hsv, passing ithfor the hue.
The time function
The time function returns a value between 0 and 1 that loops over and over. The speed it loops is controlled by the value passed to it. A value of 1 will loop about every 65 seconds. A value of .1 will loop about every 6.5 seconds. When added to a hue, this rotates the color around the hue color wheel. Since we add that to each pixel’s fixed hue (index / pixelCount), they all rotate at the same speed.
Note that Pixelblaze automatically handles values for hue larger than 1, wrapping it around to the other side of the color wheel. So a hue of 1.33 is the same green as 0.33.
XY Mapping and the render2D function
What if we want to use some other way of drawing patterns, other than index? How would we make a vertical or horizontal rainbow?
Replace the code with the following:
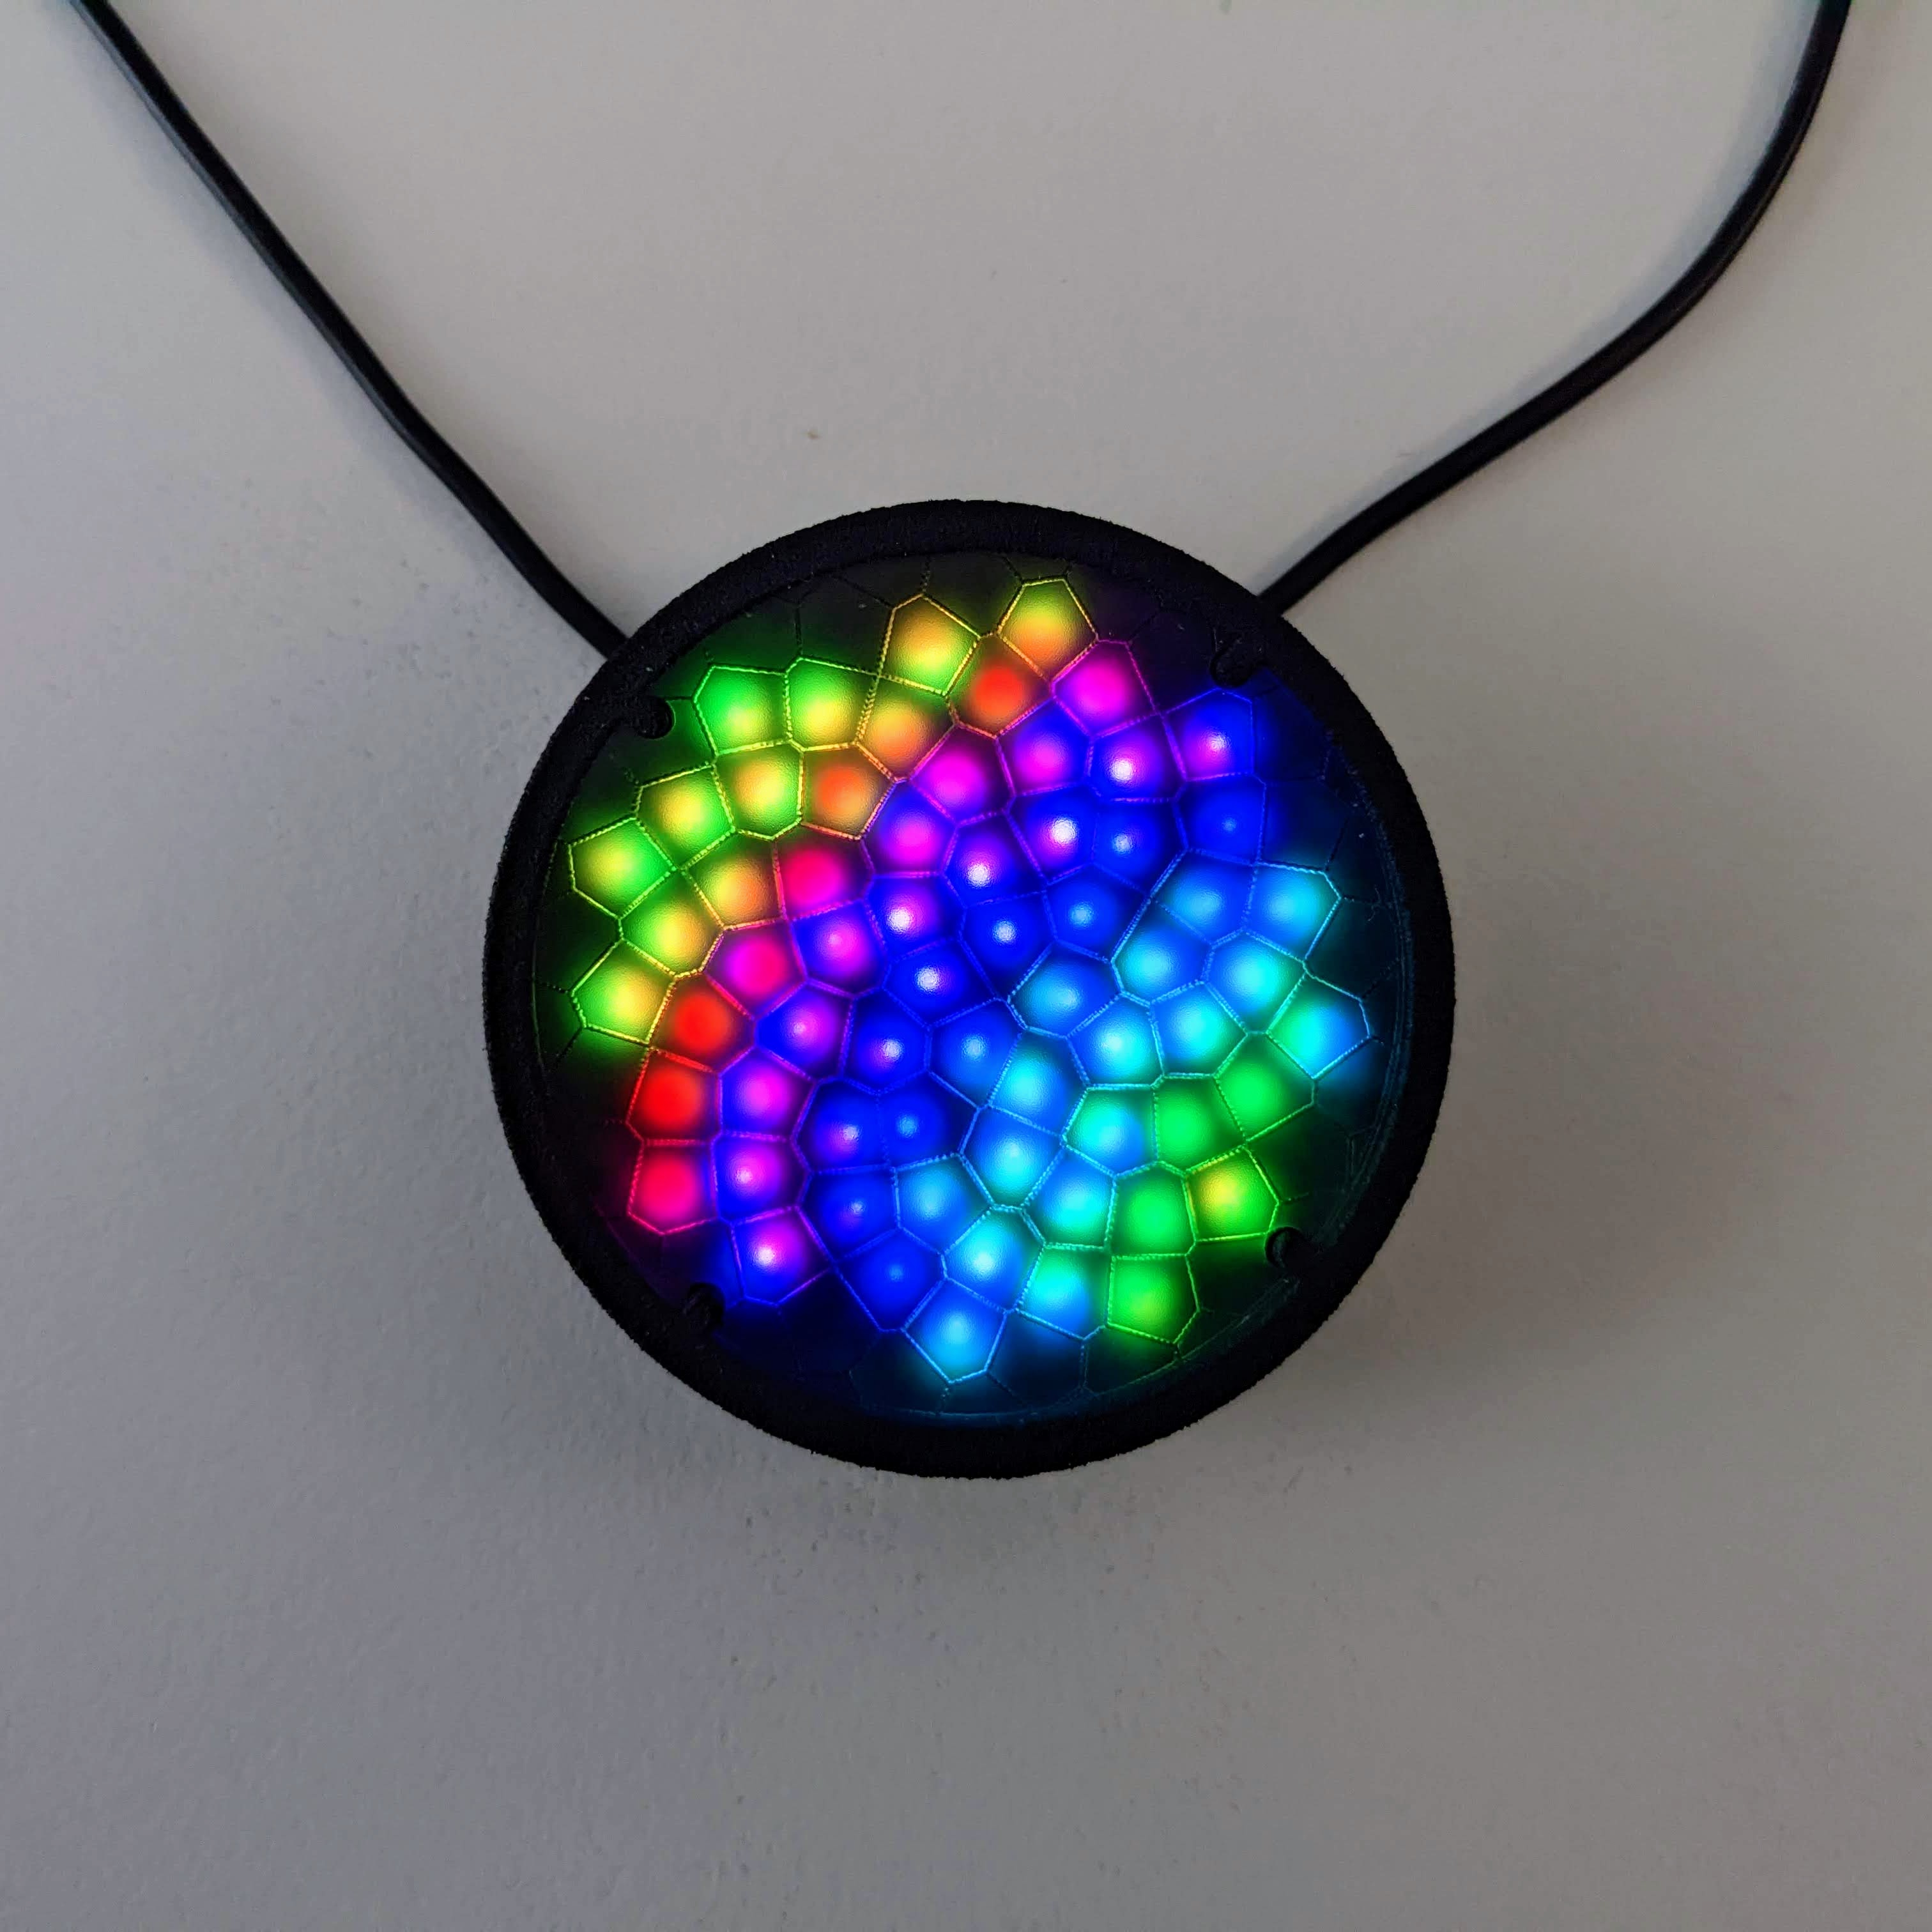
export function render2D(index, x, y) {
  hsv(x, 1, 1)
}
You should now see a horizontal rainbow!
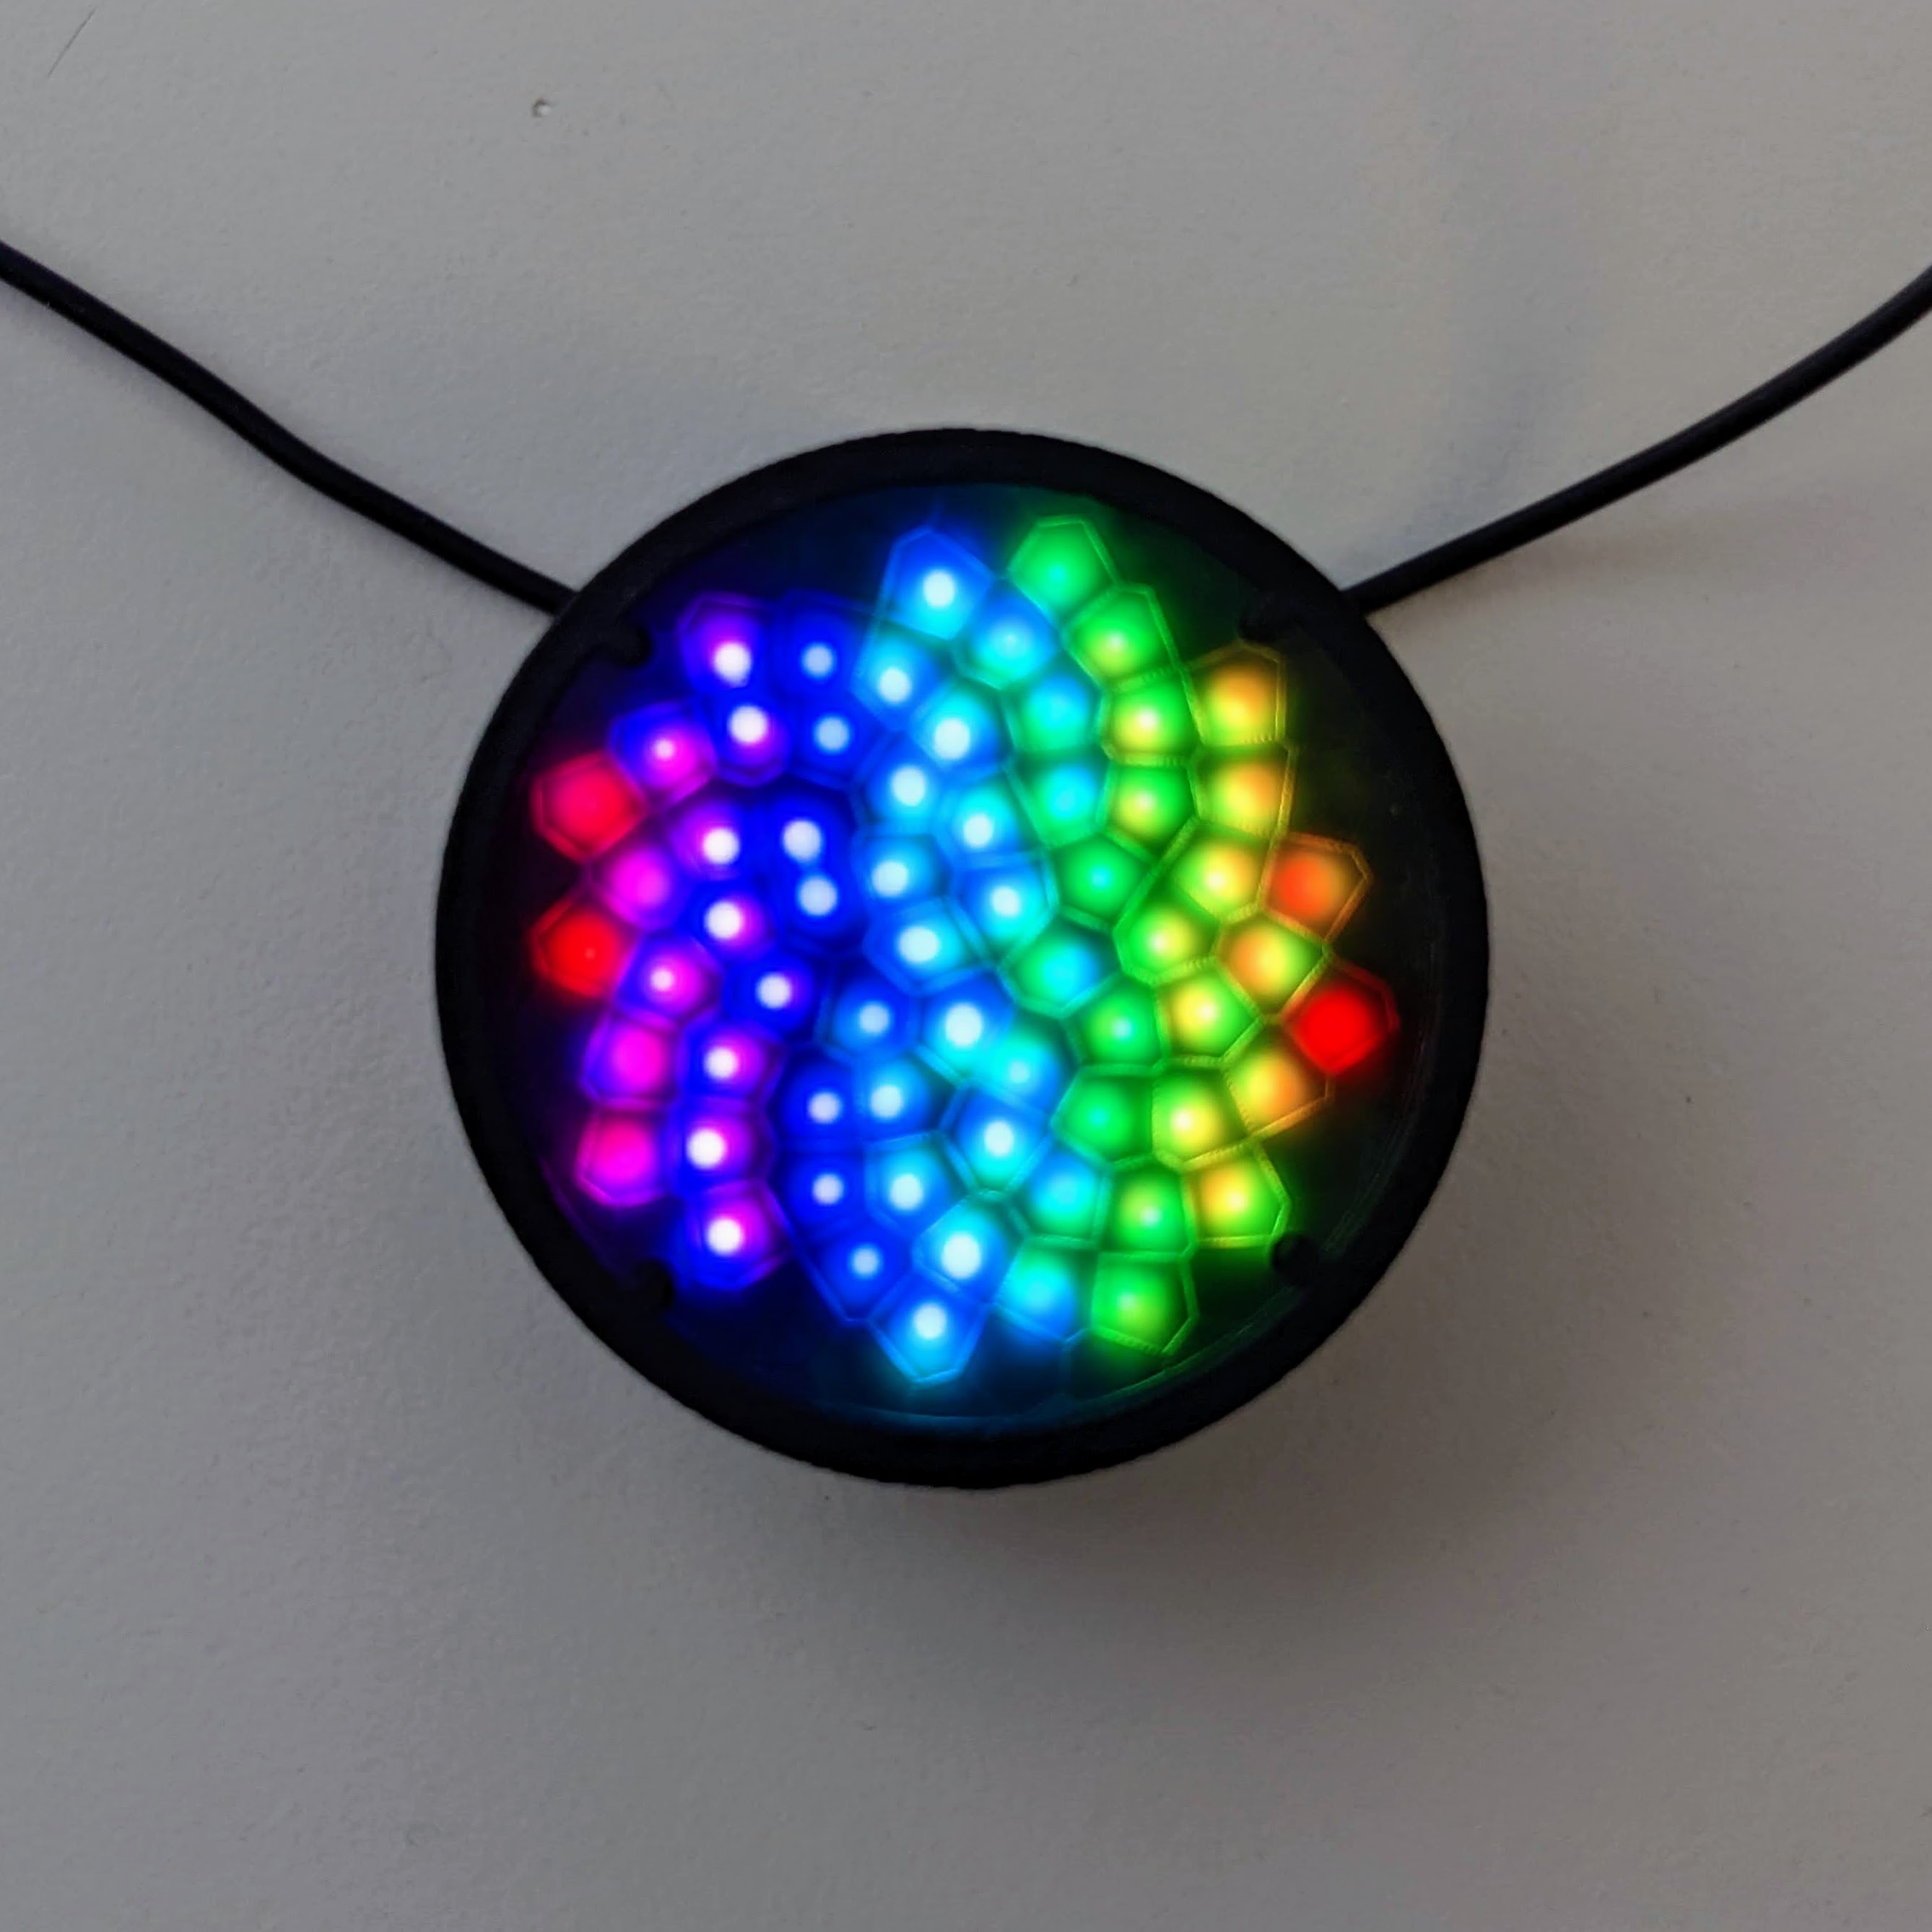
Change the hue (the first parameter inside the hsv function) from x to y and it’ll change to vertical.
Change it to x + y and it’ll be diagonal!
Notice that we changed from using the render function to the render2D function. In addition to the index parameter, it also includes x and y. These parameters range from 0 to 1, and indicate the current pixel’s two dimensional position in the display, with (0,0) in the top left corner, and (1,1) in the bottom right.
We can animate these two dimensional rainbows the same way we did before, with time:
hsv(x + time(.1), 1, 1)
should give you a rainbow that scrolls from left to right:
To make it change direction, subtract instead of adding time:
hsv(x - time(.1), 1, 1)
To make it scroll vertically, change x to y:
hsv(y + time(.1), 1, 1)
Diagonal:
hsv(x + y + time(.1), 1, 1)
What if we want to make it rotate, expand, or contract? For that, we need some basic trigonometry! Wait, where are you going? Come back, I promise it’s not that bad!
Radius
Replace the code with the following:
export function render2D(index, x, y) {
  h = hypot(x, y)
  hsv(h, 1, 1)
}
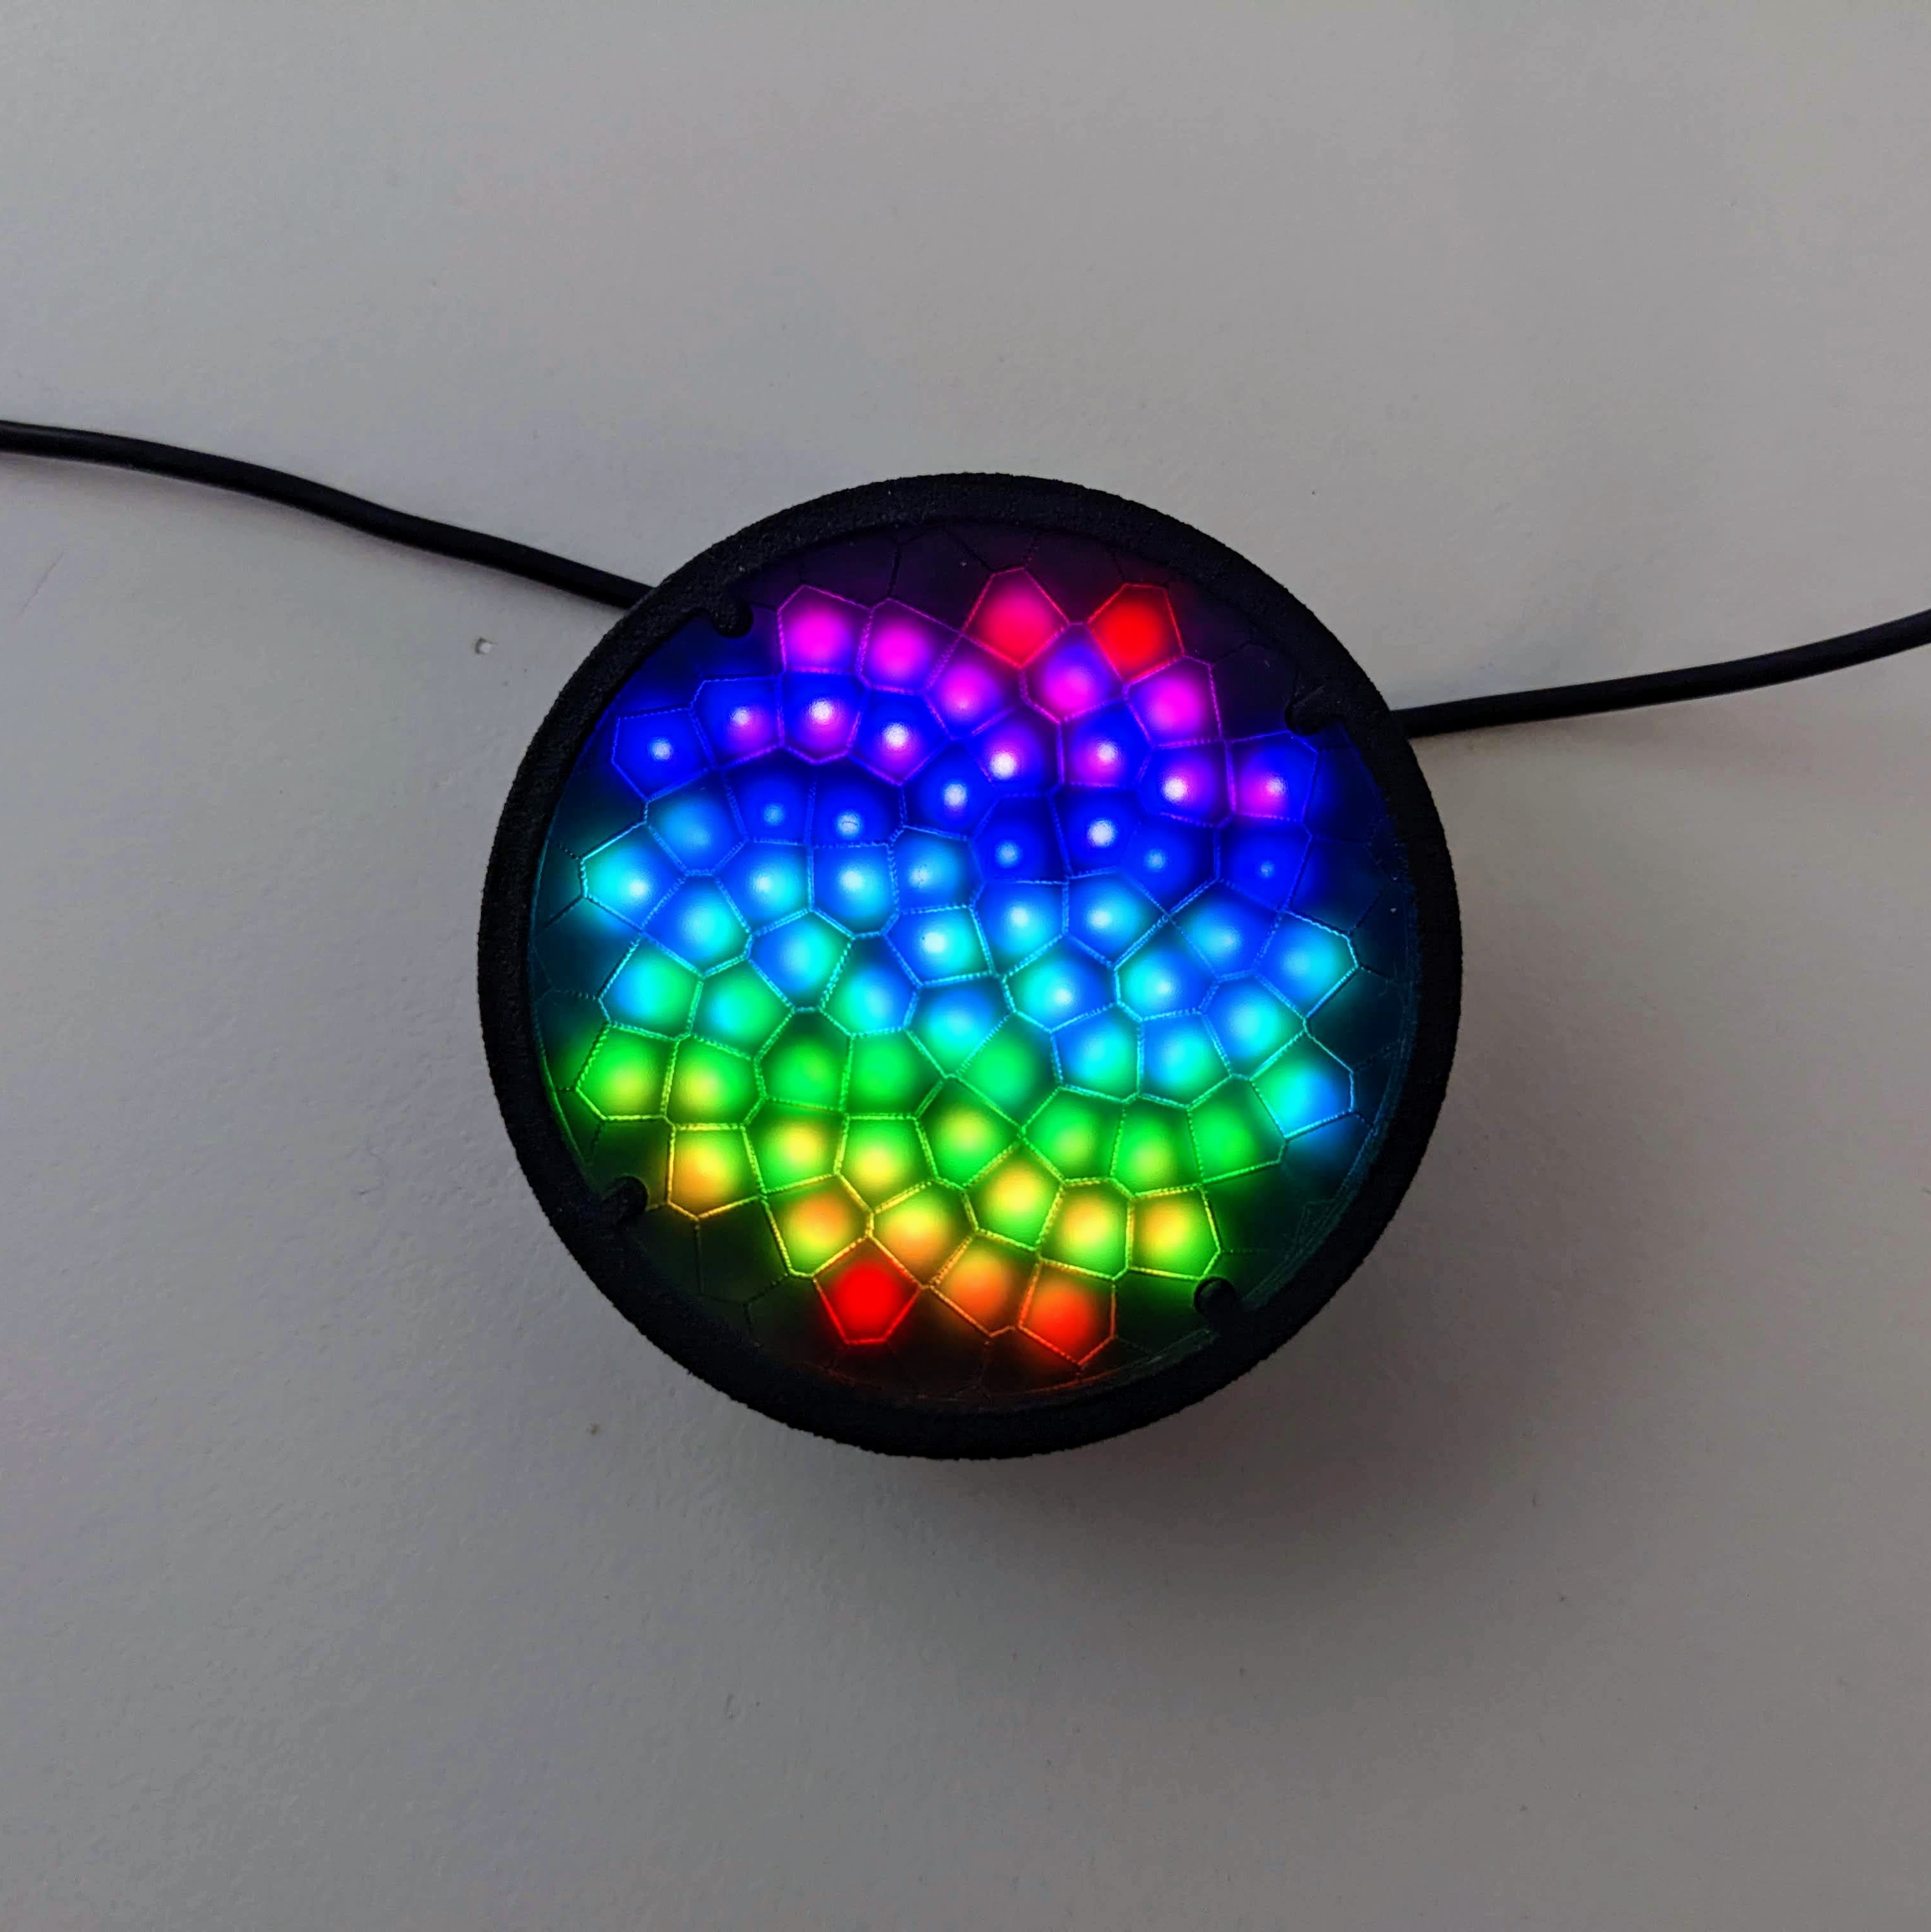
You should see semi-circular bands of rainbow!
The hypot function calculates the radius of the current point, or the distance of the point (x,y) from the origin (0,0) (the upper-left corner). If we want the origin in the center of the display, we change the second line to:
h = hypot(x - .5, y - .5)
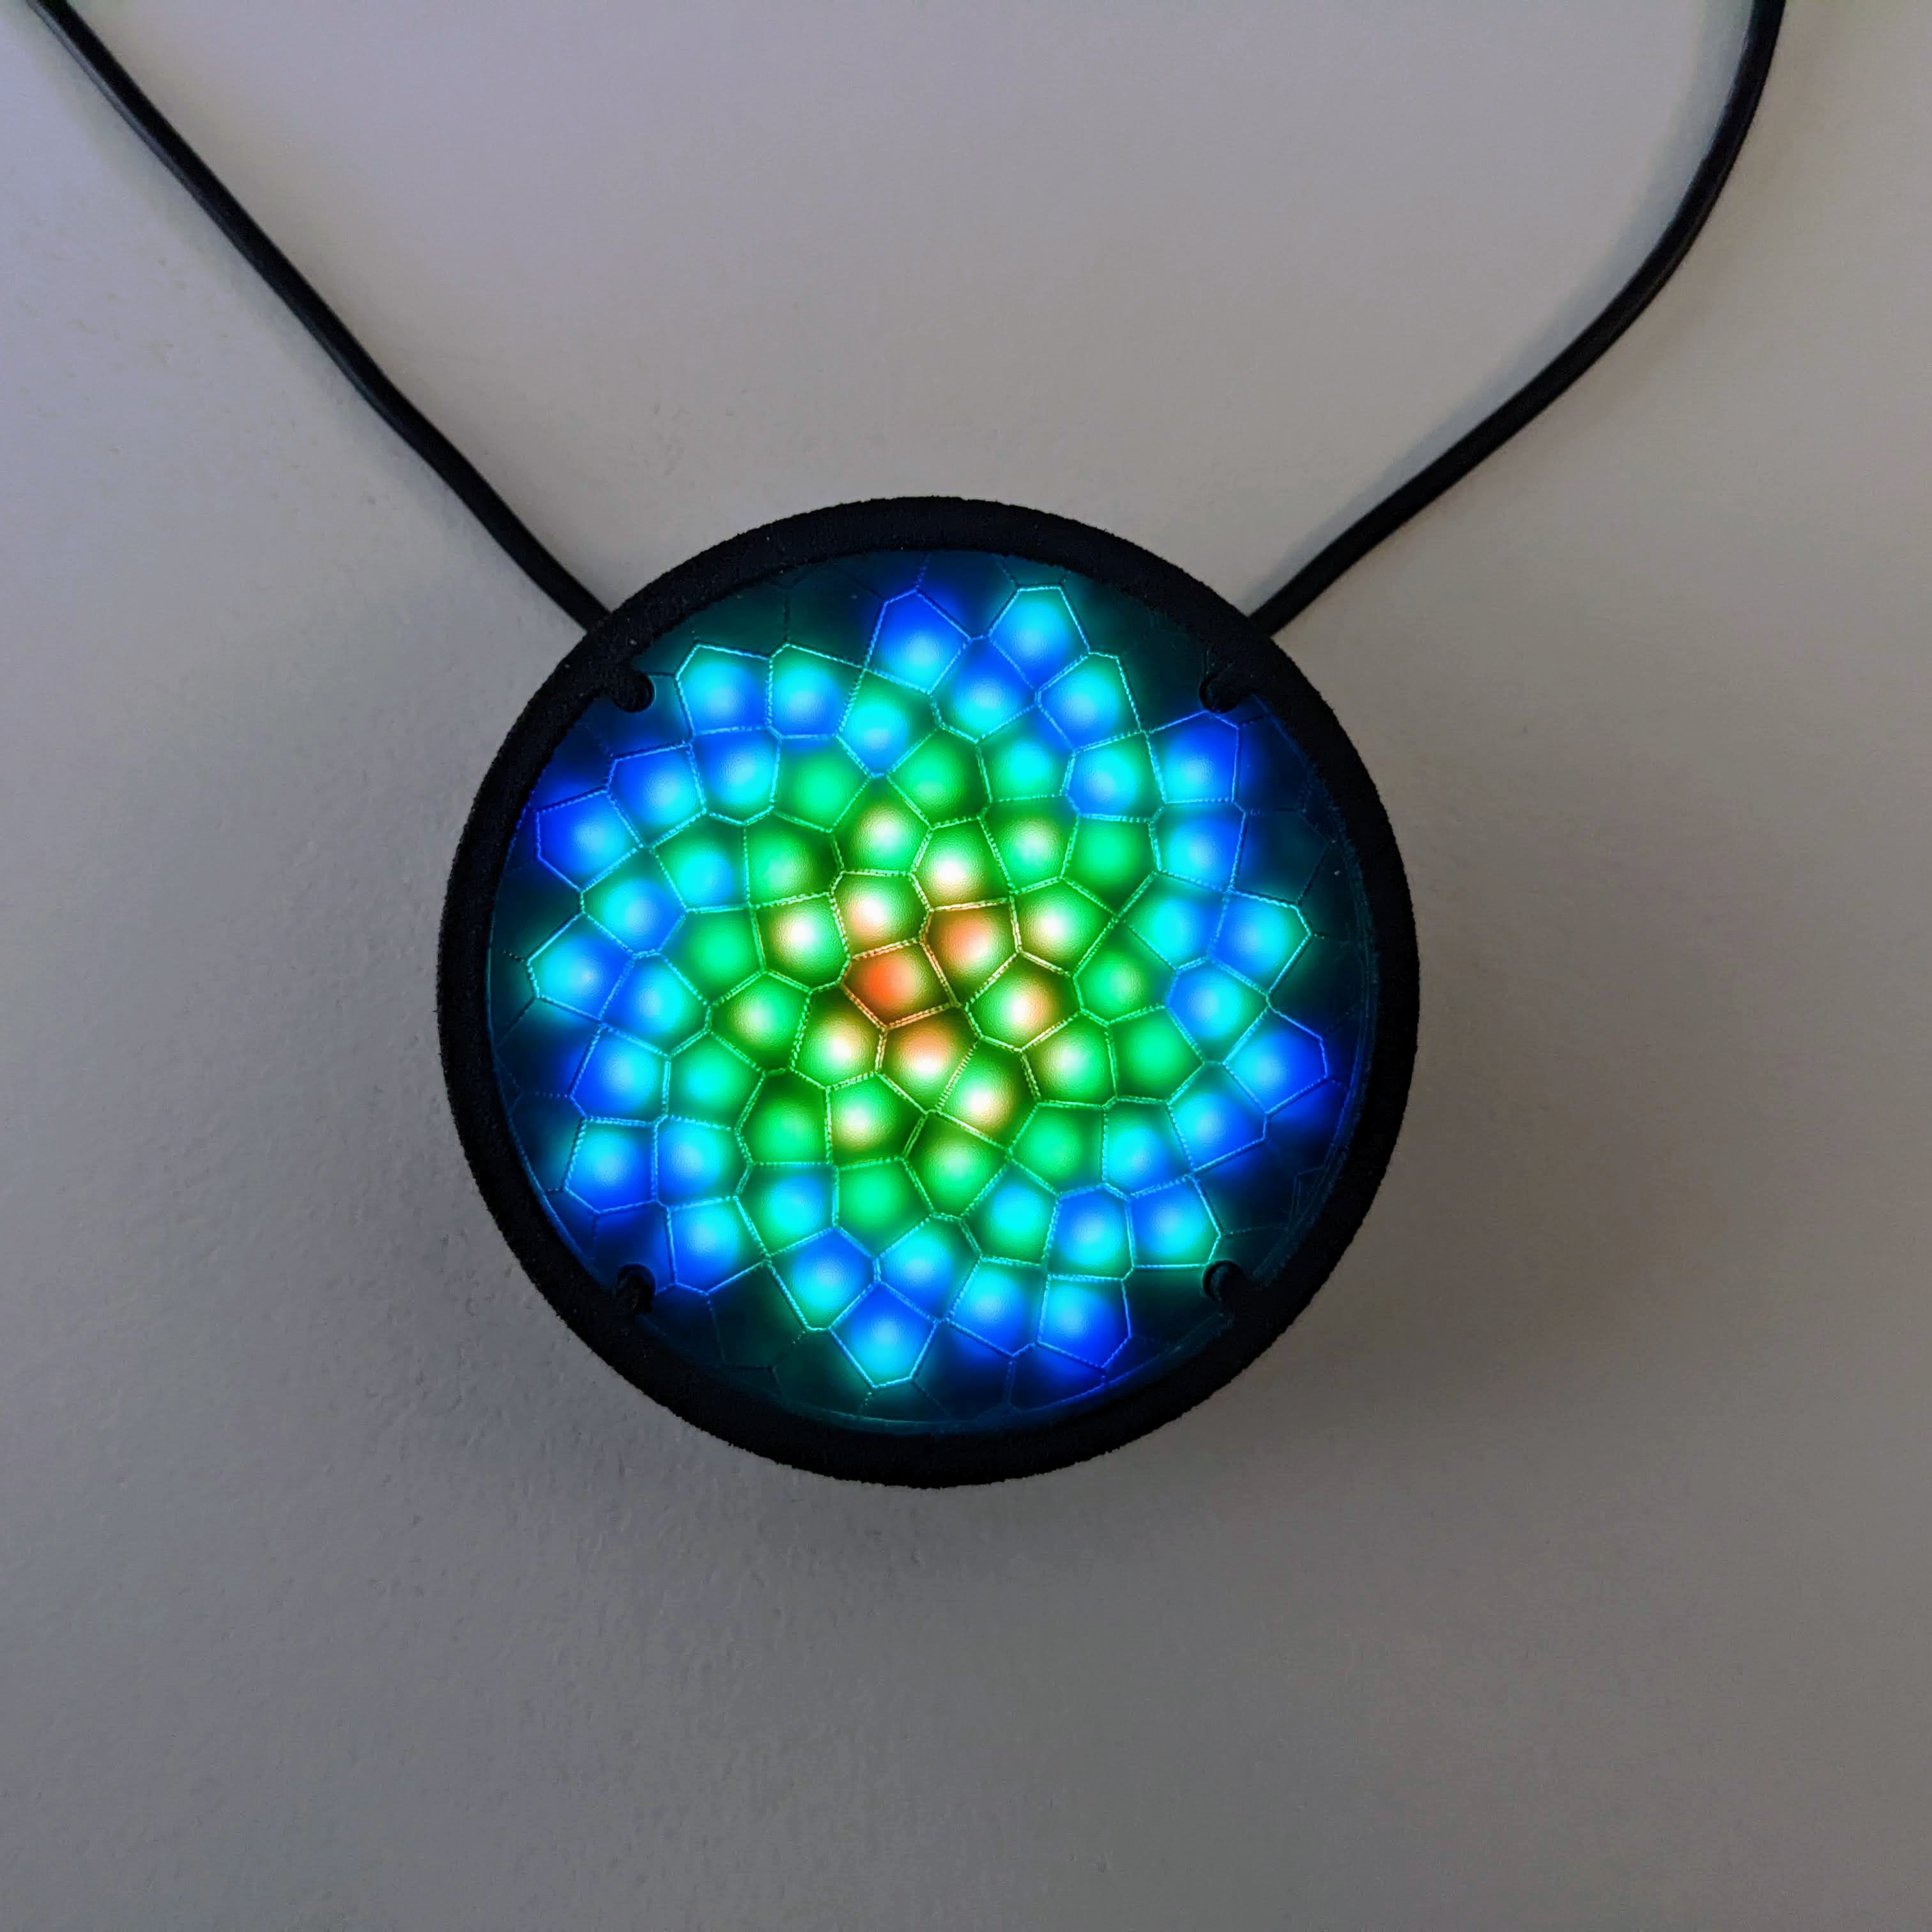
Notice we’re only getting half of the rainbow, from red to yellow, green, and blue? That’s because the radius is only half of the circle. Multiply by 2 to get the full circular rainbow:
h = hypot(x - .5, y - .5) * 2
Make it move by adding time:
export function render2D(index, x, y) {
  t = time(.1)
  h = hypot(x - .5, y - .5) * 2 + t
  hsv(h, 1, 1)
}
Flip the direction and make it move outward by subtracting time:
h = hypot(x - .5, y - .5) * 2 - t
Experiment by changing any of the numbers in the code with different values:
- Changing the x and y offsets from .5 will change the center of the circle.
- Changing the scale from 2 will make the individual color bands larger or smaller.
- Changing the time offset from negative to positive will change the direction of the movement (expanding or contracting, inward or outward)
- Remember that changing the time from .1 will make it move slower or faster.
Angle
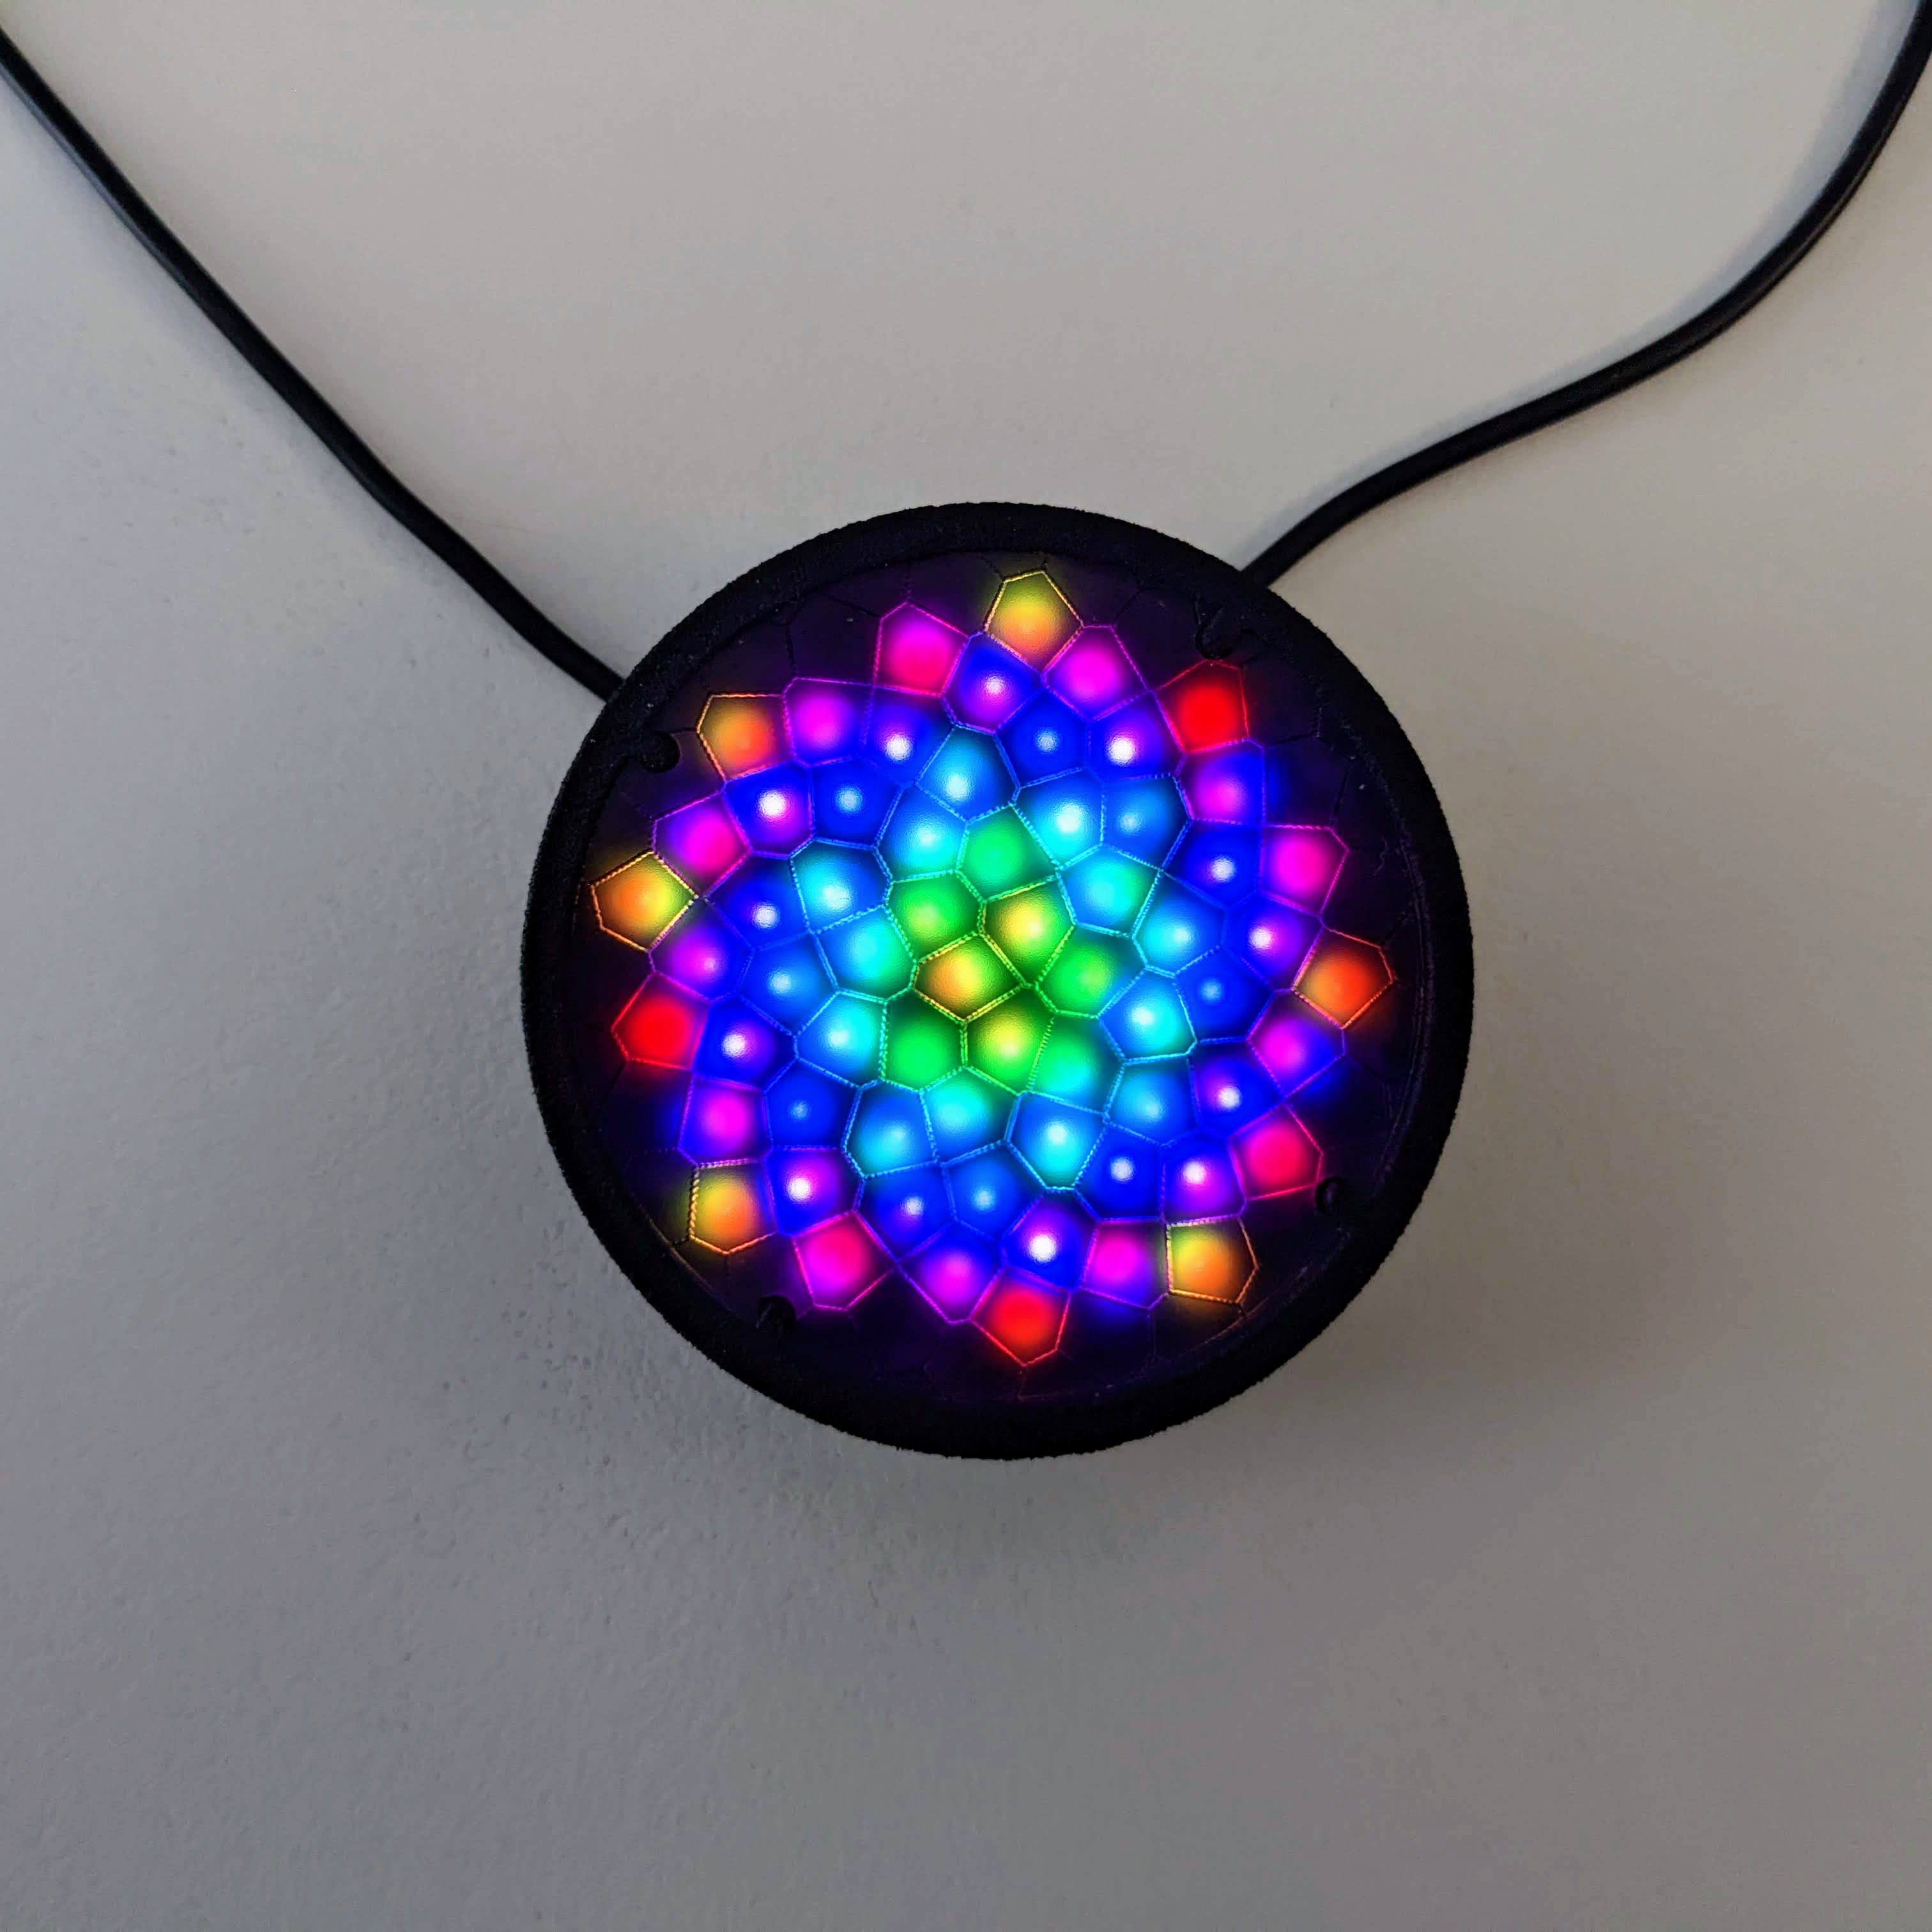
Replace the code with the following:
export function render2D(index, x, y) {
  radians = atan2(y, x)
  degrees = radians / PI / 2
  h = degrees
  hsv(h, 1, 1)
}
And you’ll see a quarter of a circular rainbow.
The atan2 function on line 2 returns the angle (in radians) between the positive x axis and the line to the point (x, y).
Line 2 converts the radians to degrees, ranging from 0 to 1 (instead of 0 to 360).
Let’s move it to the center, by changing line 3 to offset it (like we did for the radius example):
radians = atan2(y - .5, x - .5)
Make it rotate by adding time on line 4:
h = degrees + time(.1)
Here’s the complete code:
export function render2D(index, x, y) {
  radians = atan2(y - .5, x - .5)
  degrees = radians / PI / 2
  h = degrees + time(.1)
  hsv(h, 1, 1)
}
Note that this angular rainbow is different than where we started, using the pixels’ index, which zig-zags back and forth, inward and outward, in one direction around the display. And with the pixels’ angles, we can rotate the rainbow in any direction.
Next Steps
Congratulations! You made it to the end, through the trigonometry section!
Next steps:
-
Keep experimenting by changing the code above! You can’t crash the Pixelblaze. The pixels will just temporarily stop updating, the editor will happily report any errors, and as soon as they’re fixed the pixels will resume updating.
-
You can enter a name and click the save button to save your pattern at any point. Click the
New Patternbutton to keep the current one and start a new one. -
Scroll down in the editor page and there’s a full reference of everything the Pixelblaze supports.
-
Go to the
Patternspage and click theEditbutton to the right of every pattern to view the code for any of the patterns! Or use theClonebutton to edit a copy of the pattern, leaving the current one unchanged. -
If you get stuck, need help, or are unsure how to create the pattern of your dreams, reach out to one of us at any of our social links below.
-
Join the ElectroMage Forum where Pixelblaze users help each other with questions, share amazing patterns, and more!