-
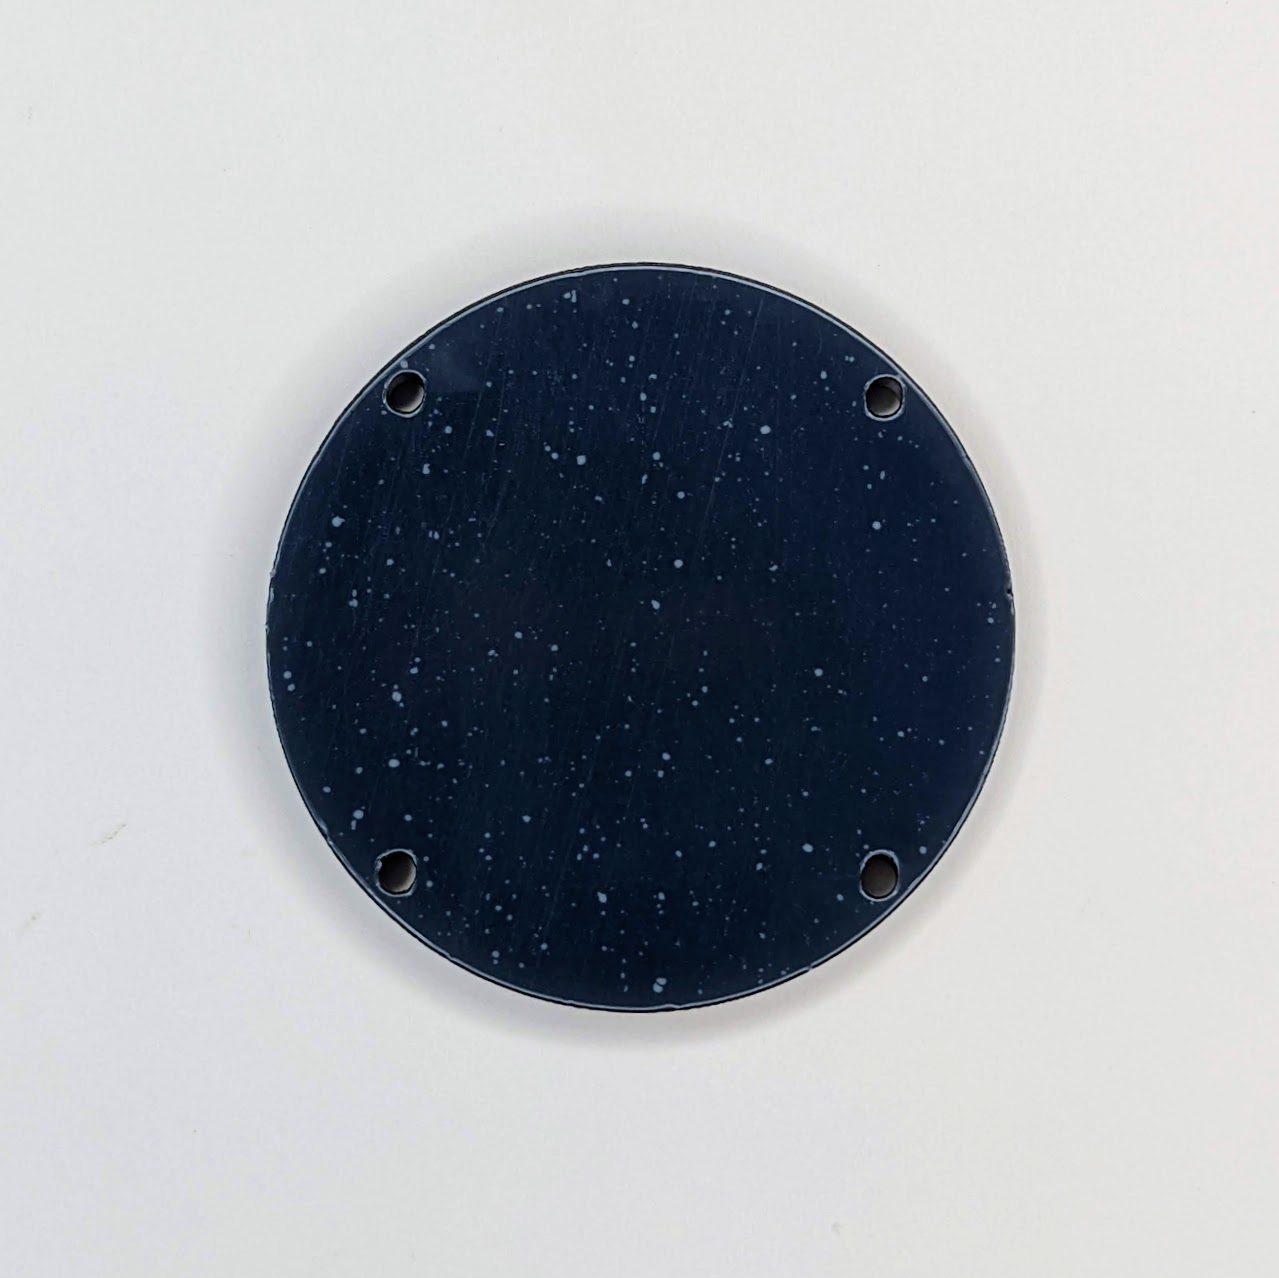
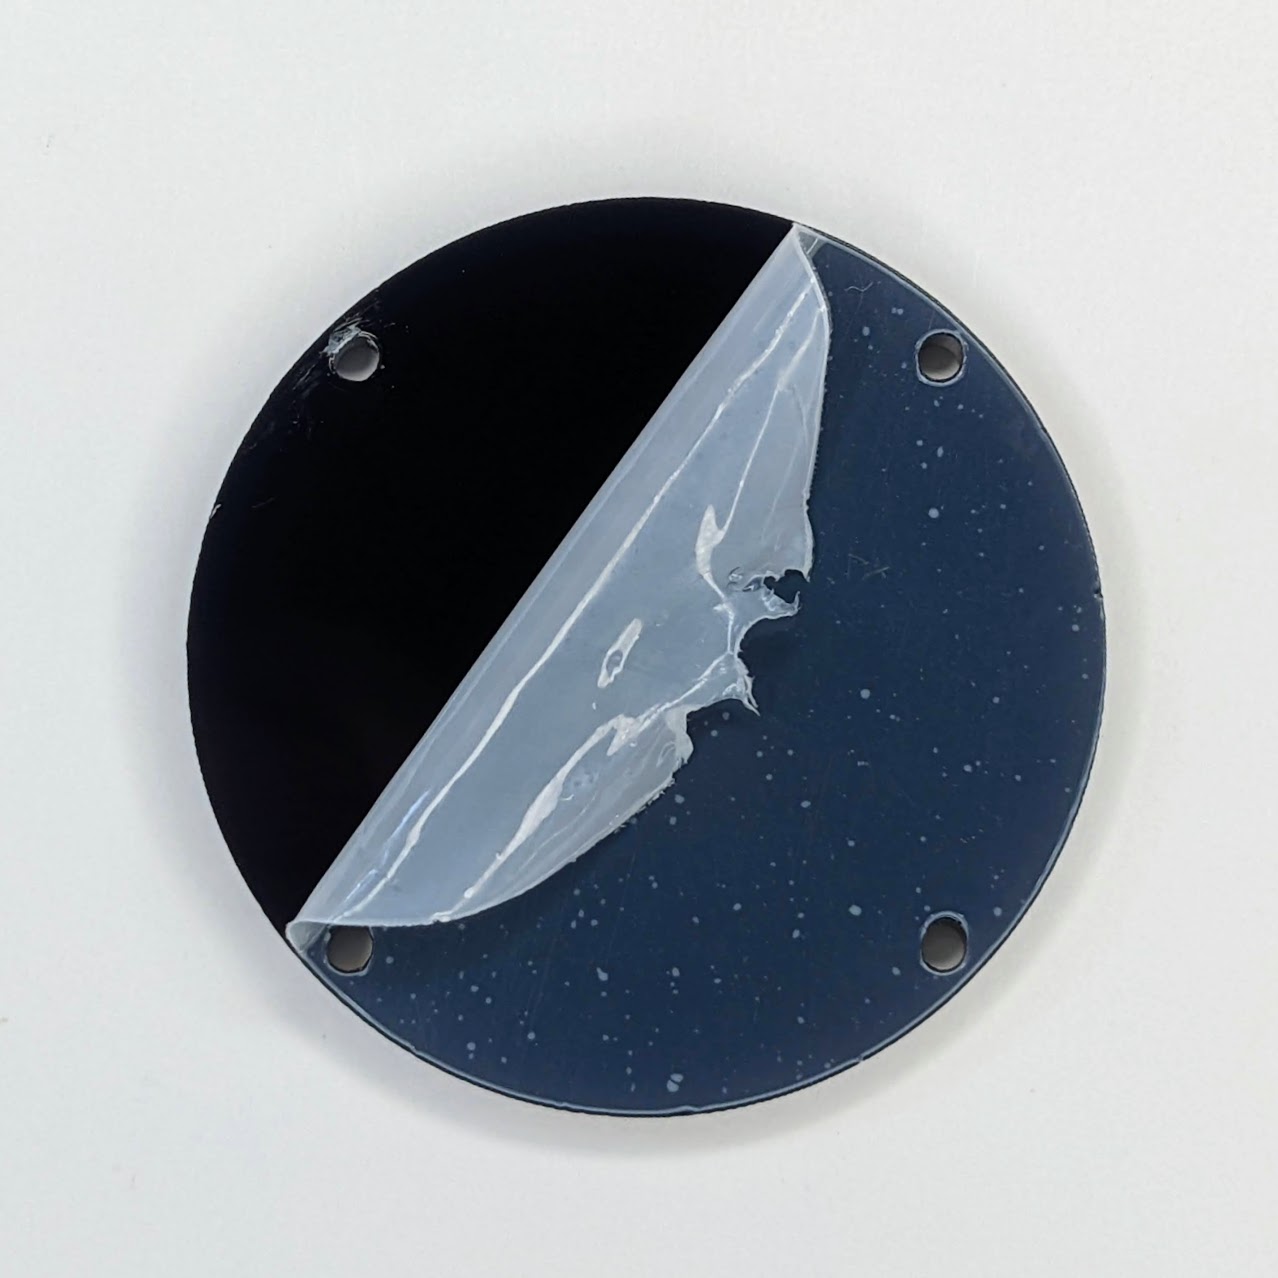
The front black acrylic may still have protective film on one or both sides.
-
Gently remove any protective film before proceeding by scraping the edge with a fingernail, thin plastic card, or plastic scraper. Do not use a metal object, which could scratch the acrylic.
-
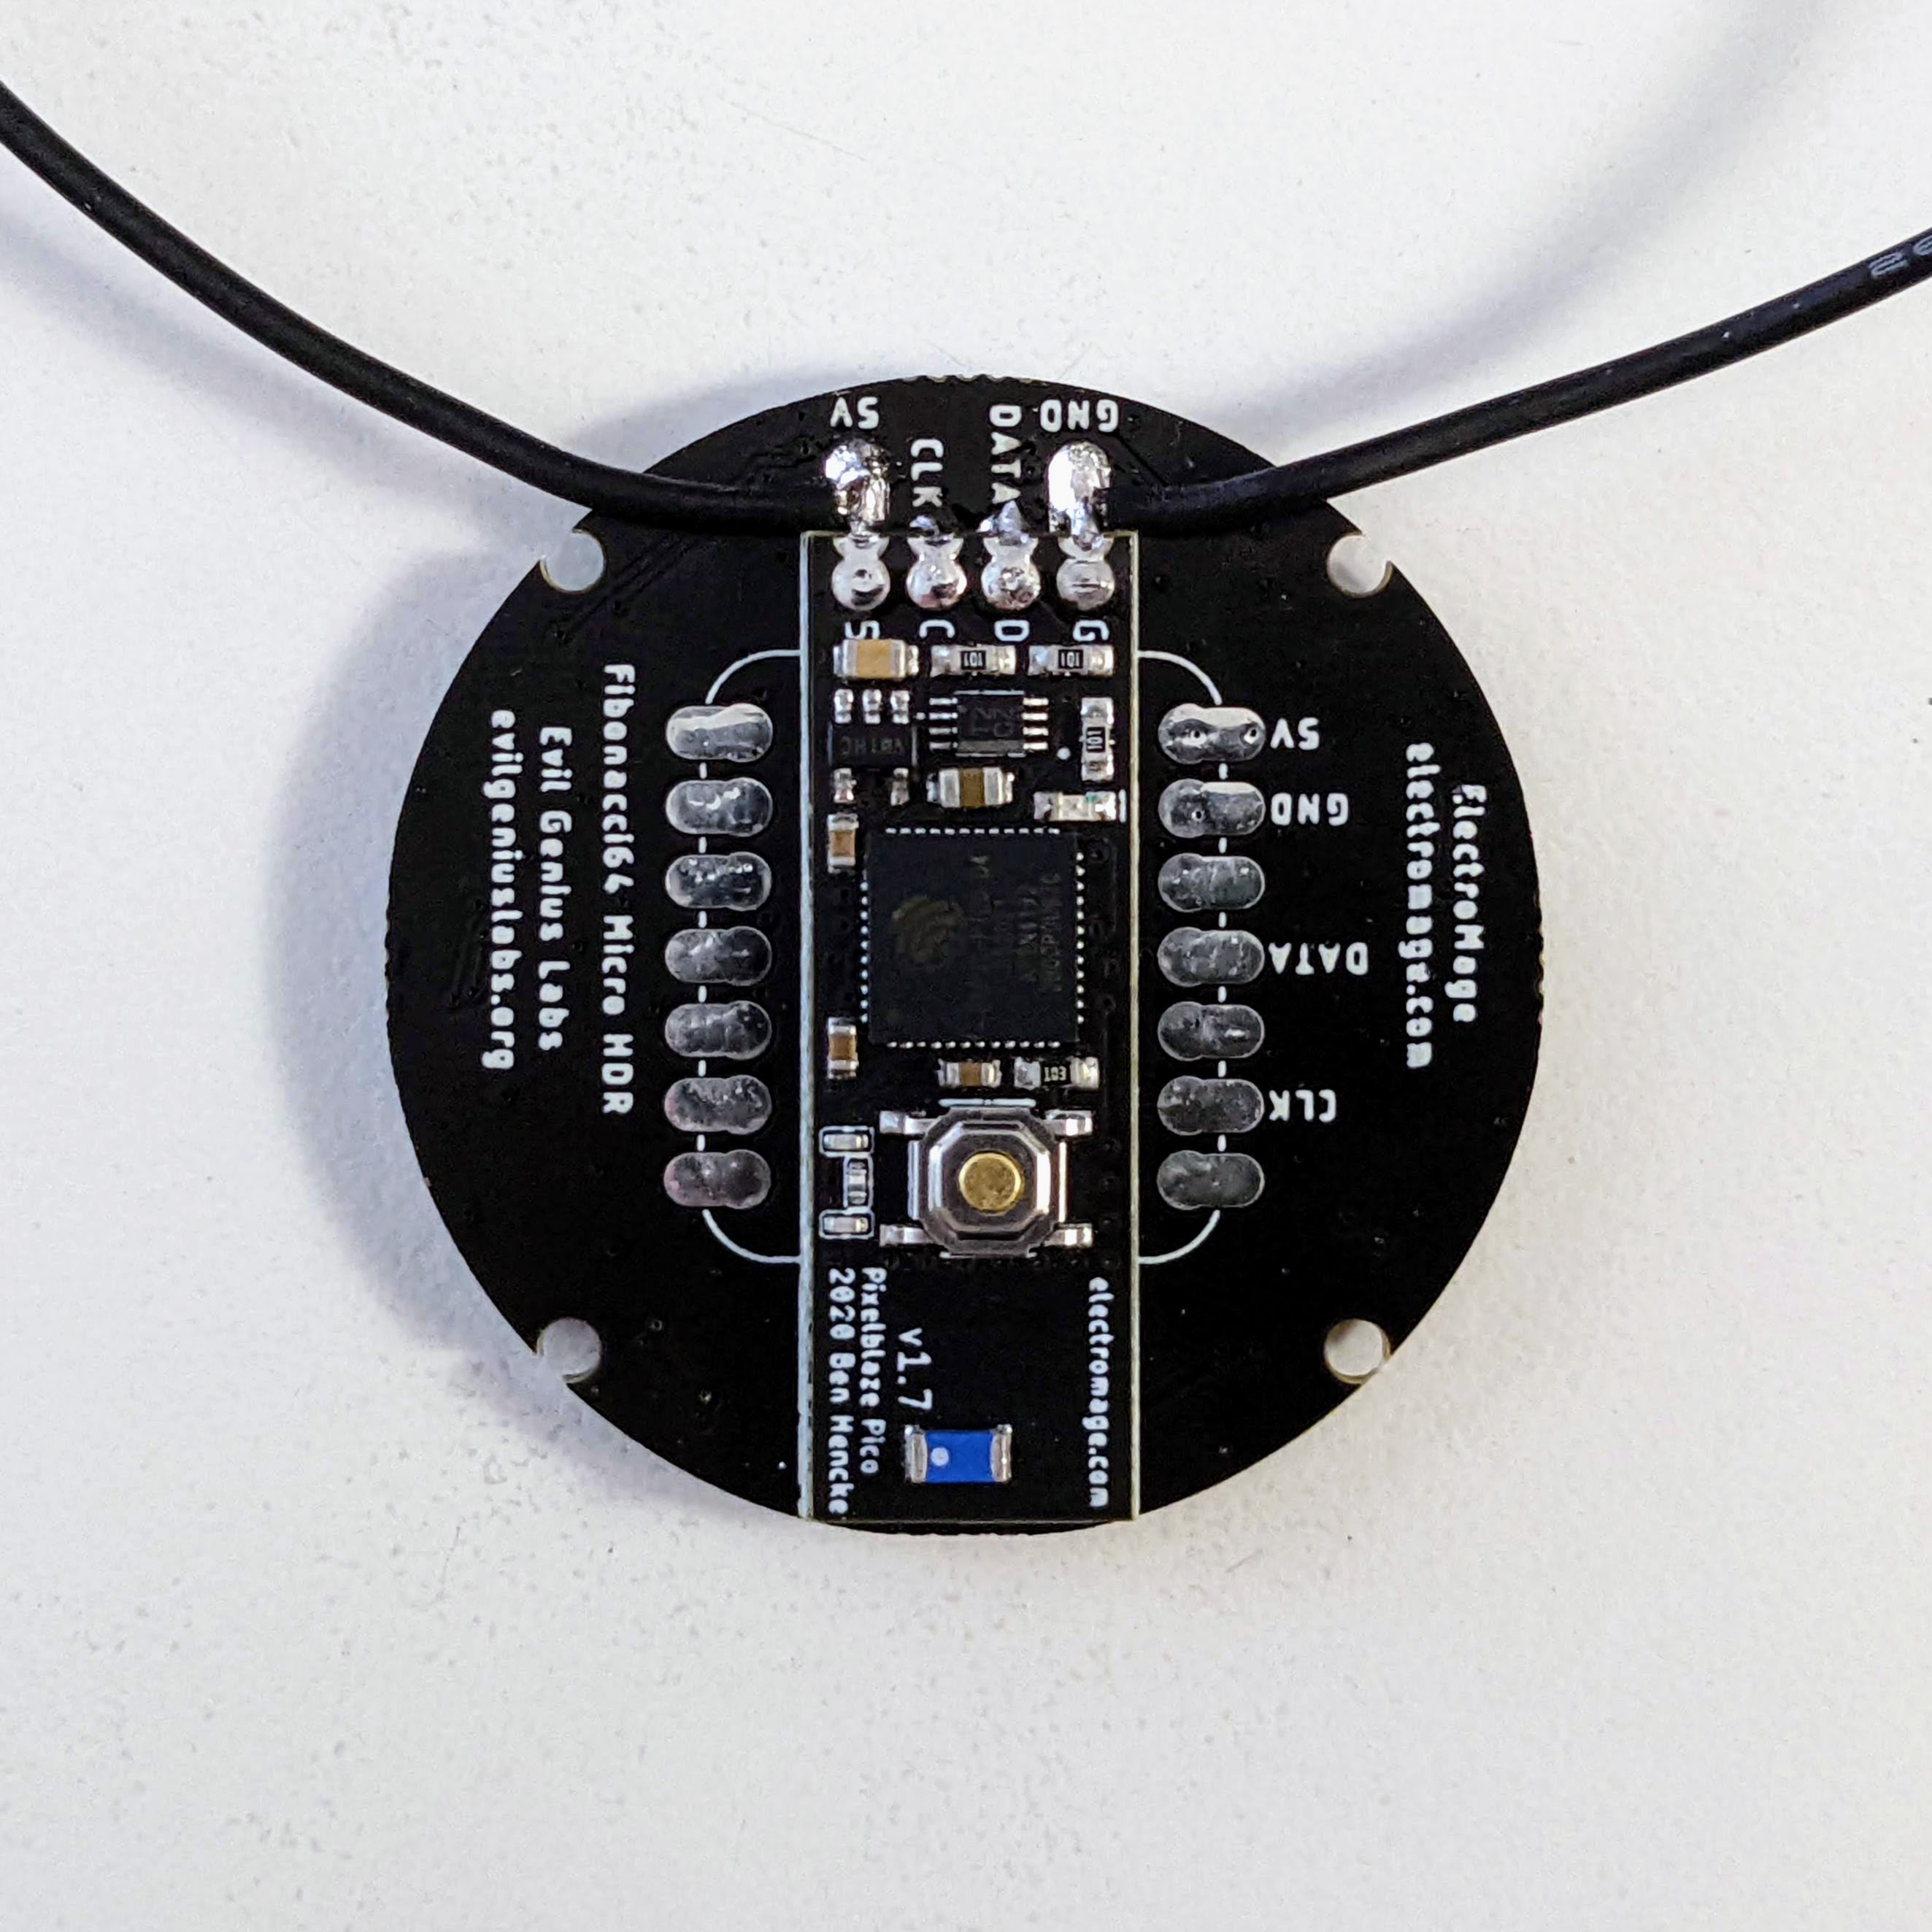
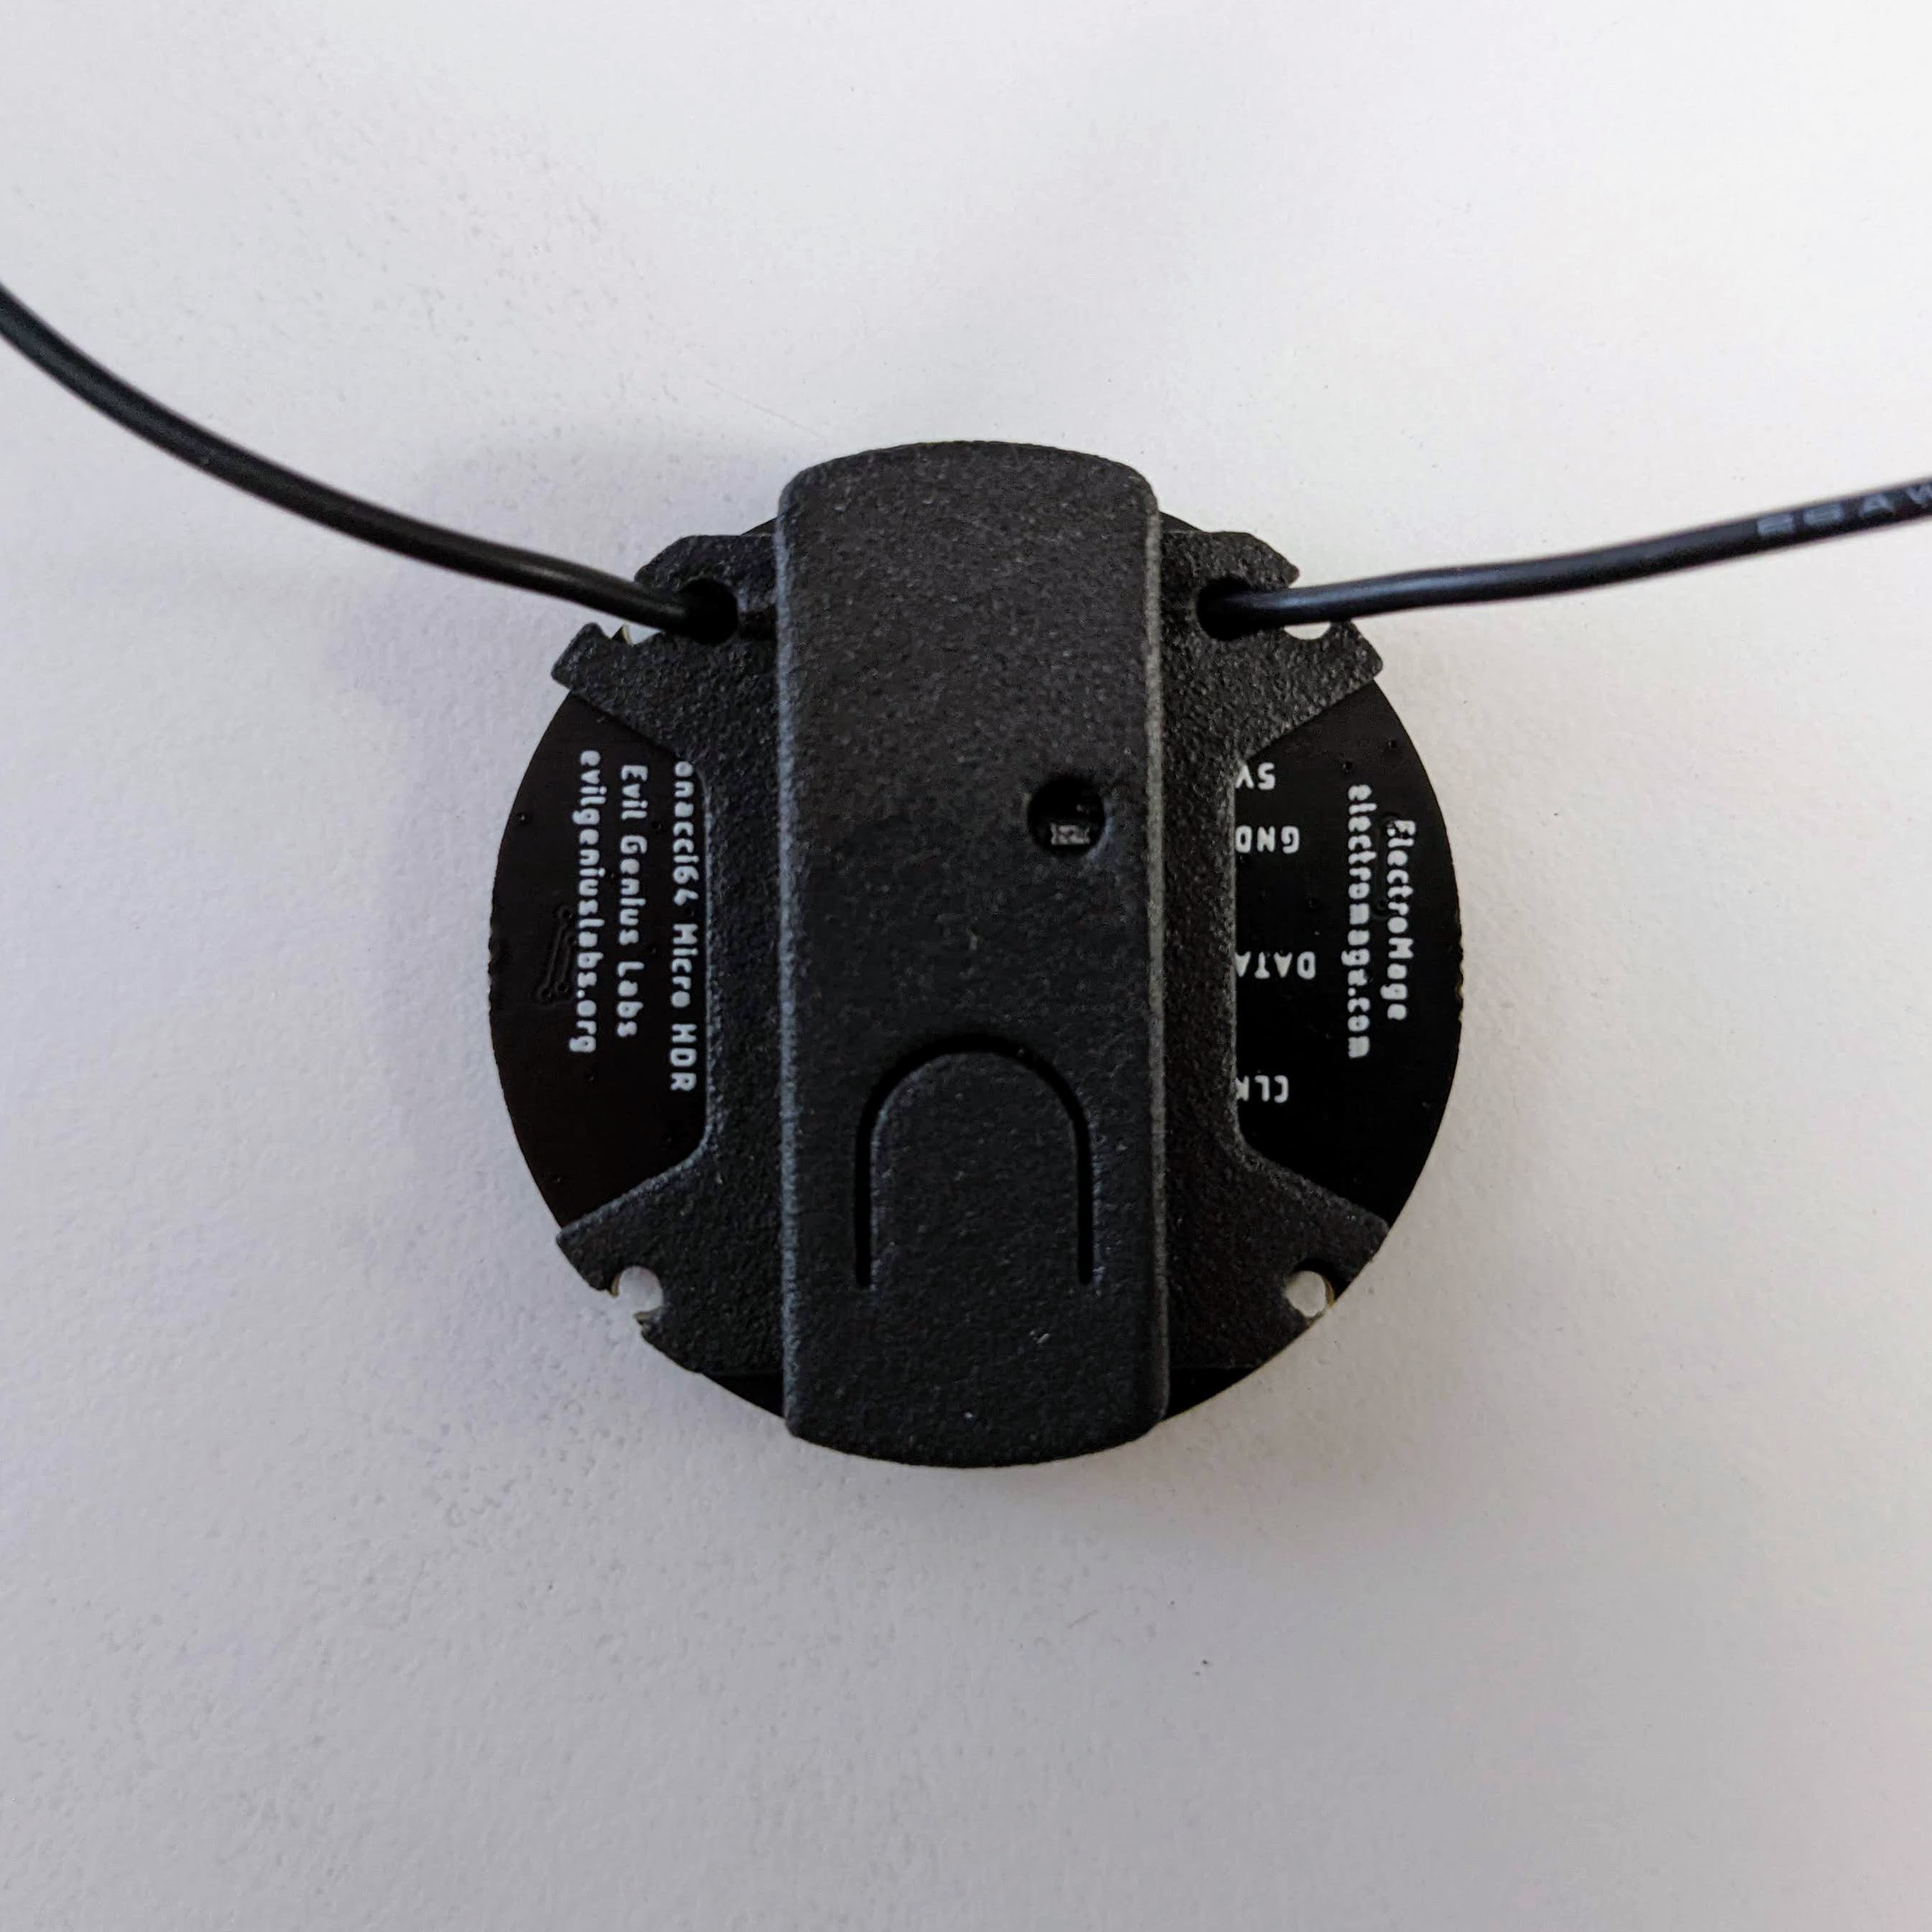
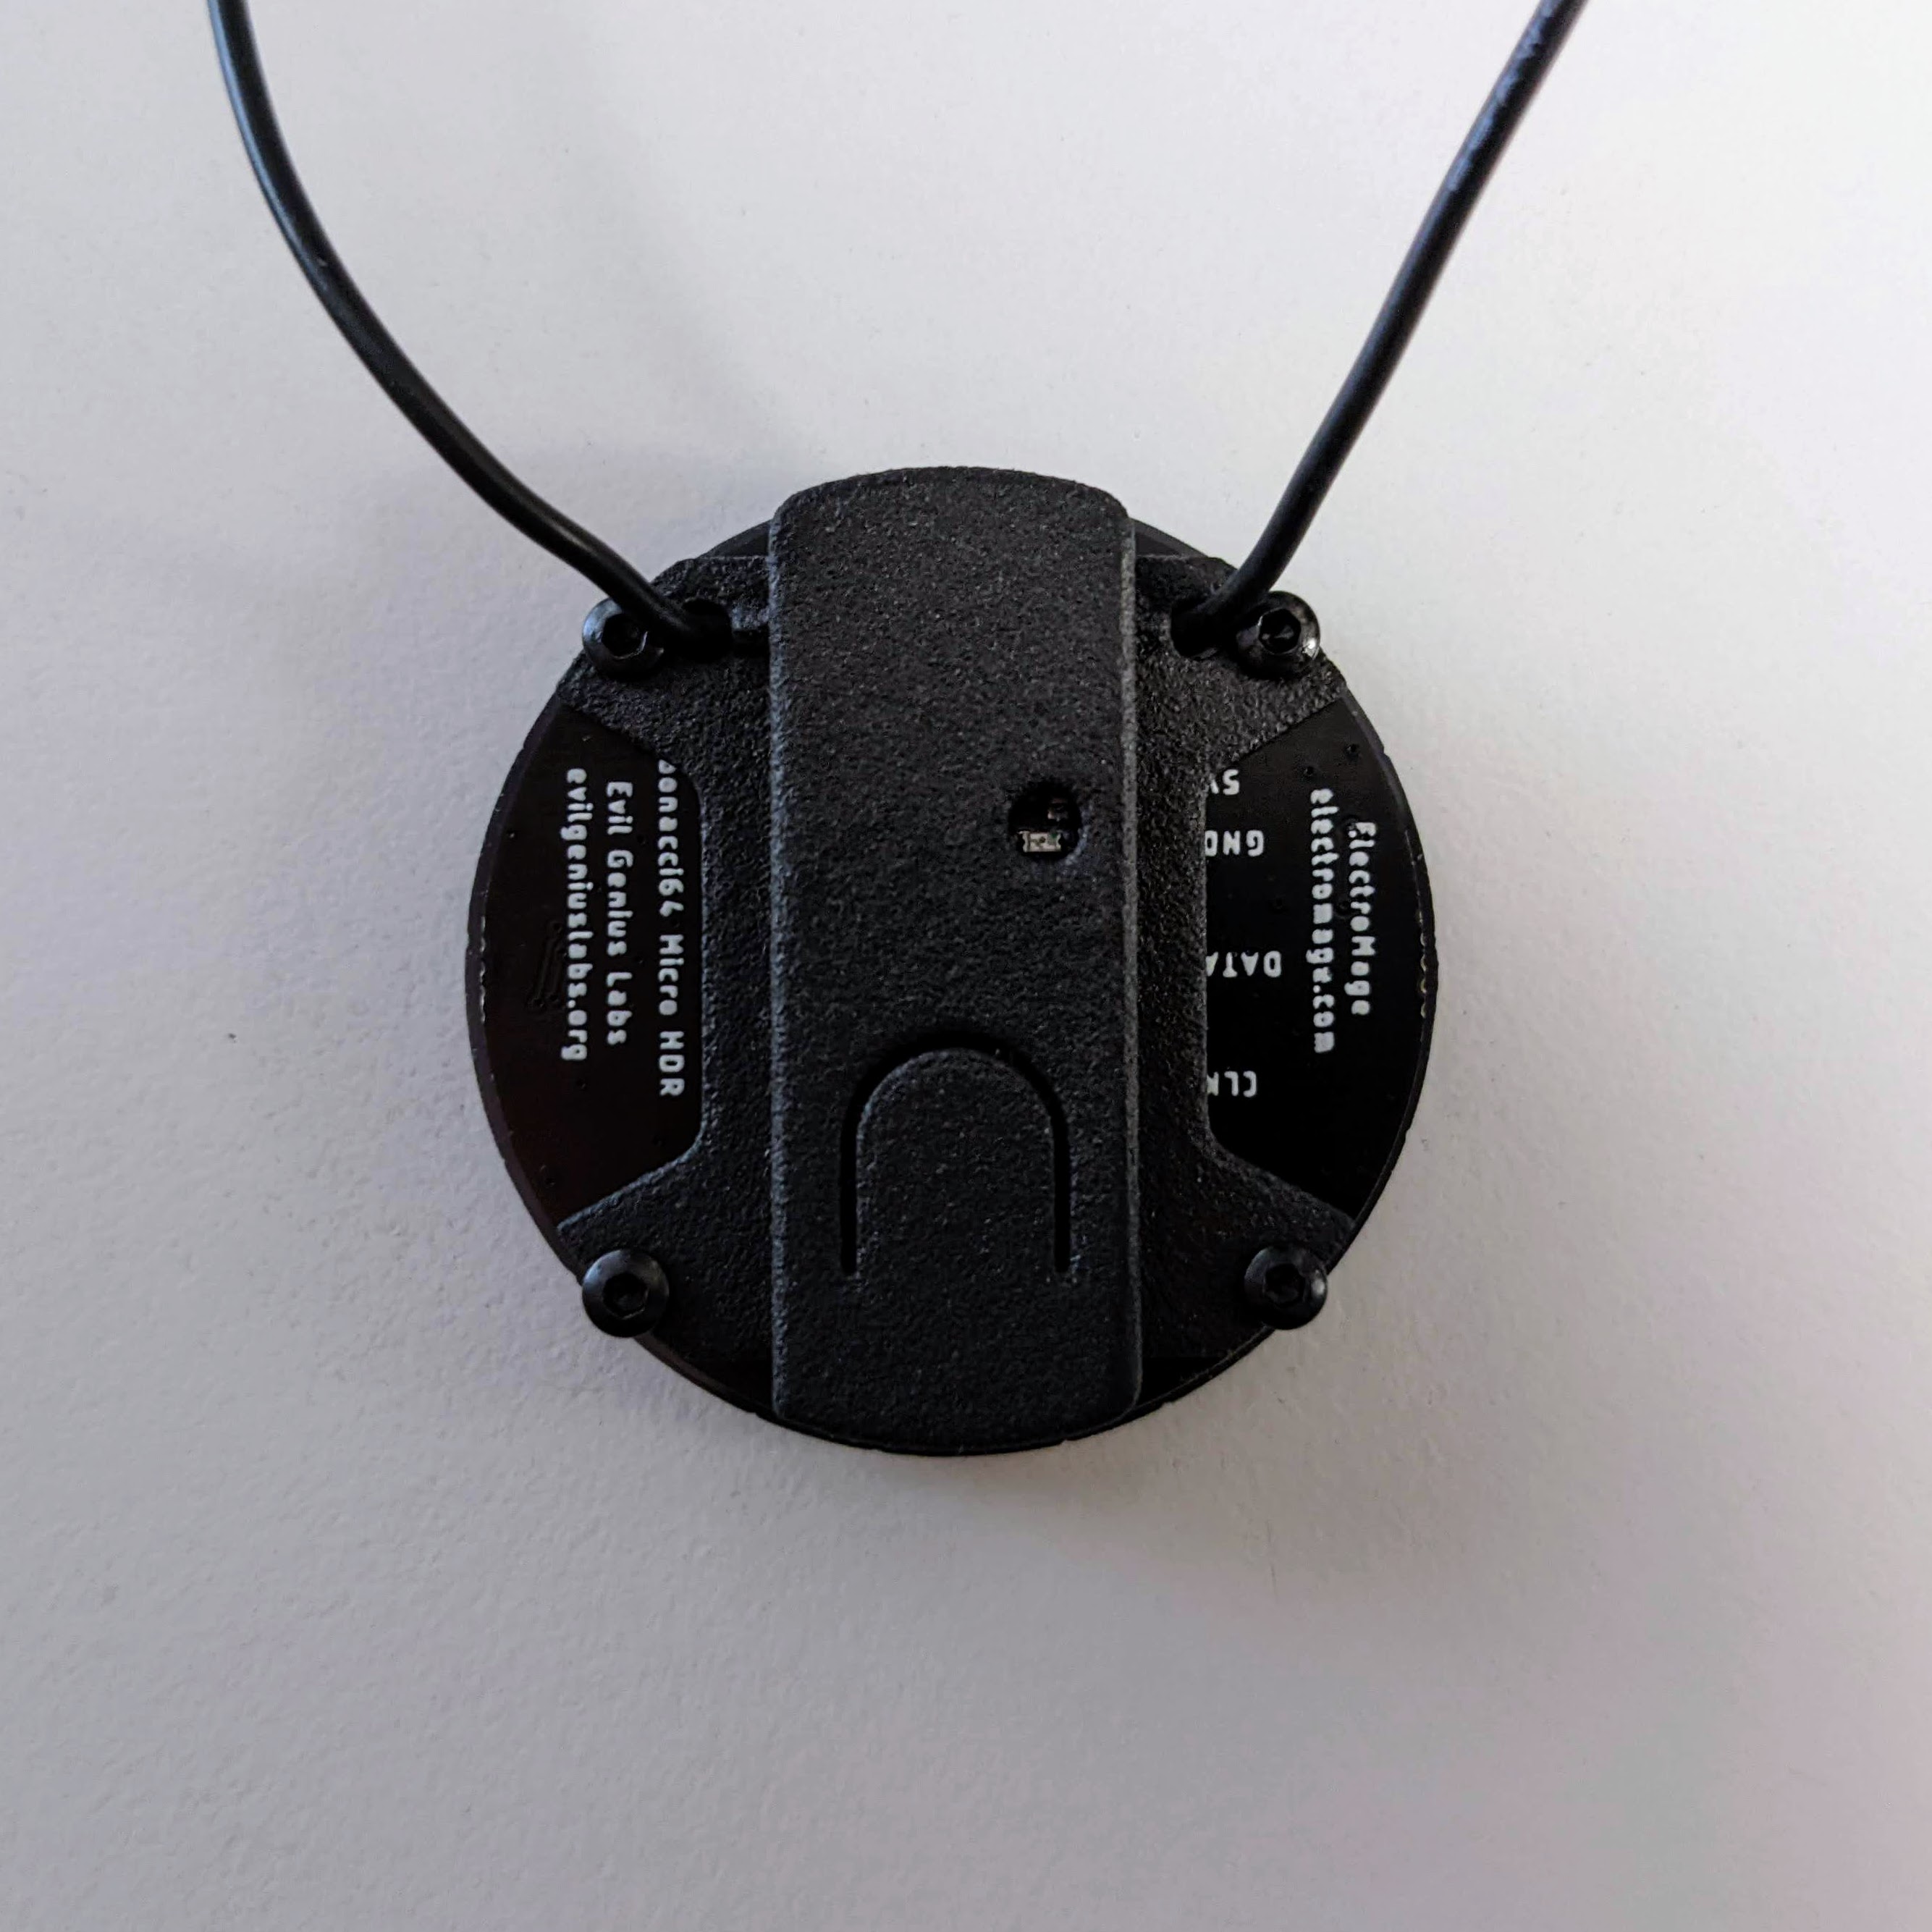
Place the pendant on a flat surface with the back of the PCB facing up. Carefully and gently bend the wires to point towards the the screw holes on the edge of the PCB.
-
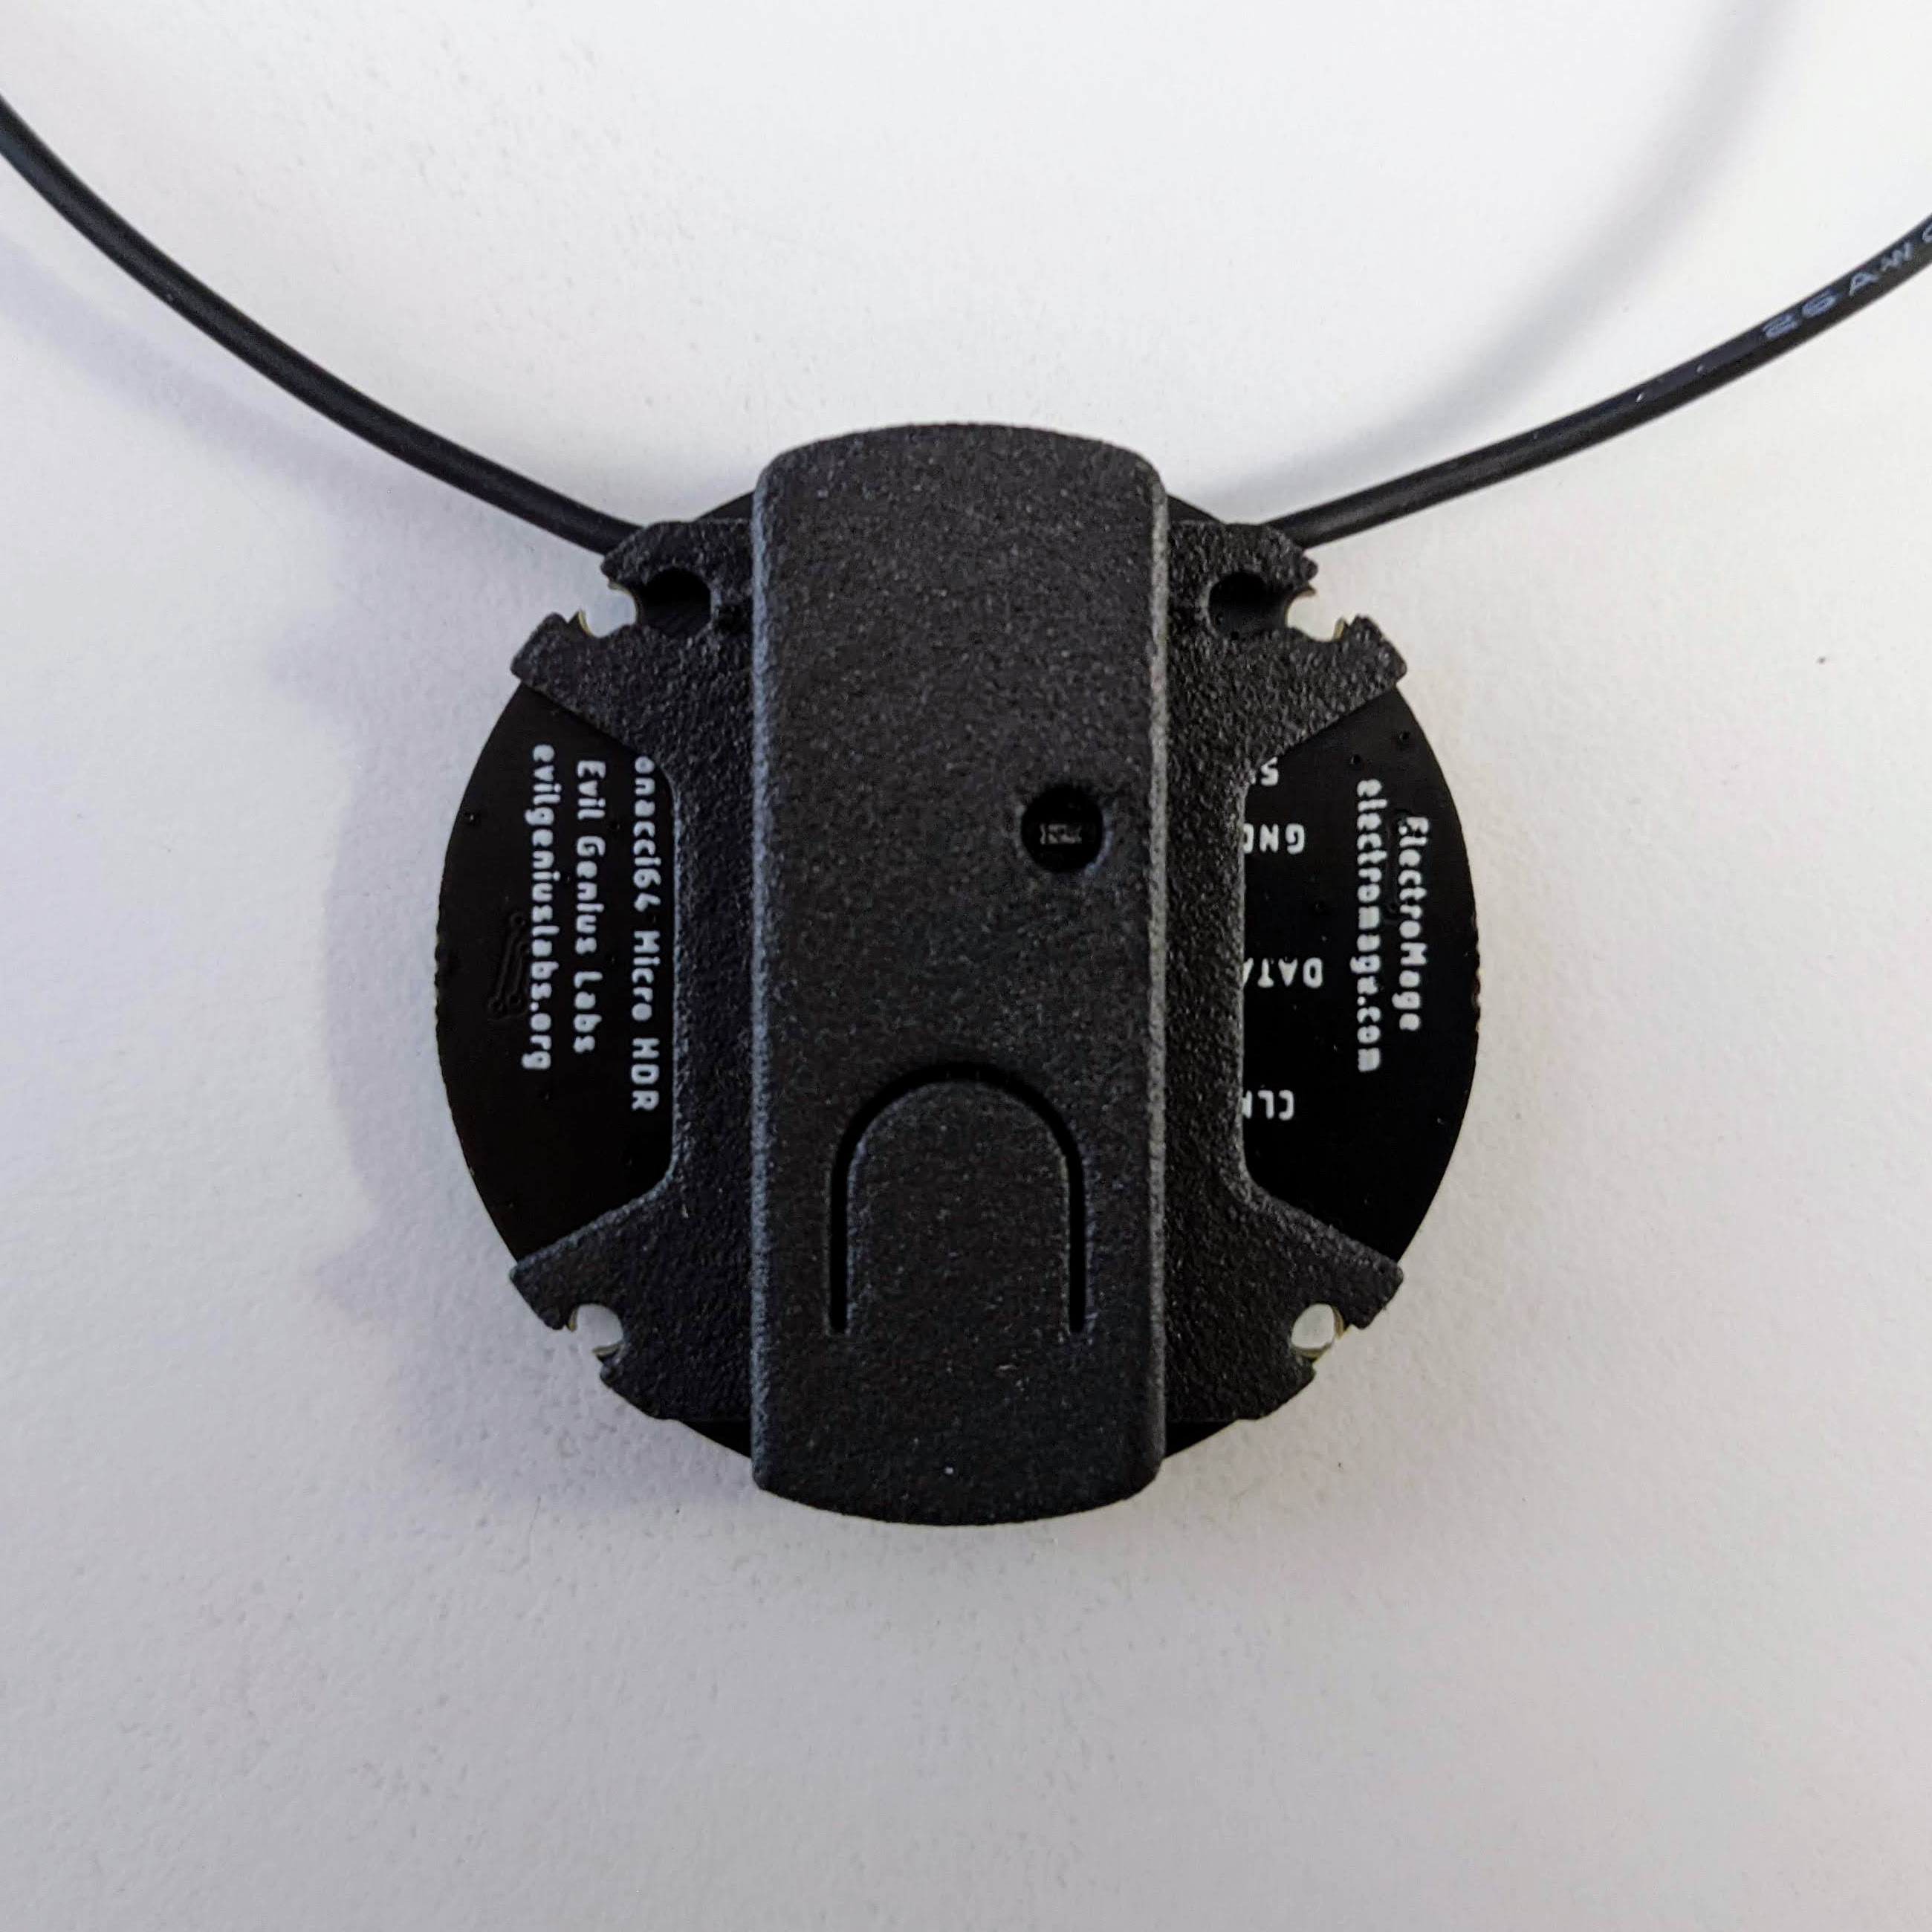
Place the back plastic cover on the back of the PCB, lining up the the holes, with the button tab towards the bottom and the wire holes towards the top.
Do not press it down flat yet.
-
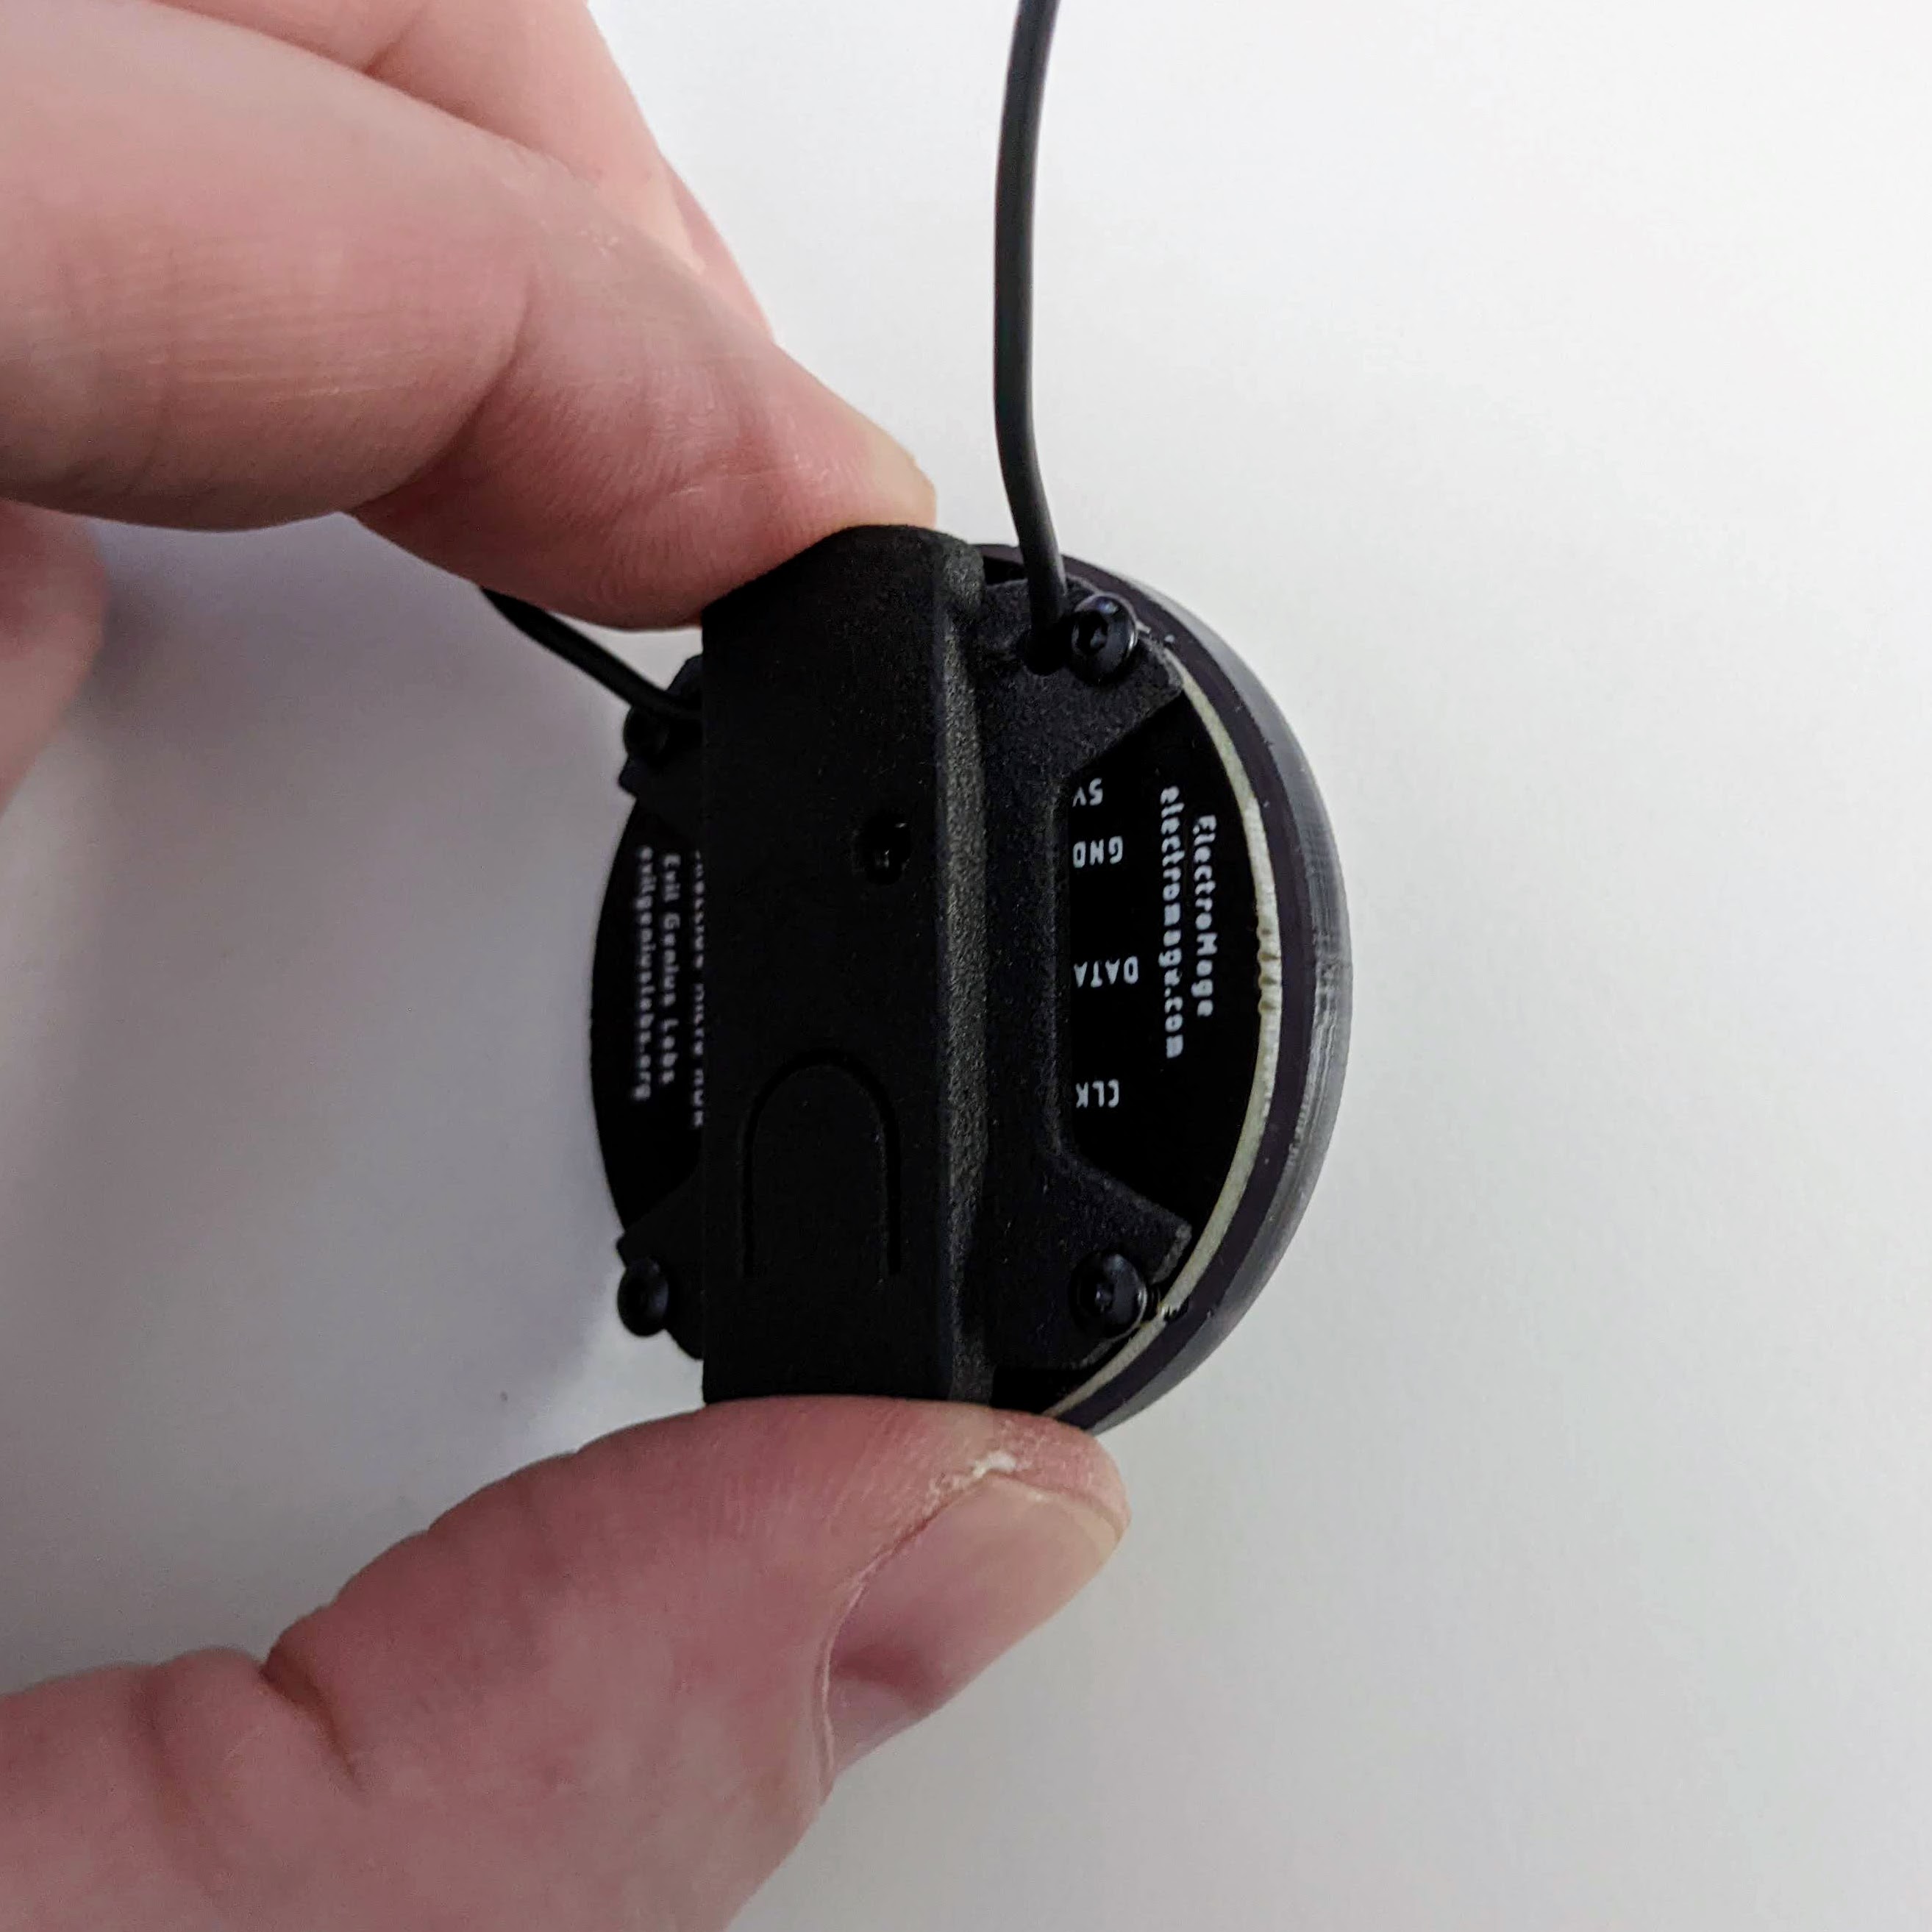
Gently guide the wires through the slots, then up through the holes. Gently press the back cover down until it’s flat against the back of the PCB.
-
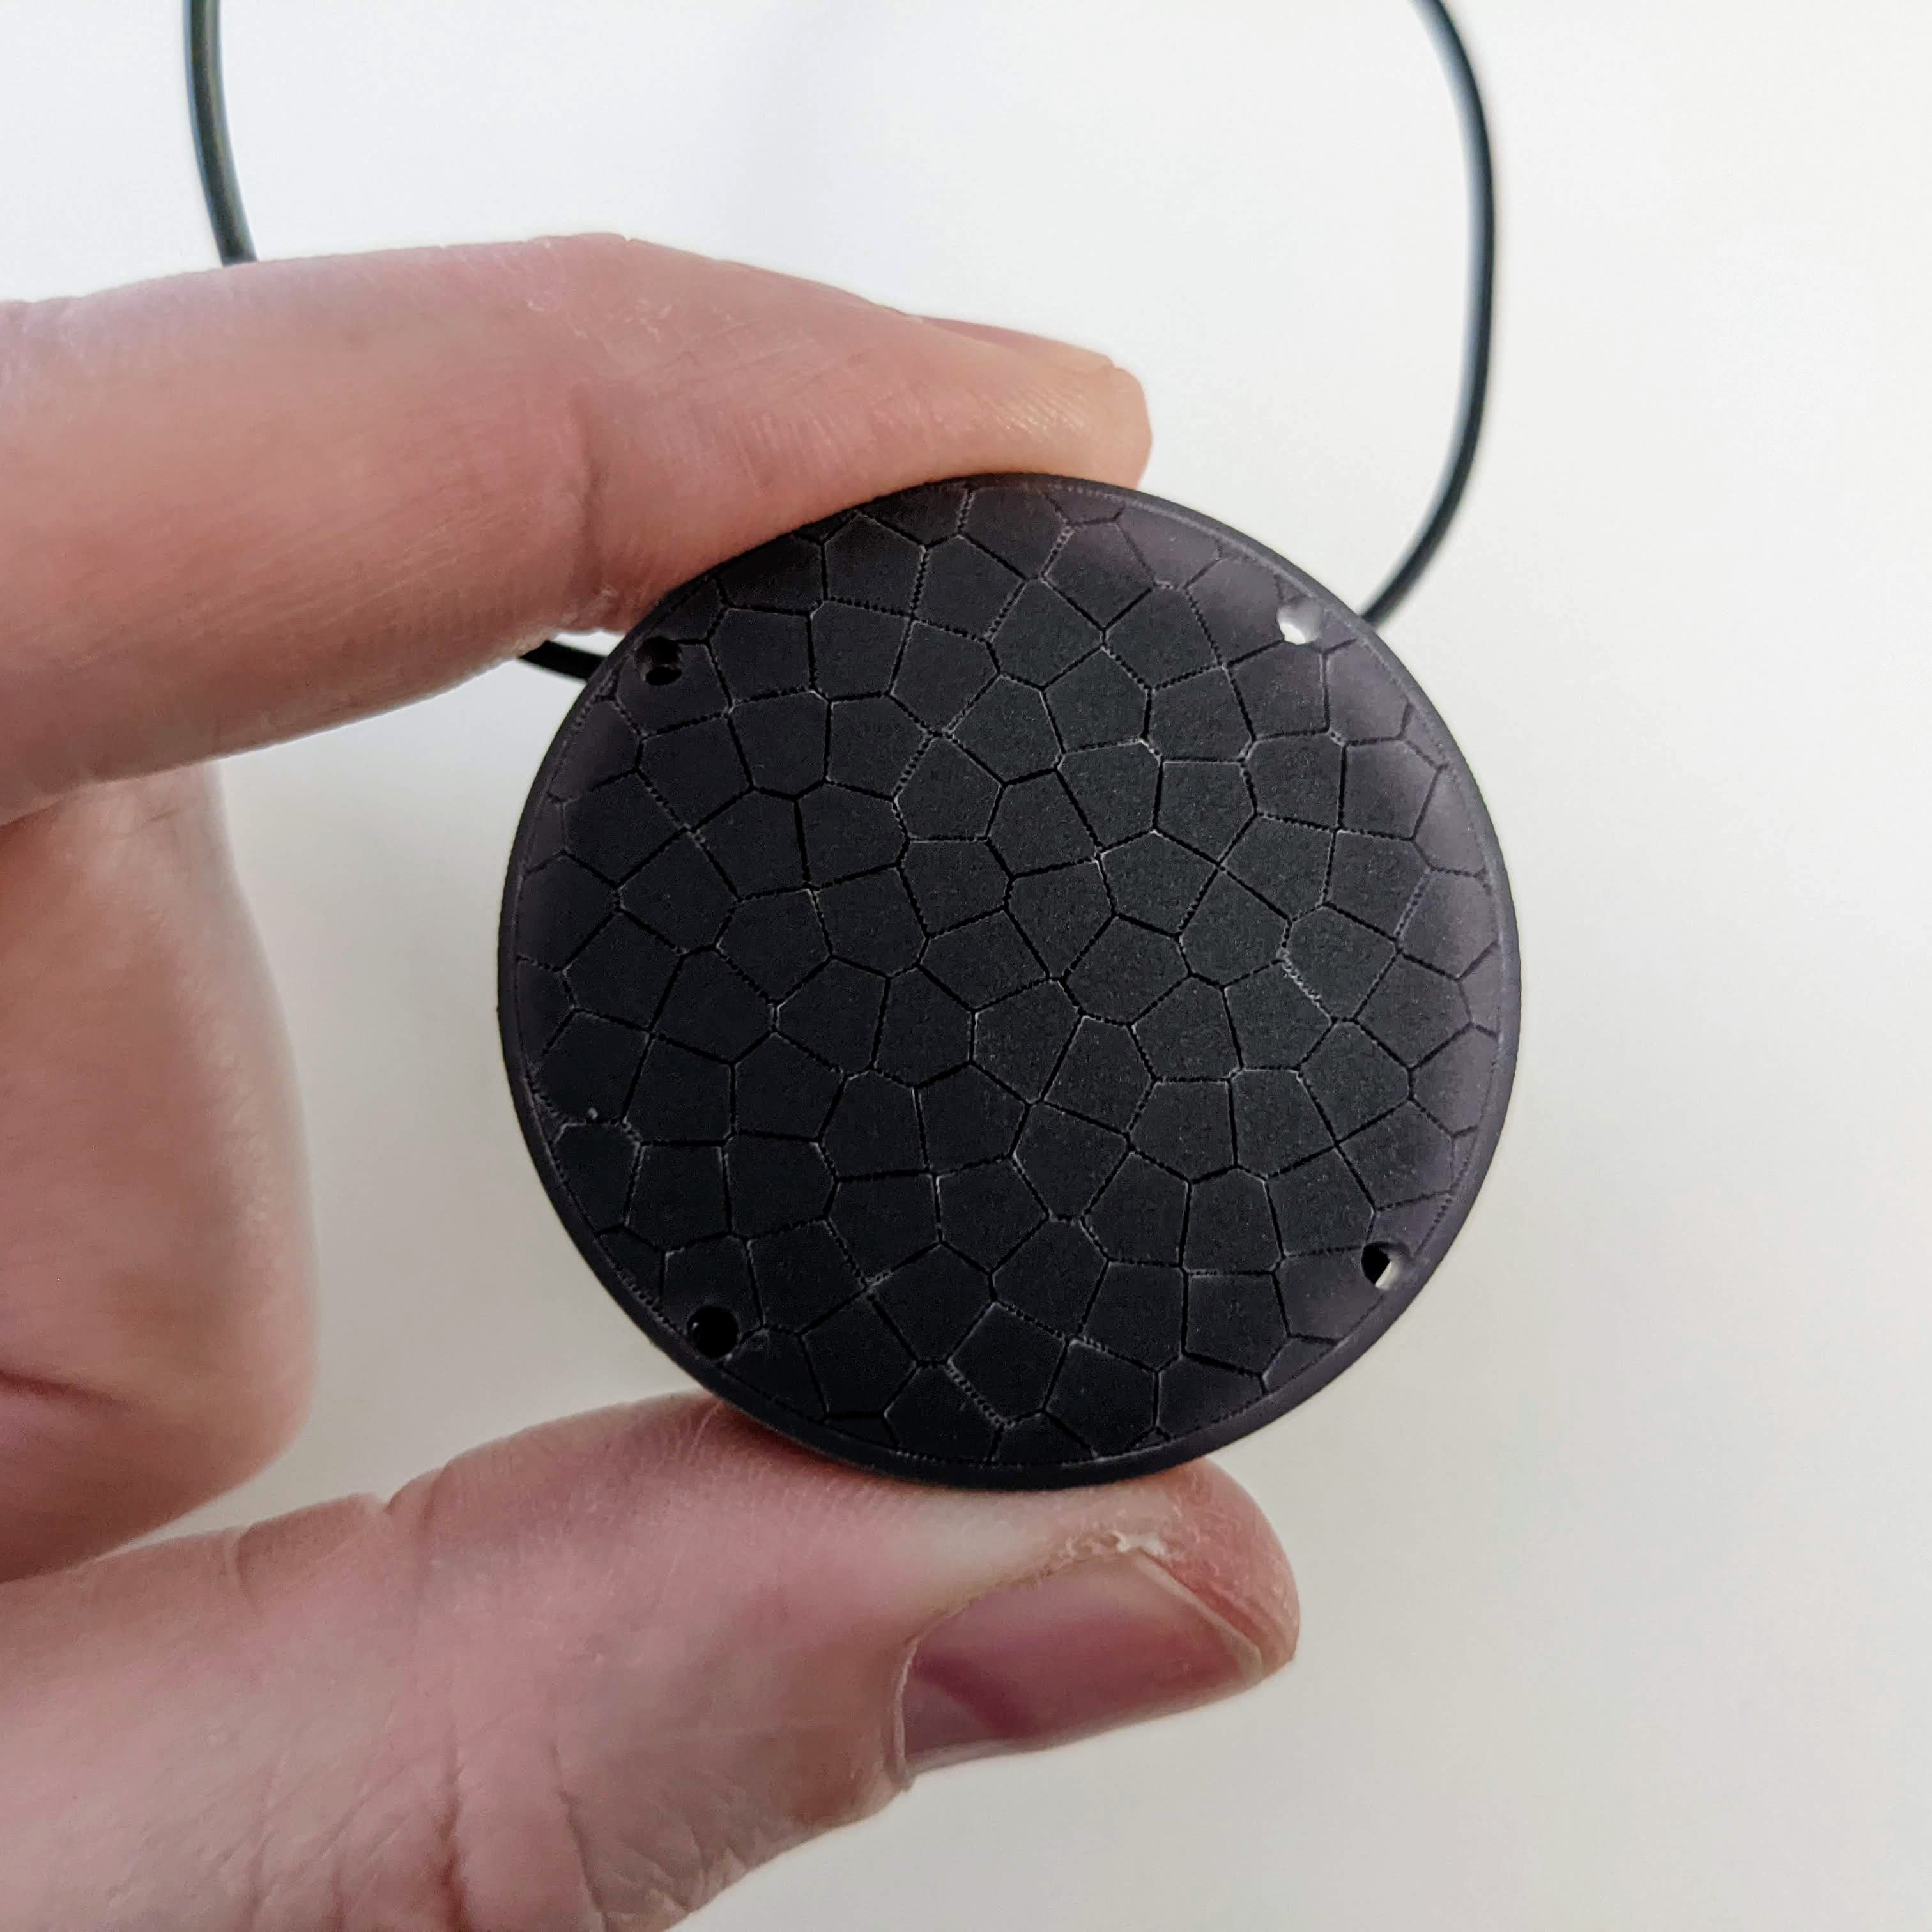
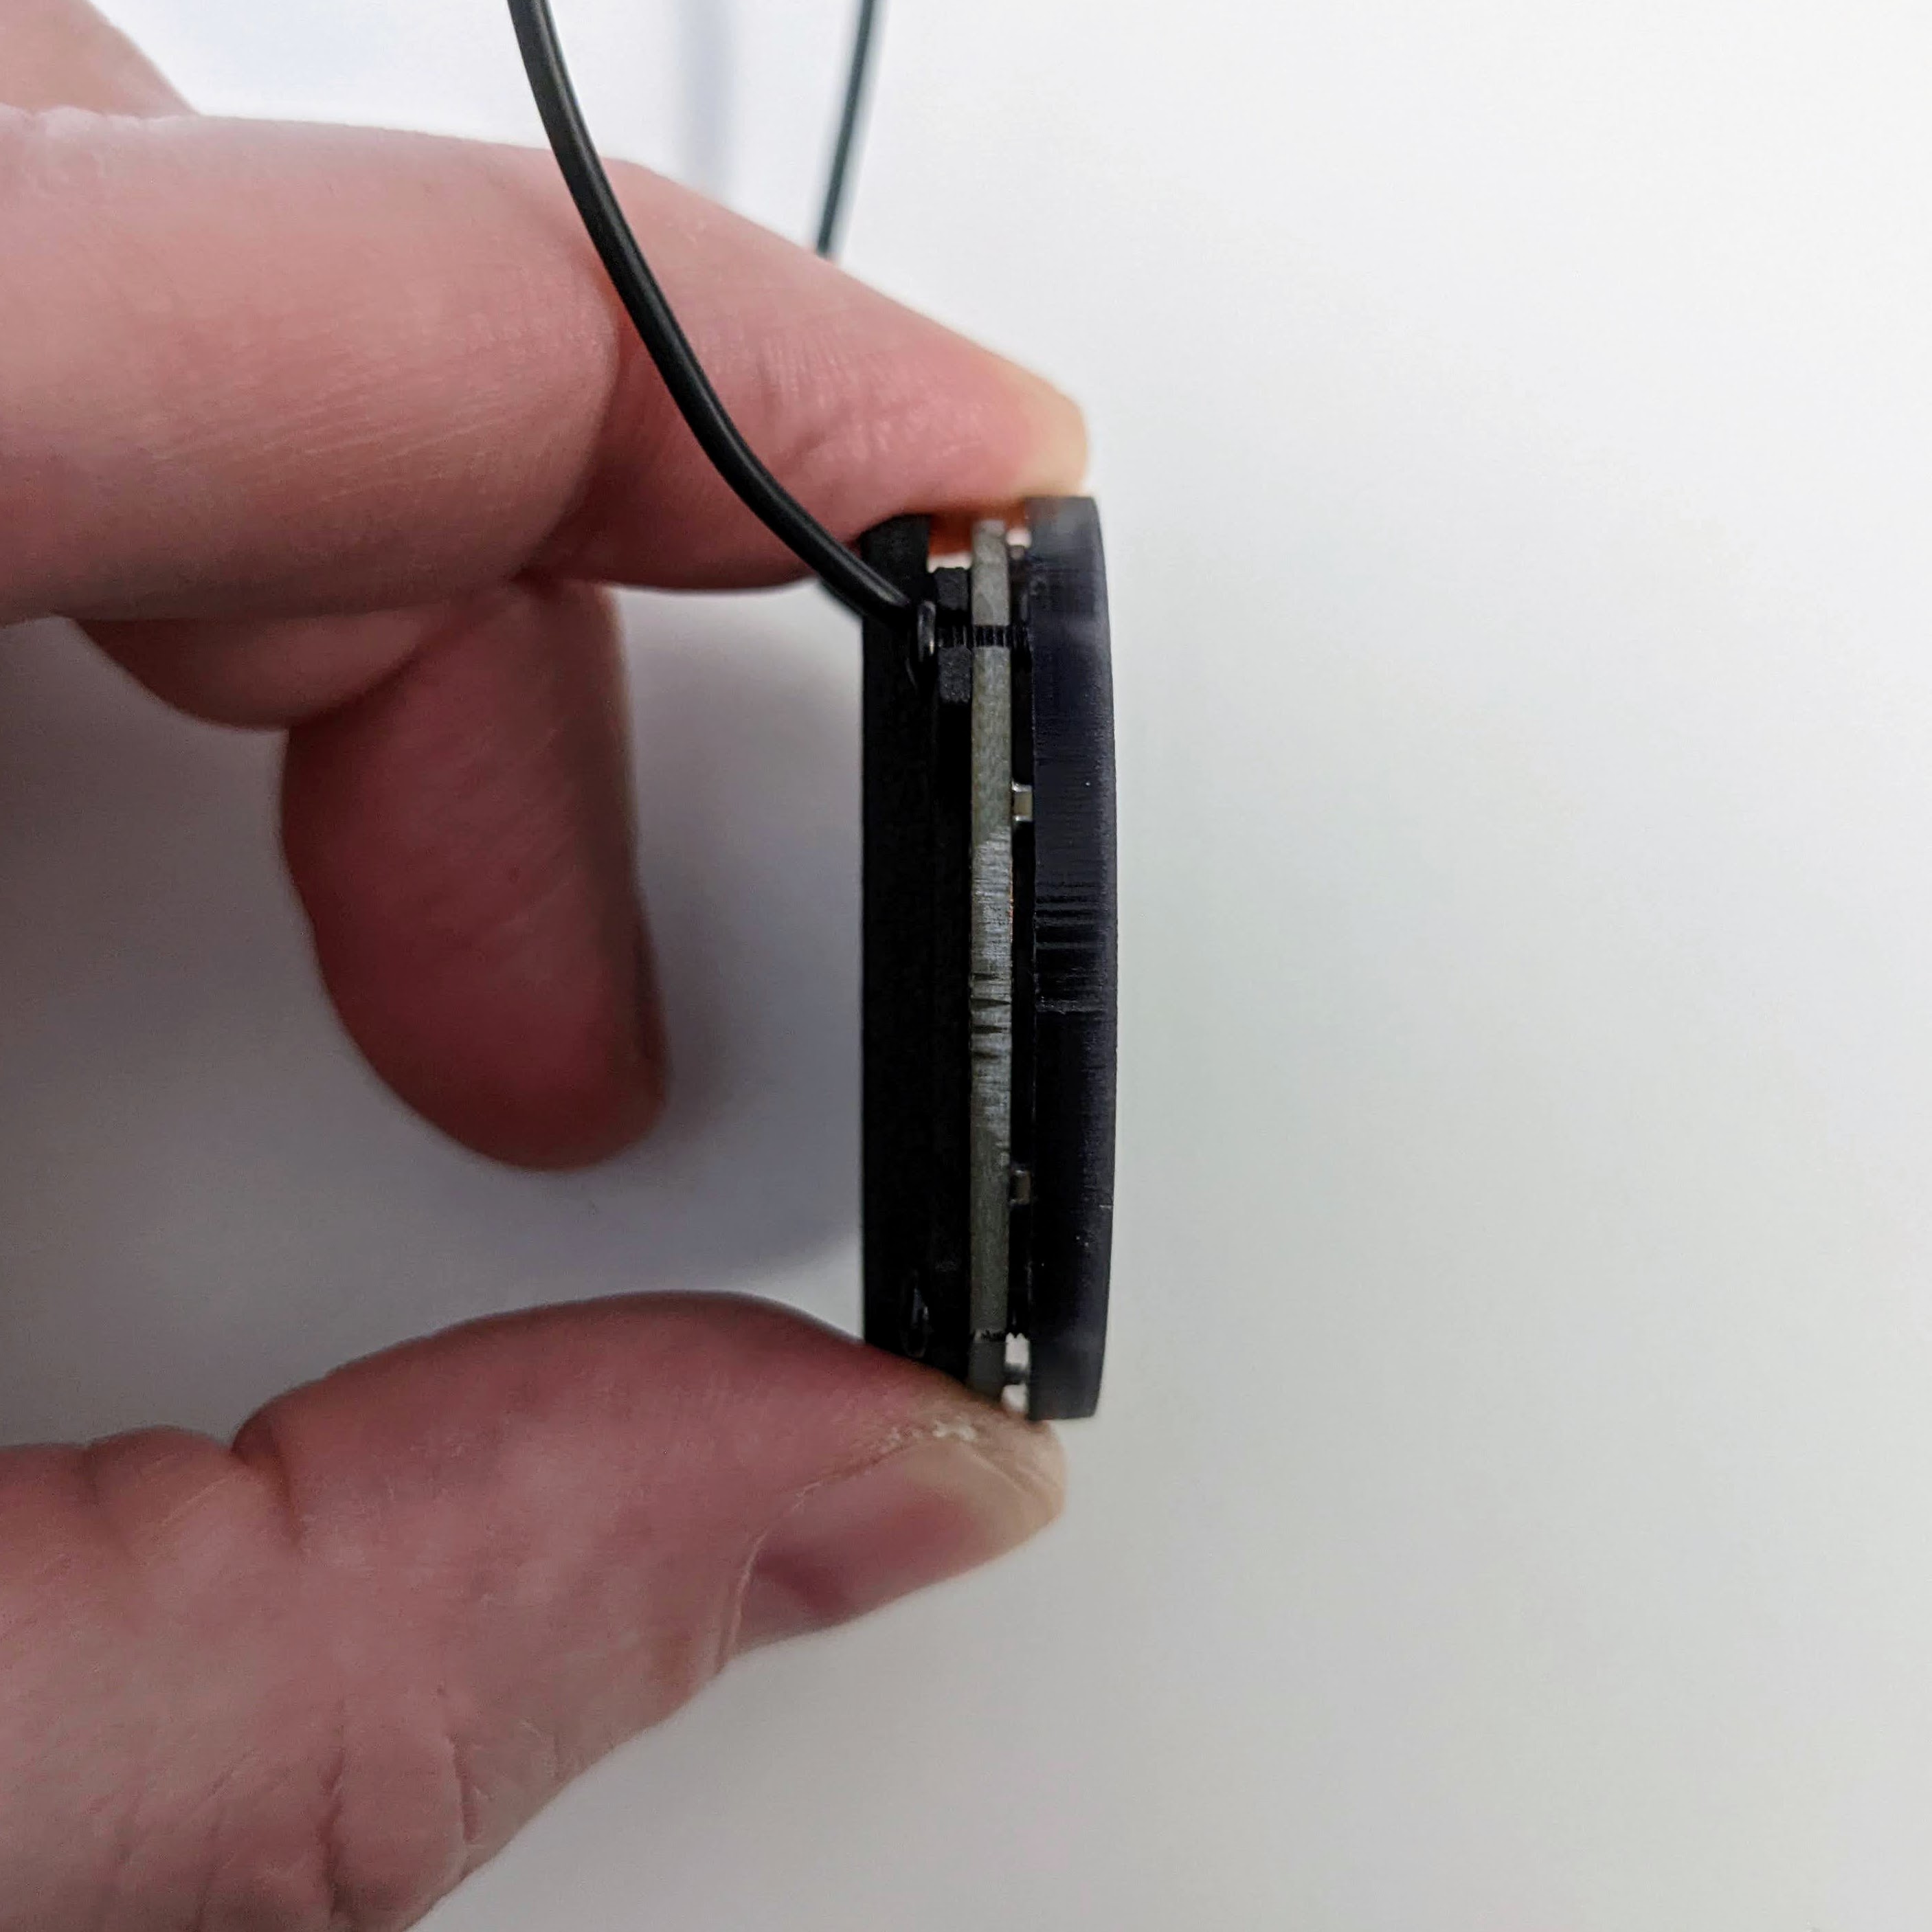
Align the holes in the acrylic and PCB, with the matte frosted side facing up and the glossy side facing towards the PCB.
Note the orientation of the acrylic. The pattern should align and match the layout of the LEDs.
-
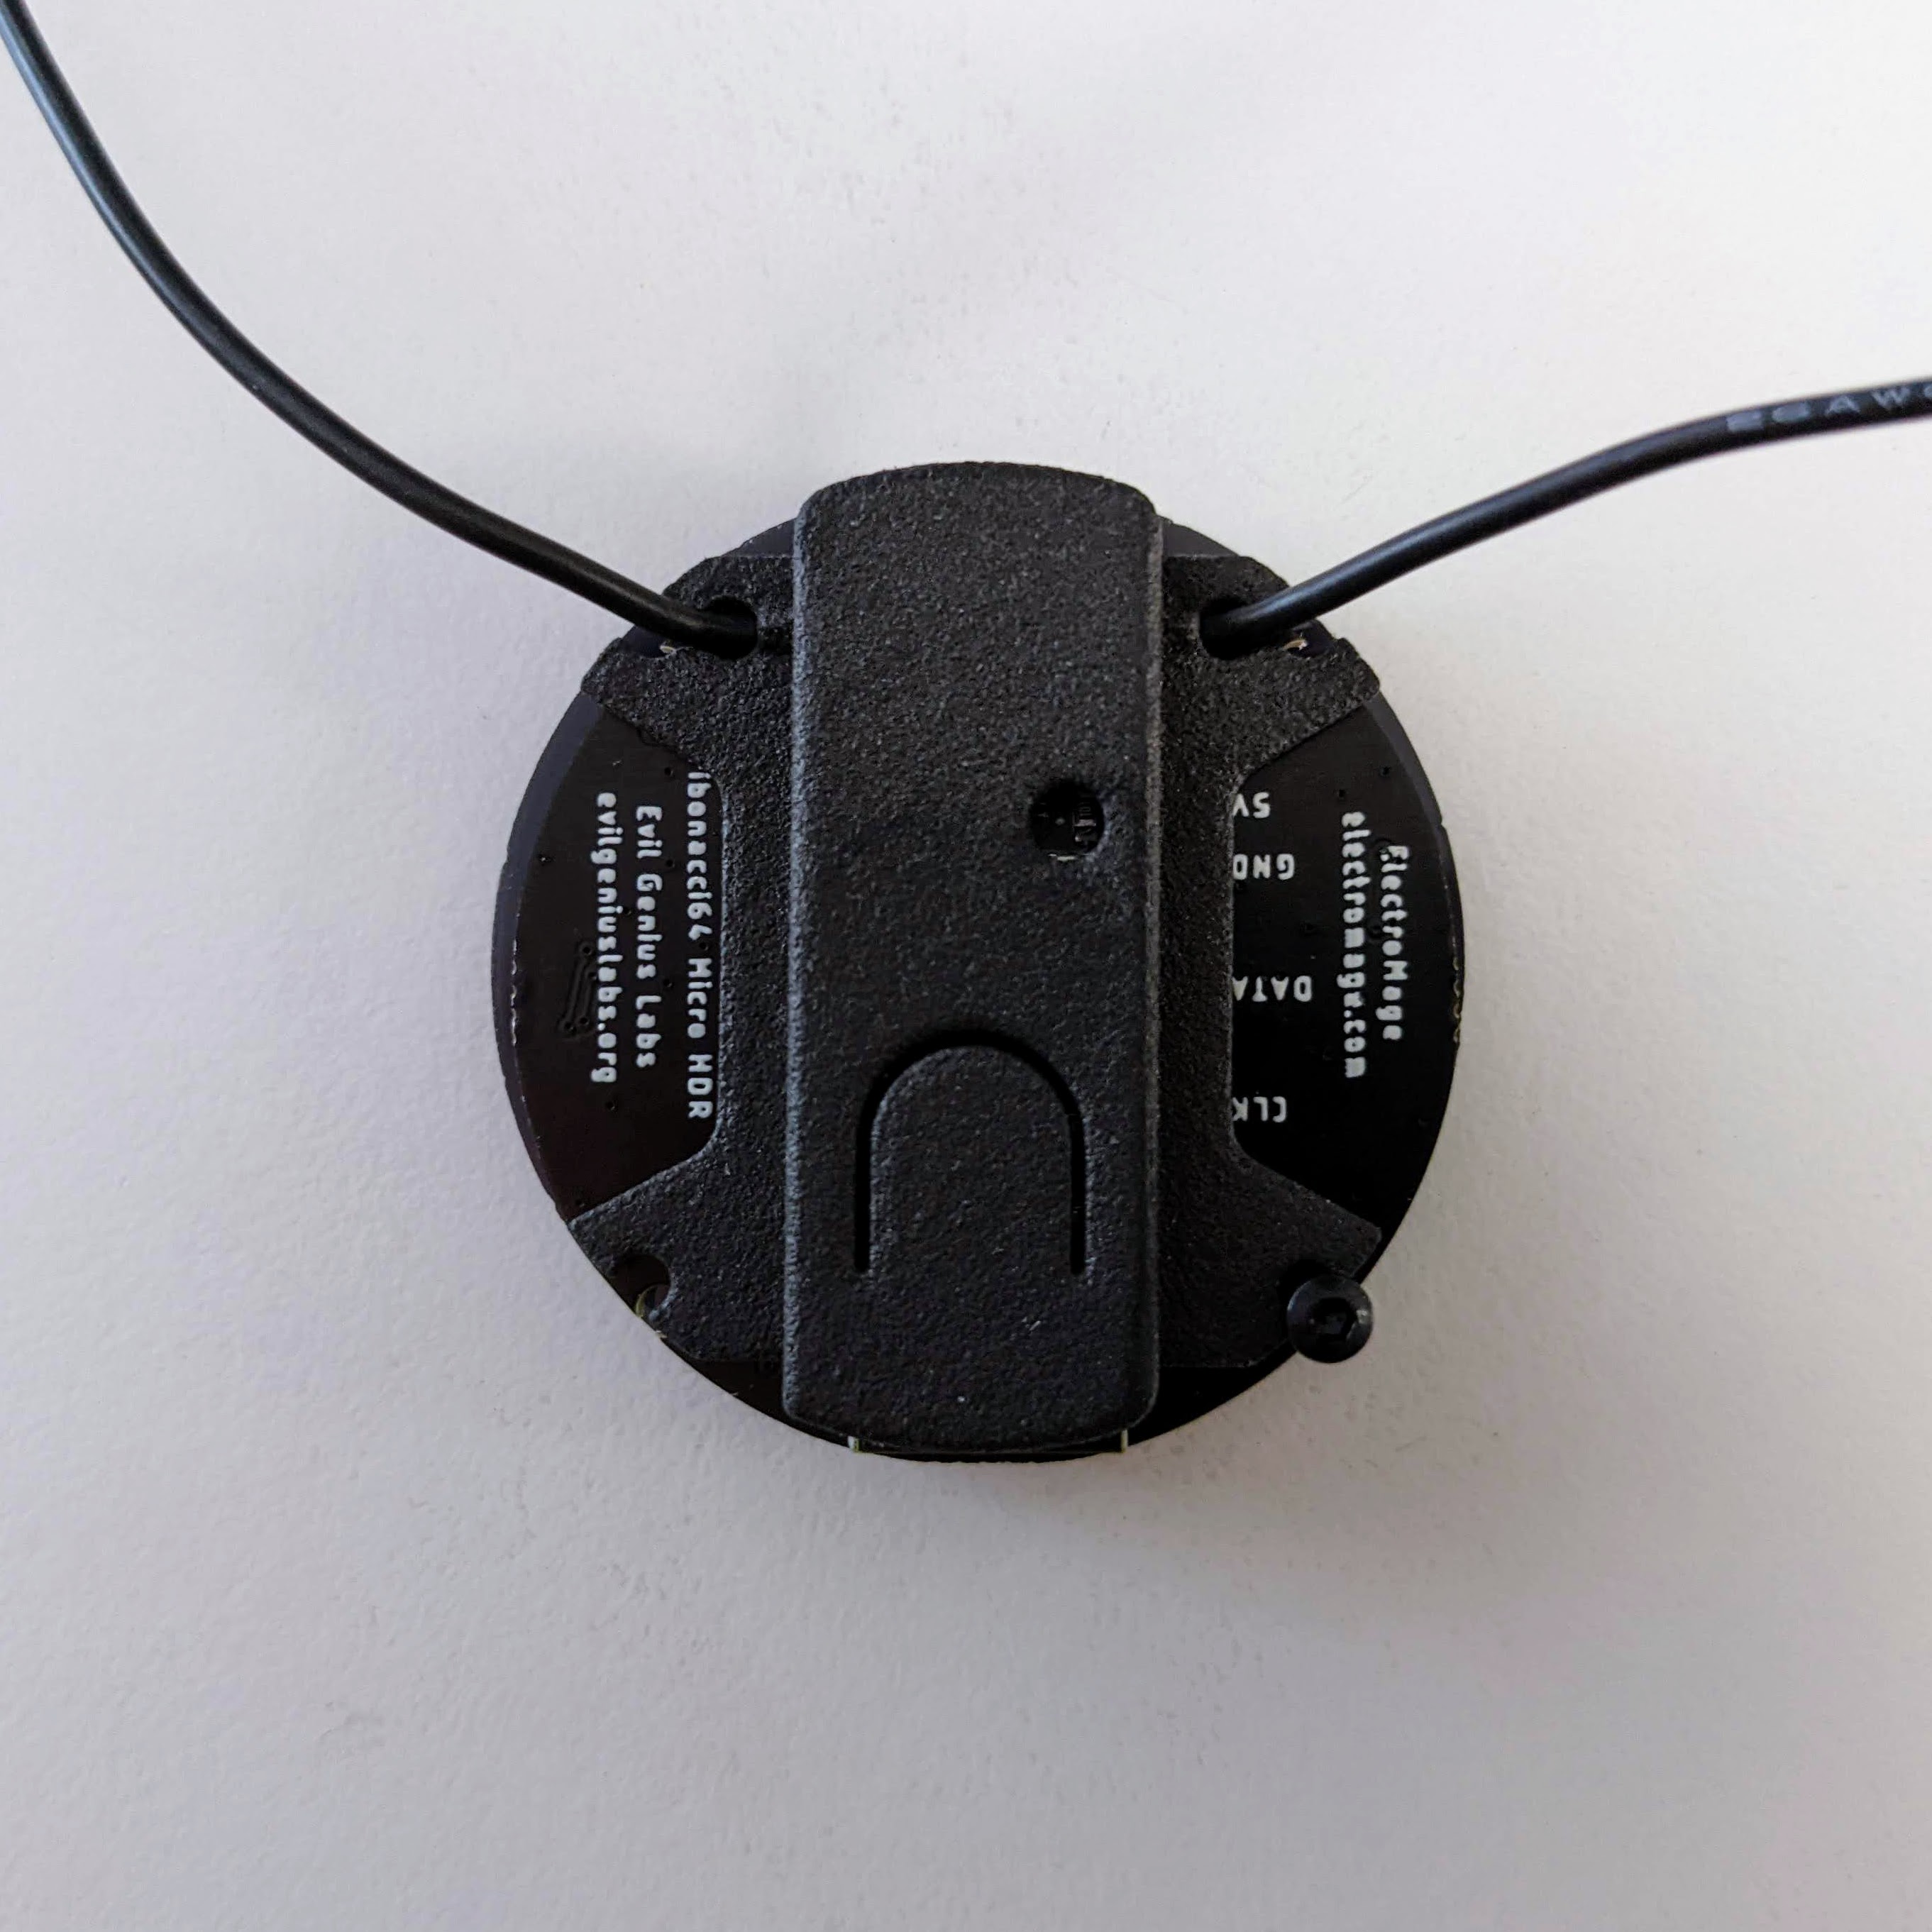
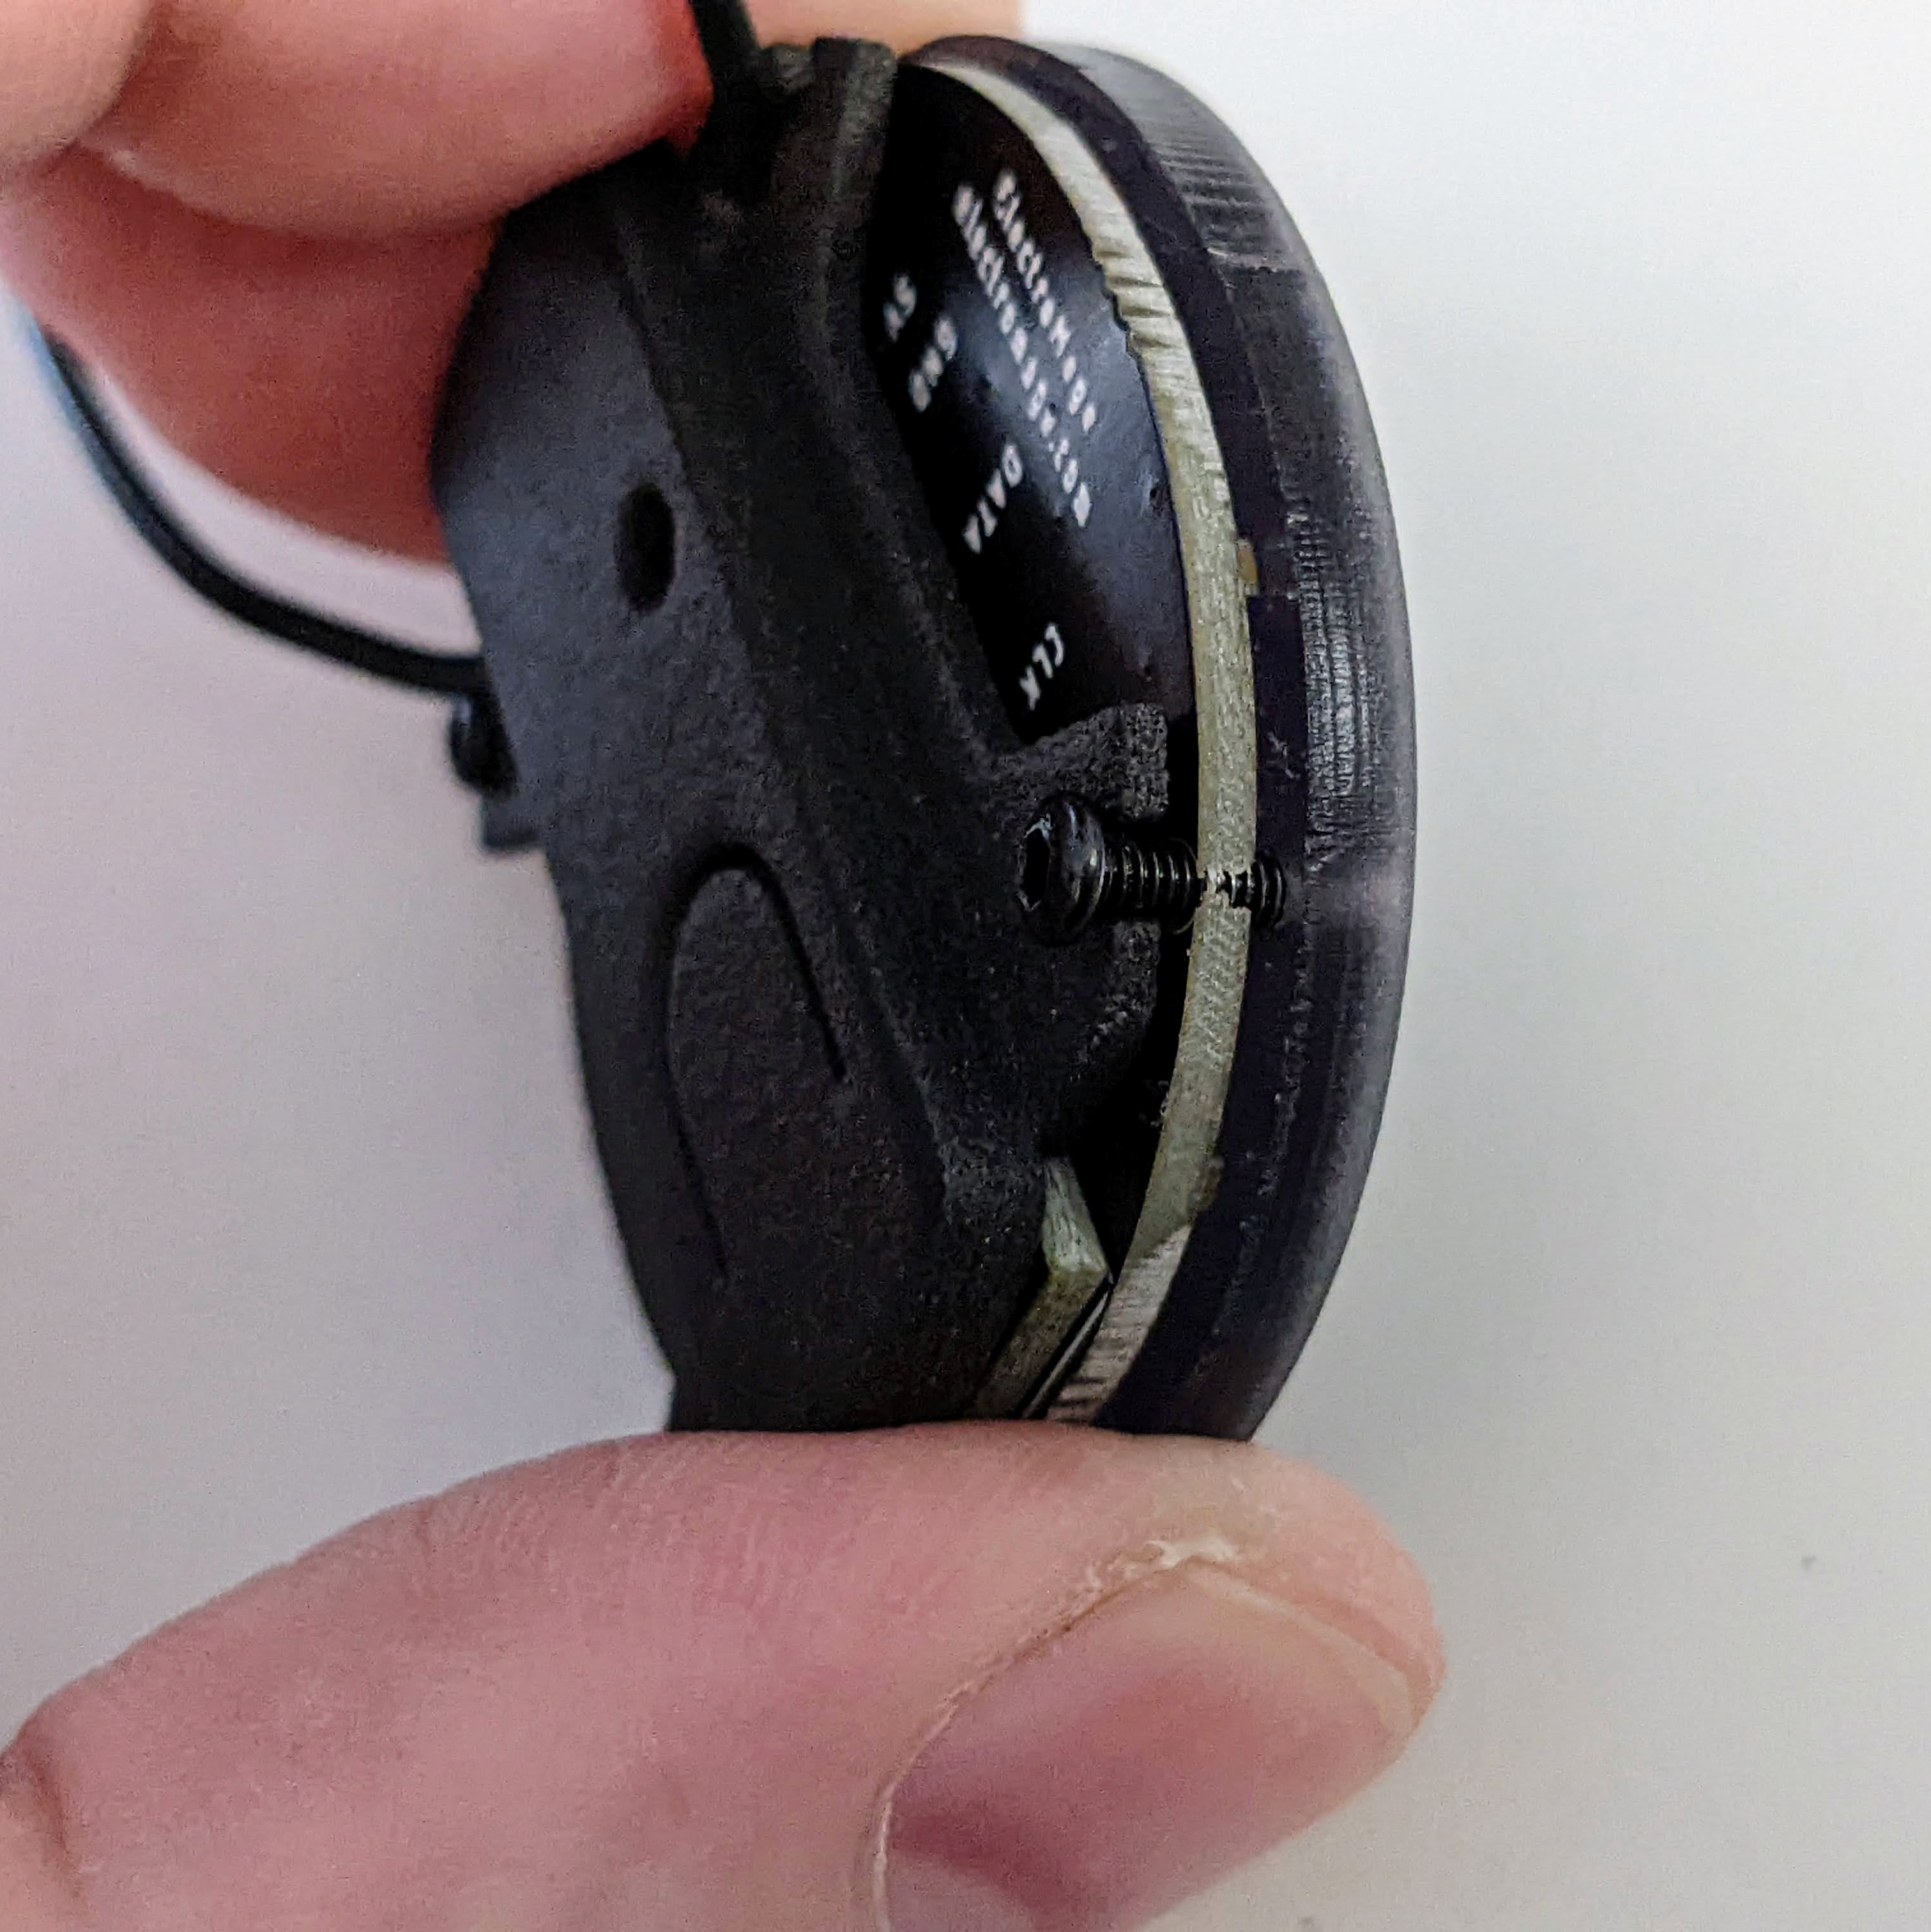
Insert the M2 x 6mm black metal screws through the holes in the back plastic cover, through the PCB, aligning them with the holes in the acrylic. Do not press the screws in to the acrylic. The holes in the acrylic are just large enough for the screws to thread into.
-
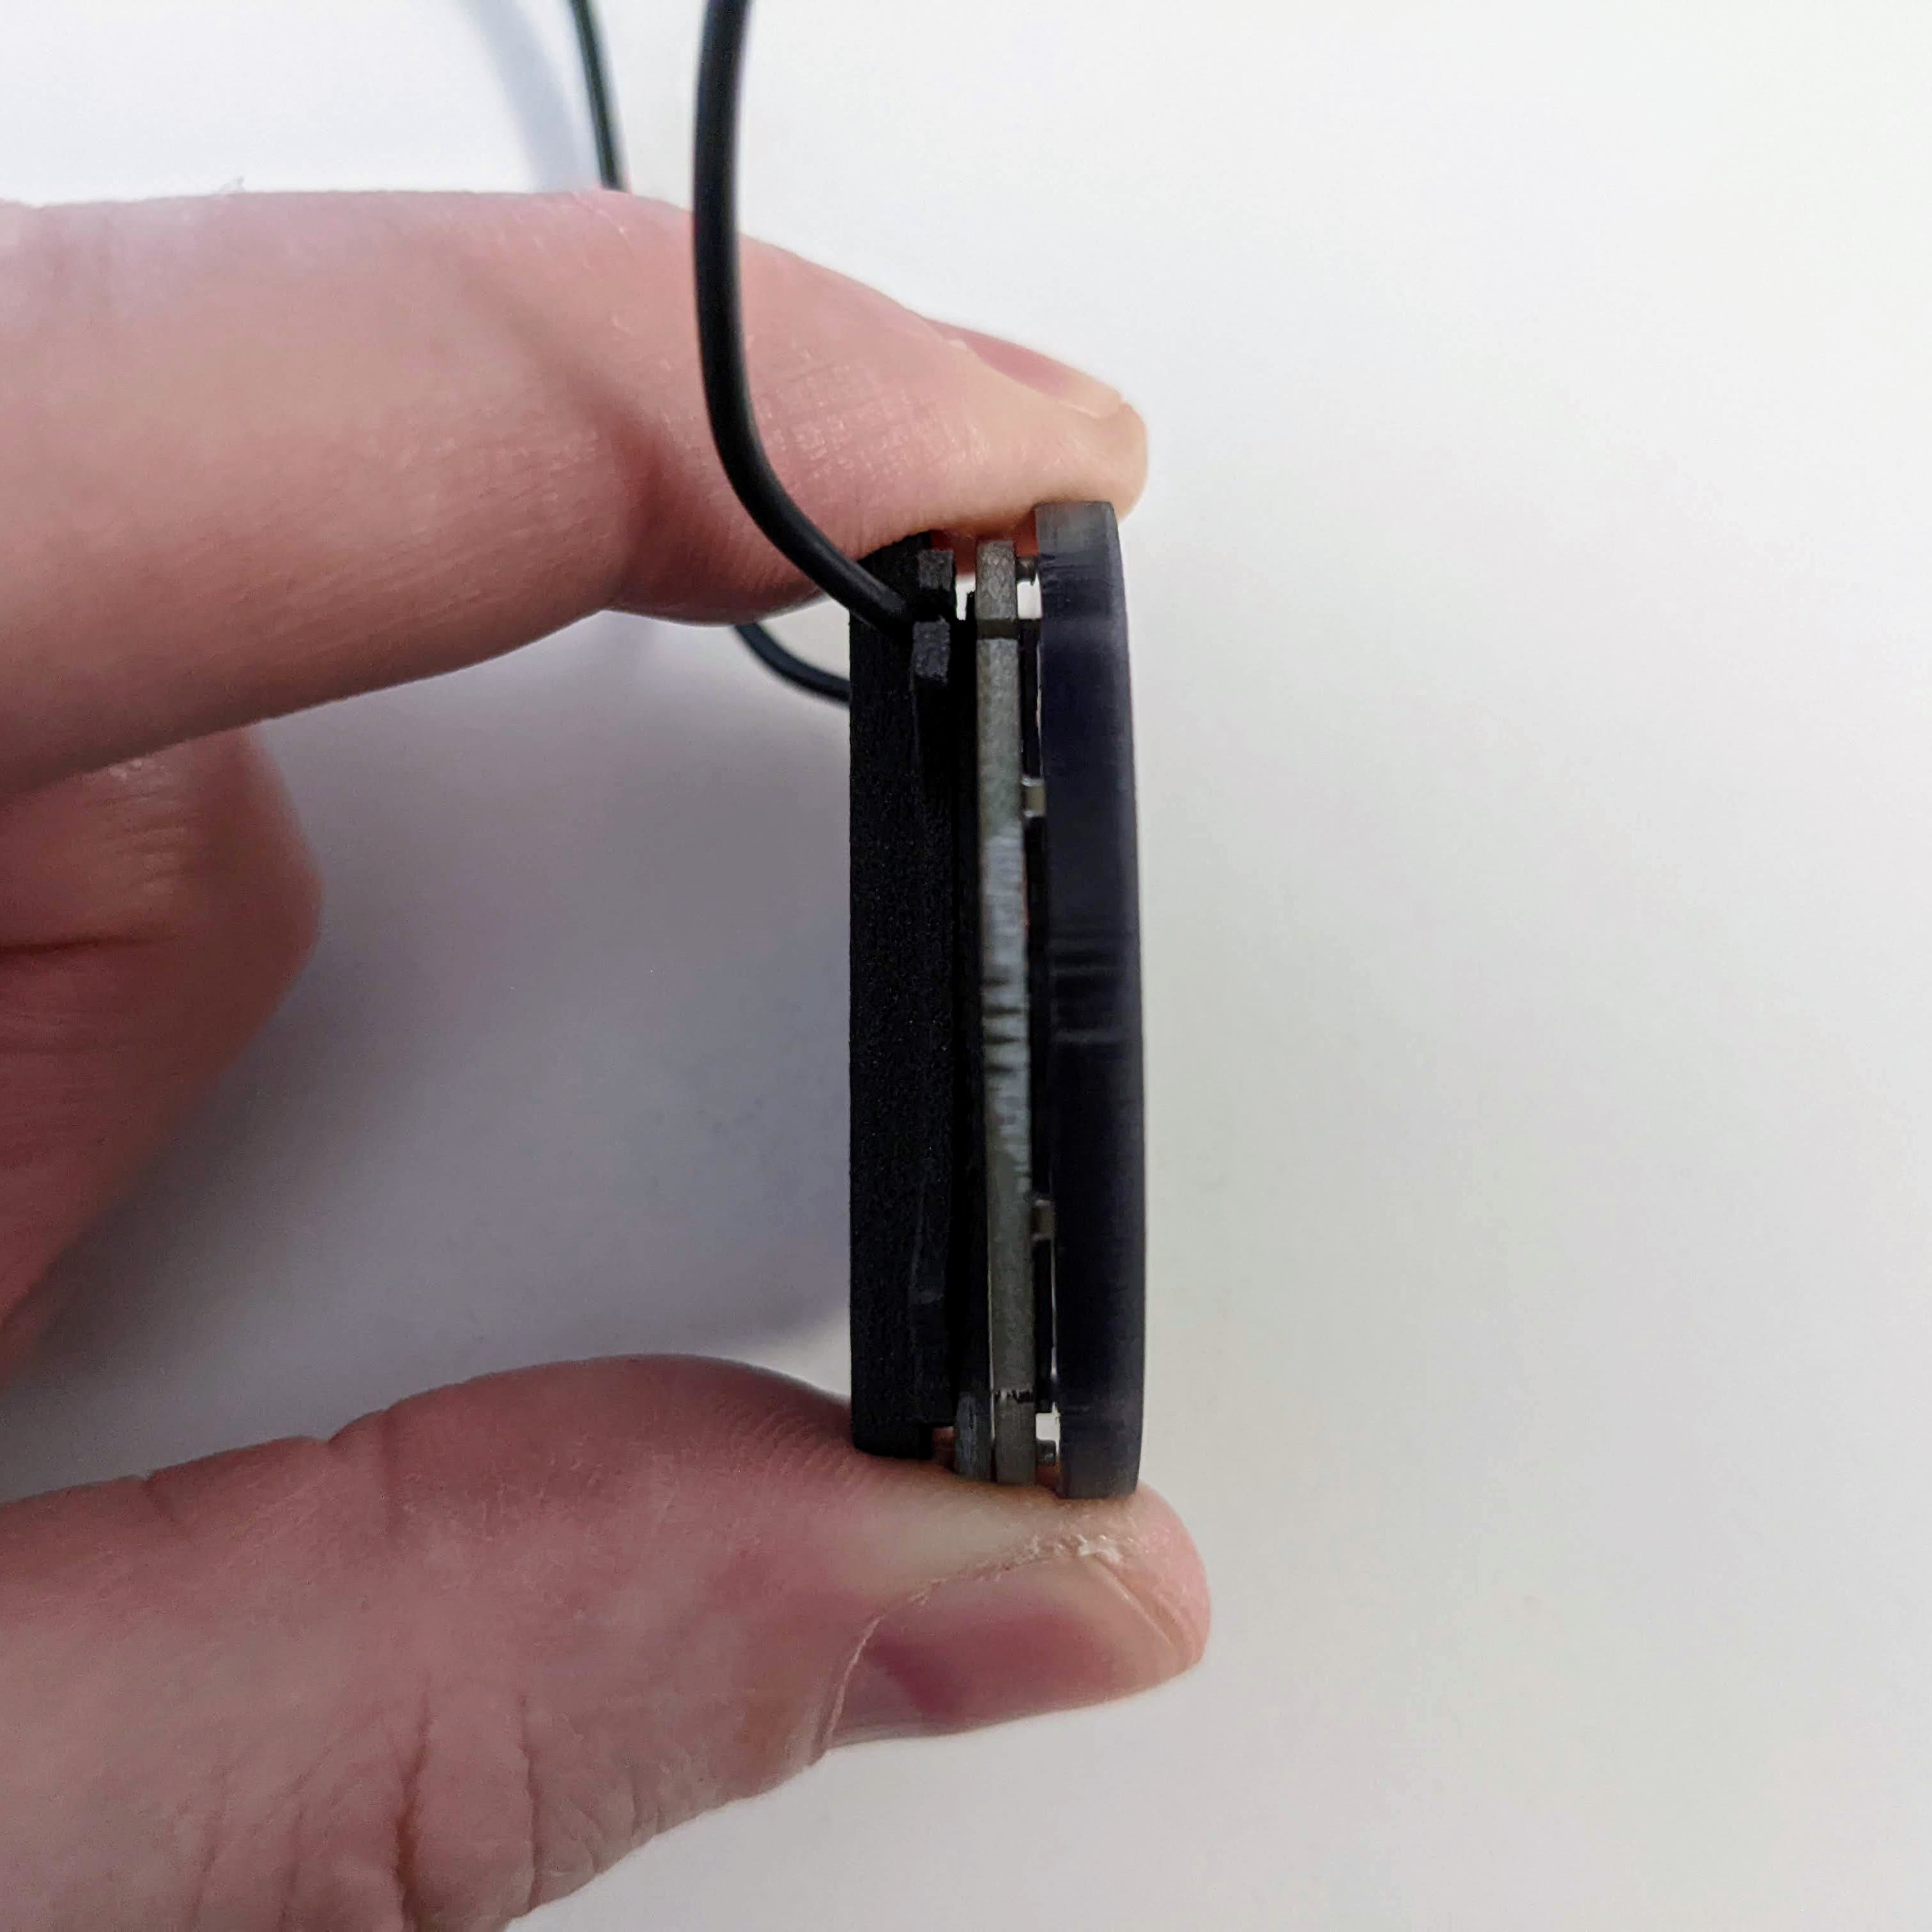
Gently thread and hand-tighten the M2 screws, making sure not to pinch the wires. Do not over-tighten the screws, or the threads in the acrylic holes might strip.
The screws should not go all the way through the acrylic. There should be about 1mm of space between the end of the screw and the front of the acrylic.
-
Repeat for each of the four screws.
Congratulations! Your Lux Lavalier is now fully assembled!
Next, we’ll connect the battery: